Candy Corn Bat Amigurumi Crochet Pattern
April 29, 2026
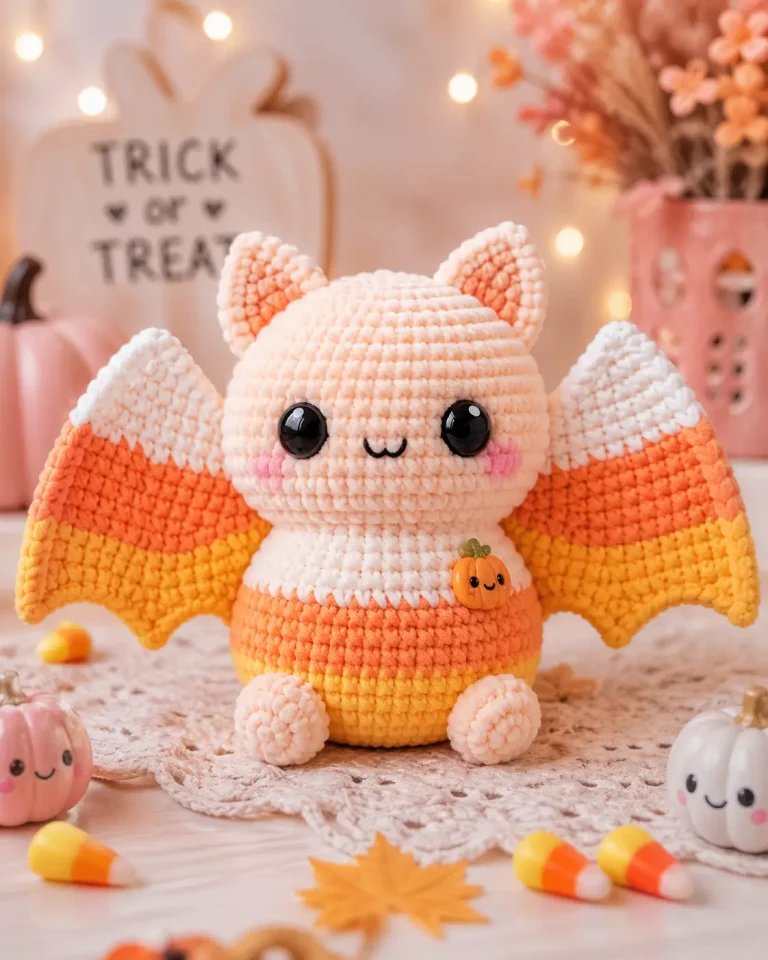
Candy corn bands make a bat’s wing silhouette heavier than its body, so this candy corn bat amigurumi crochet pattern...
Read more
Cupcake Turtle Amigurumi Pattern with Cherry Topper
April 28, 2026
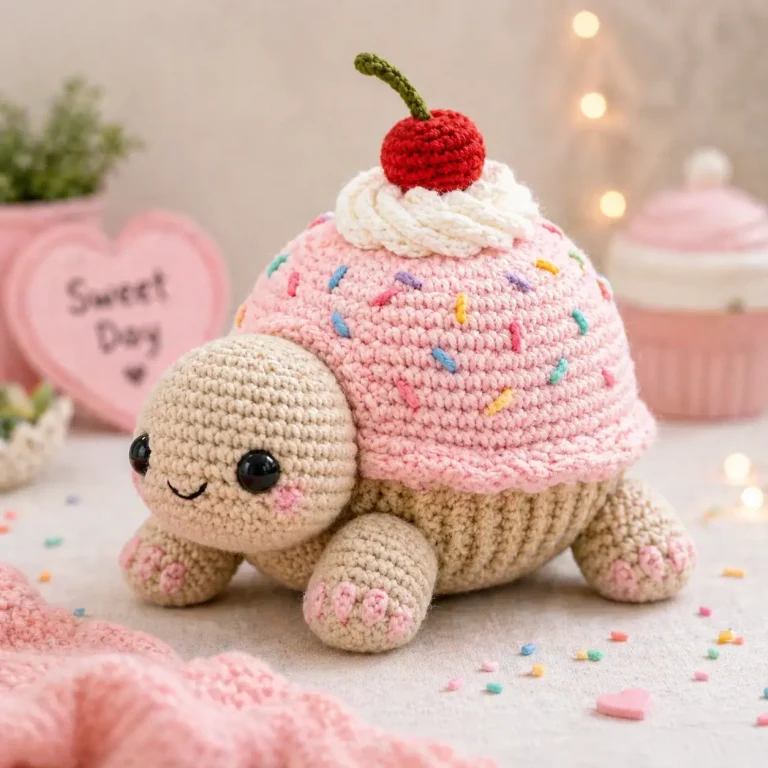
Only a turtle can carry a cupcake without arms, so the shell has to read as dessert before it reads...
Read more
Citrus Shell Turtle Amigurumi Crochet Pattern
April 28, 2026
![Citrus Shell Turtle Amigurumi Crochet Pattern Introduction Turtles carry their ribs outside the body; this citrus shell makes that ridge the main engineering point. This turtle amigurumi crochet pattern builds a 15 cm worsted-weight turtle with a domed orange shell, white topping, straw, orange slice, leaf, and stitched cheek patches. Use a 3.5 mm hook, 10 mm safety eyes, and intermediate shaping. The finished piece works as a shelf sample, market display item, or food-themed collection piece. The Design: What Makes This Citrus Turtle Different The design reads as a turtle first, then as a citrus dessert. The shell stays high and rounded because the dome uses a 36-stitch plateau instead of a flattened oval. That keeps the garnish from pulling the body out of shape. The head is slightly smaller than the shell, with a 30-stitch cap, so the face remains round without tipping the toy forward. For the citrus turtle crochet pattern effect, the shell is split into orange and golden yellow halves across each plateau round. This gives the orange turtle amigurumi a visible fruit side without complex tapestry work. A common maker mistake is placing the straw before the shell is stuffed. The result is a leaning tube, because the cap has no firm base underneath. Project Info at a Glance Skill Level Time Finished Size Hook Best For Intermediate 2–3 hours 15 cm long 3.5 mm Fruit animal series, market display, themed shelf decor Comparable turtle sources support 15 cm finished sizing and 3.5–3.75 mm hooks for worsted or DK-style turtles. Materials and Tools Yarn Comparable turtle listings use DK, worsted, or chenille yarn; this version uses worsted #4 to match the visible stitch definition in the photo. Small turtle patterns may use only a few grams per color, while larger kits build in higher yarn allowances. Cream/tan — worsted #4 — 30 g — Paintbox Cotton Aran, Brava Worsted, or similar Orange — worsted #4 — 18 g — shell half and orange slice details Golden yellow — worsted #4 — 14 g — shell half, straw, citrus slice White — worsted #4 — 8 g — topping cap Green — worsted #4 — 3 g — leaf Pink — fingering yarn or embroidery yarn — 1 g — cheek patches Black — embroidery floss — 30 cm — mouth Tools Hook 3.5 mm 10 mm safety eyes Polyester stuffing Yarn needle Stitch markers Pins Scissors Safety eyes vary by turtle scale; comparable sources list 6, 10, and 12 mm eyes. For toys intended for babies, embroidered eyes are the safer option because safety eyes can be a choking hazard. Abbreviations MR = magic ring sc = single crochet inc = increase, 2 sc in one stitch dec = decrease sl st = slip stitch ch = chain BLO = back loop only FLO = front loop only hdc = half double crochet dc = double crochet An invisible decrease works through the front loops of the next two stitches before completing one sc, reducing bulk on closing rounds. Pattern — Step by Step Work in a continuous spiral unless a flat row or edging is named. The pattern below is original stitch math based on the visible photo proportions and verified turtle size data, not a copy of a paid listing. Head — Make 1 Yarn: cream/tan. R1: 6 sc in MR (6) R2: inc ×6 (12) R3: (sc, inc) ×6 (18) R4: (2 sc, inc) ×6 (24) R5: (3 sc, inc) ×6 (30) R6: sc around (30) R7: sc around (30) R8: sc around (30) R9: sc around (30) R10: sc around (30) Place 10 mm safety eyes between R7 and R8, 7 stitches apart. Embroider a small V mouth over R8/R9 before closing. R11: (3 sc, dec) ×6 (24) R12: (2 sc, dec) ×6 (18) R13: (sc, dec) ×6 (12) Stuff the head firmly, especially at the cheeks and lower face. R14: dec ×6 (6) Fasten off. Leave 25 cm tail. Lower Body / Belly — Make 1 Yarn: cream/tan. R1: 6 sc in MR (6) R2: inc ×6 (12) R3: (sc, inc) ×6 (18) R4: (2 sc, inc) ×6 (24) R5: (3 sc, inc) ×6 (30) R6: (4 sc, inc) ×6 (36) R7: sc around (36) R8: sc around (36) Keep this piece slightly shallow. It becomes the underside of the turtle and joins to the shell. Fasten off. Leave 60 cm tail. Two-Tone Shell Dome — Make 1 Yarn: orange and golden yellow. R1: With orange, 6 sc in MR (6) R2: inc ×6 (12) R3: (sc, inc) ×6 (18) R4: (2 sc, inc) ×6 (24) R5: (3 sc, inc) ×6 (30) R6: (4 sc, inc) ×6 (36) R7: sc around, stitches 1–18 orange and 19–36 golden yellow (36) R8: sc around, stitches 1–18 orange and 19–36 golden yellow (36) R9: sc around, stitches 1–18 orange and 19–36 golden yellow (36) R10: sc around, stitches 1–18 orange and 19–36 golden yellow (36) R11: sc around, stitches 1–18 orange and 19–36 golden yellow (36) R12: sc around, stitches 1–18 orange and 19–36 golden yellow (36) Do not flatten. Stuff only after the shell is pinned to the lower body. Fasten off. Leave 70 cm tail. White Topping Cap — Make 1 Yarn: white. R1: 6 sc in MR (6) R2: inc ×6 (12) R3: (sc, inc) ×6 (18) R4: (2 sc, inc) ×6 (24) R5: (3 sc, inc) ×6 (30) R6: sc around (30) R7: [sl st in next st, ch 2, sl st in next st] ×15 (15 scallops) Block the cap flat with fingers only. It should sit on the top third of the shell, not cover the shell sides. Fasten off. Leave 35 cm tail. Front Legs / Front Flippers — Make 2 Yarn: cream/tan. R1: 6 sc in MR (6) R2: inc ×6 (12) R3: (sc, inc) ×6 (18) R4: sc around (18) R5: sc around (18) R6: (sc, dec) ×6 (12) R7: sc around (12) Stuff lightly. The front legs should stay oval, not round. Fasten off. Leave 25 cm tail on each leg. Back Legs / Back Flippers — Make 2 Yarn: cream/tan. R1: 6 sc in MR (6) R2: inc ×6 (12) R3: sc around (12) R4: sc around (12) R5: dec ×6 (6) Add only a pinch of stuffing. These back legs are shorter than the front legs. Fasten off. Leave 22 cm tail on each leg. Tail — Make 1 Yarn: cream/tan. R1: 6 sc in MR (6) R2: sc around (6) R3: sc around (6) Do not stuff. Flatten the opening before sewing. Fasten off. Leave 20 cm tail. Cheek Patches — Make 2 Yarn: pink. R1: 6 sc in MR (6) R2: sl st to first sc (6) Pull the center tight so the patch stays flat against the face. Fasten off. Leave 15 cm tail on each patch. Straw — Make 1 Yarn: golden yellow. R1: 6 sc in MR (6) R2: sc around (6) R3: sc around (6) R4: sc around (6) R5: sc around (6) R6: sc around (6) R7: sc around (6) R8: sc around (6) Pack the straw with yarn scraps or a narrow roll of stuffing. Do not add wire if the finished turtle will be handled by a child. Fasten off. Leave 25 cm tail. Orange Slice — Make 1 Yarn: golden yellow, with orange embroidery. R1: 6 sc in MR (6) R2: inc ×6 (12) R3: (sc, inc) ×6 (18) R4: (2 sc, inc) ×6 (24) Fasten off the circle, fold it in half, and stitch the straight edge closed with 12 small whip stitches. Embroider 4 orange radial lines from the folded edge to the curved peel. Fasten off. Leave 30 cm tail. Leaf — Make 1 Yarn: green. R1: ch 8 (8 ch) R2: Starting in 2nd ch from hook: sl st, sc, hdc, dc, hdc, sc, 3 sc in last ch; working along the opposite side: sc, hdc, dc, hdc, sc, sl st (14) Pinch the first and last stitches together to make the leaf point slightly upward. Fasten off. Leave 25 cm tail. Assembly Pin the two-tone shell dome to the lower body with wrong sides facing inward and matching 36 stitches around the edge. Stuff the shell firmly, then sew through both edges around the full 36-stitch join. Sew the head to the front orange side of the shell so the lower head touches the belly line. Sew the cheek patches under the eyes, centered 1 stitch outside the mouth. Attach the front legs under the head line, one on each side, with the wider ends angled forward. Attach the back legs near the rear shell edge, keeping them lower than the front legs. Sew the tail at the center back, tucked between the two back legs. Sew the white topping cap to the top of the shell, centered over R6–R10 of the dome. Sew the straw upright through the topping and into the shell stuffing, then add the orange slice beside it. Sew the leaf behind the orange slice, weave every tail through the stuffed body twice, and trim close. The finished citrus shell turtle measures about 15 cm long when made with worsted yarn and a 3.5 mm hook. 7 Technical Tips A drifting stitch marker will twist the orange/yellow shell split by 2–4 stitches after several rounds. Reset the marker at the color boundary on every shell round from R7 to R12. Under-stuffing creates a collapsed white cap area. Add fiberfill until pressing the shell top leaves less than a 5 mm dent. Visible decreases can form six dents around the head closure. Use invisible decreases on R11–R14 and keep the final 6-stitch hole pulled tight. Late eye placement can trap the safety washers outside reach. Install the 10 mm eyes between R7 and R8 before starting R11. Velvet or chenille substitution can enlarge gaps at the shell color changes. Make a 12-stitch swatch first and change hook size if stuffing shows between stitches. Unpinned toppings often slide toward the head during sewing. Pin the white cap at 12, 3, 6, and 9 o’clock before making the first stitch. Short yarn tails can pop out of the belly seam. Leave at least 20 cm on small parts and bury each tail through the stuffed body twice. Conclusion Check the shell first: the orange/yellow split should meet at the back, the white cap should sit flat, and the straw should stand without pulling the dome sideways. After assembly, photograph the turtle from the head side and the garnish side, because both angles show different construction choices. Save this turtle amigurumi crochet pattern to Pinterest, then post the finished citrus shell on Instagram with #CitrusShellTurtle. The next practical step is to test one color variant—lemon, lime, or grapefruit—while keeping the same 36-stitch shell. Which garnish placement works better for this turtle: the orange slice tucked behind the straw or angled over the leaf?](https://krochify.hapadltd.com/wp-content/uploads/2026/04/file_00000000de9871f69483d9c257fab6c5-768x576.webp)
Turtles carry their ribs outside the body; this citrus shell makes that ridge the main engineering point. This turtle amigurumi...
Read more
Strawberry Turtle Amigurumi Crochet Pattern
April 28, 2026
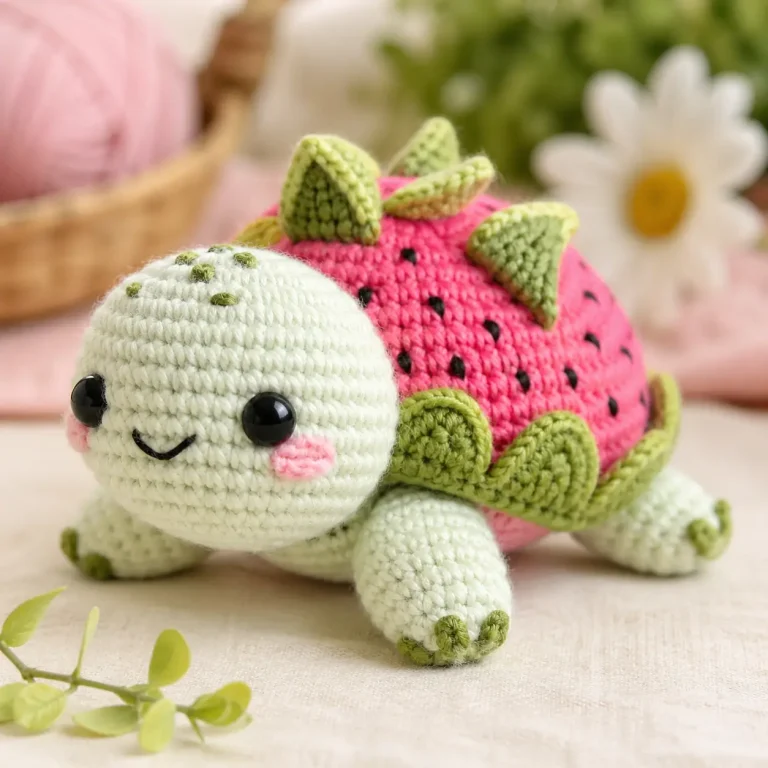
A turtle shell turned into a strawberry has to read as fruit before it reads as armor, which is why...
Read more
Sea Turtle Amigurumi Crochet Pattern with Coconut Shell and Umbrella
April 28, 2026
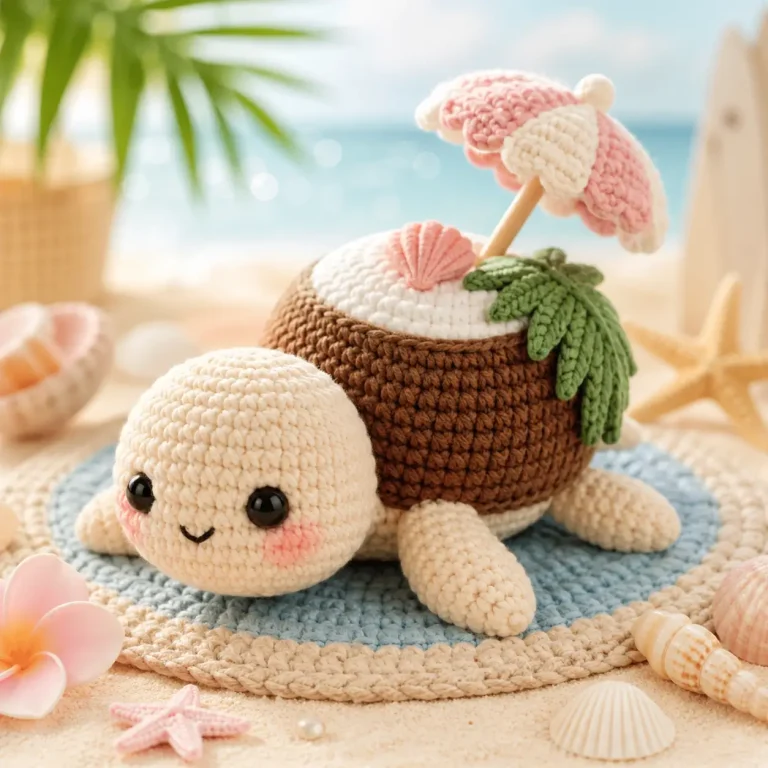
A sea turtle cannot carry a coconut bowl, so this sea turtle amigurumi crochet pattern treats the shell as a...
Read more
Cherry Sundae Turtle Amigurumi Pattern
April 28, 2026
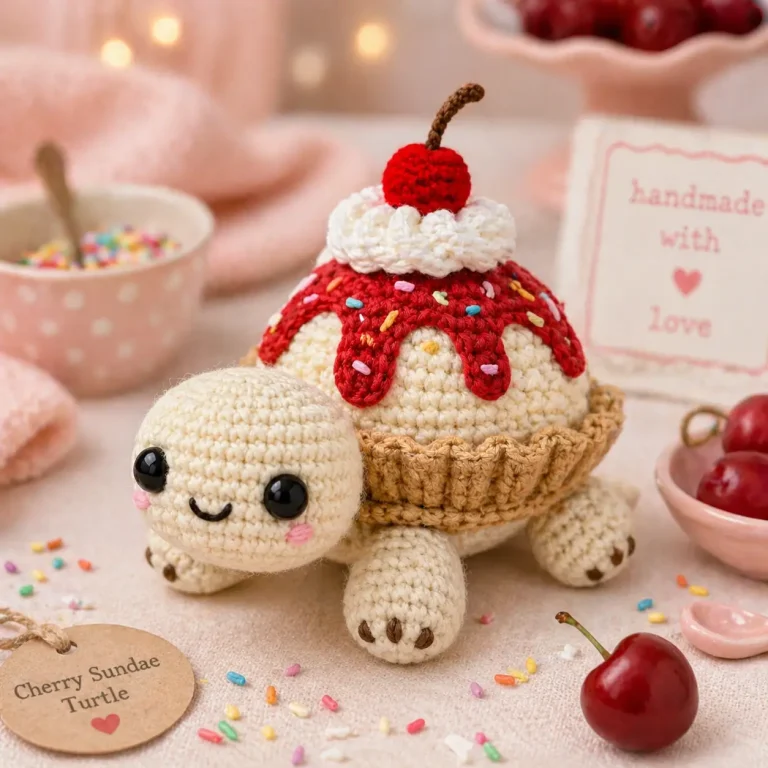
A turtle can carry a sundae only if the shell reads as dessert before it reads as armor. This cherry...
Read more
Free Hatching Baby Dragon Pattern
April 27, 2026
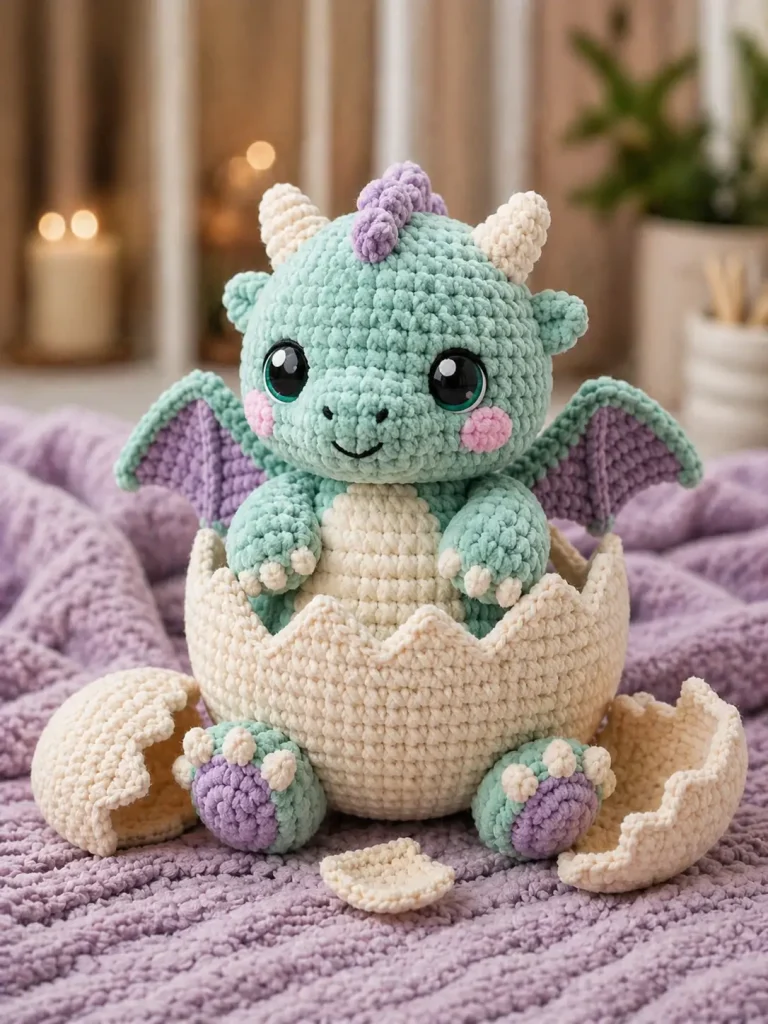
A cracked shell changes the engineering: the shell must hold the plush upright while the small dragon stays round and...
Read more
Full Purple Cyclops Crochet Pattern Guide
April 27, 2026
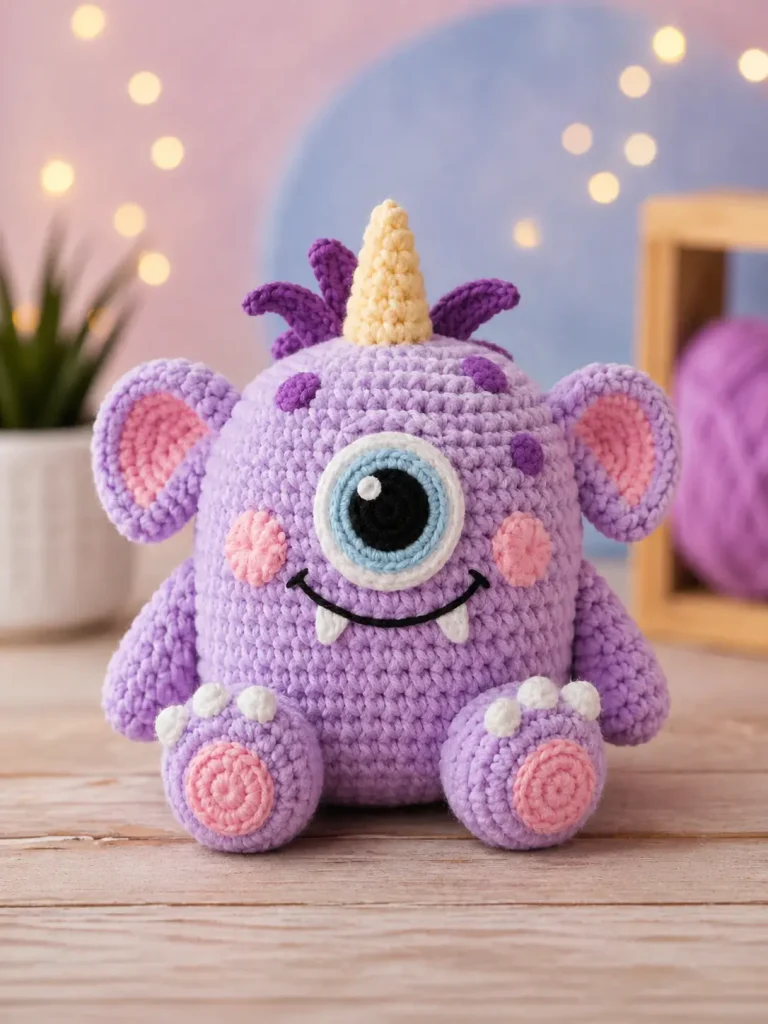
The single centered eye sets the facial math for this purple cyclops amigurumi pattern: every feature must balance around one...
Read more
Full Mint Dragon Amigurumi Guide
April 27, 2026
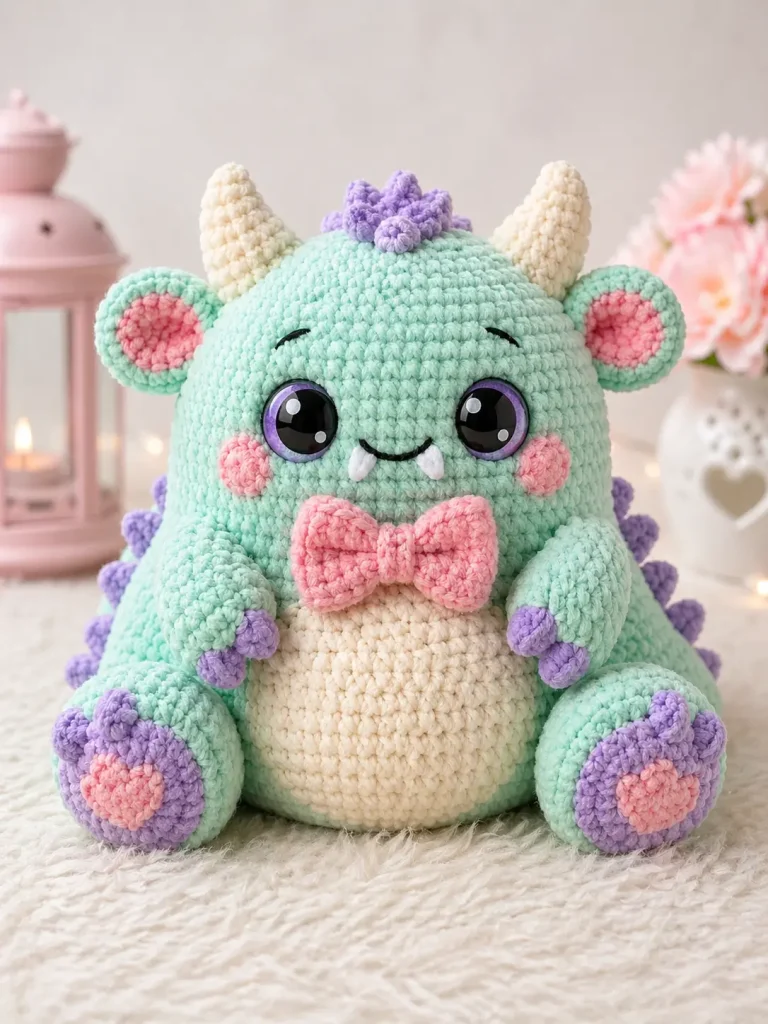
A dragon with round ears and a bow tie cannot use the same build as a winged shelf dragon. This...
Read more
Free Orange Tabby Plush Crochet Pattern
April 27, 2026
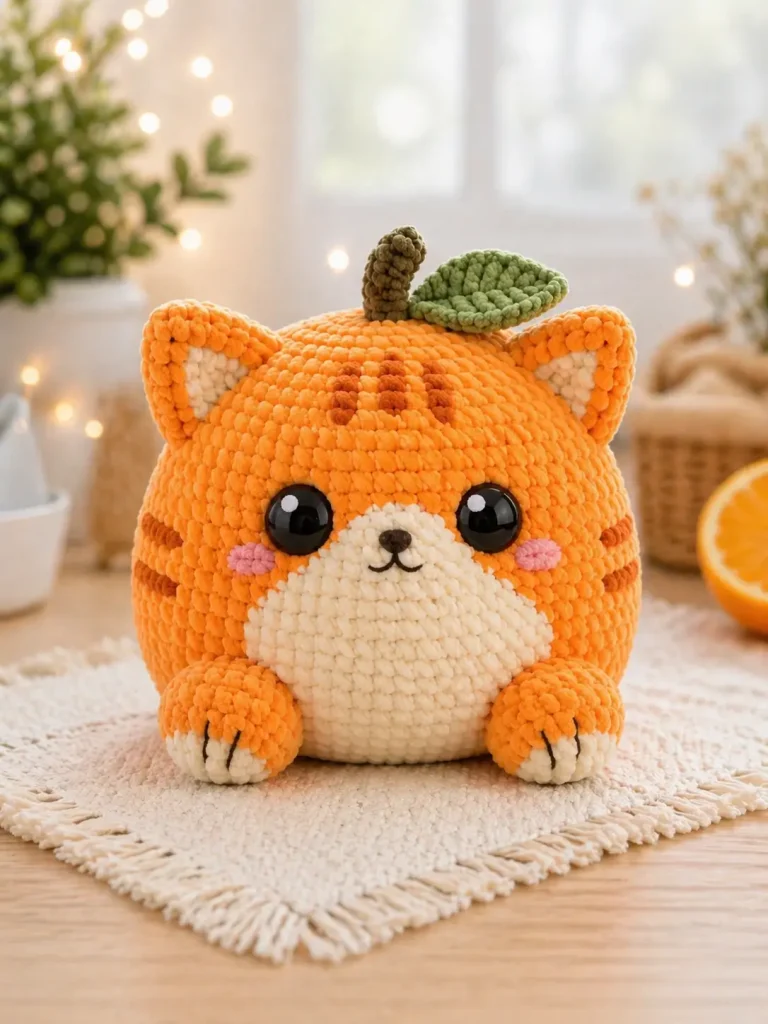
Orange fur, cream muzzle, and a citrus stem create three color zones that must stay balanced. This orange cat amigurumi...
Read more









