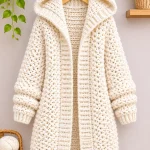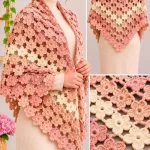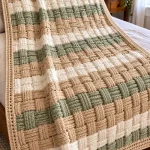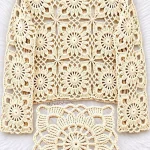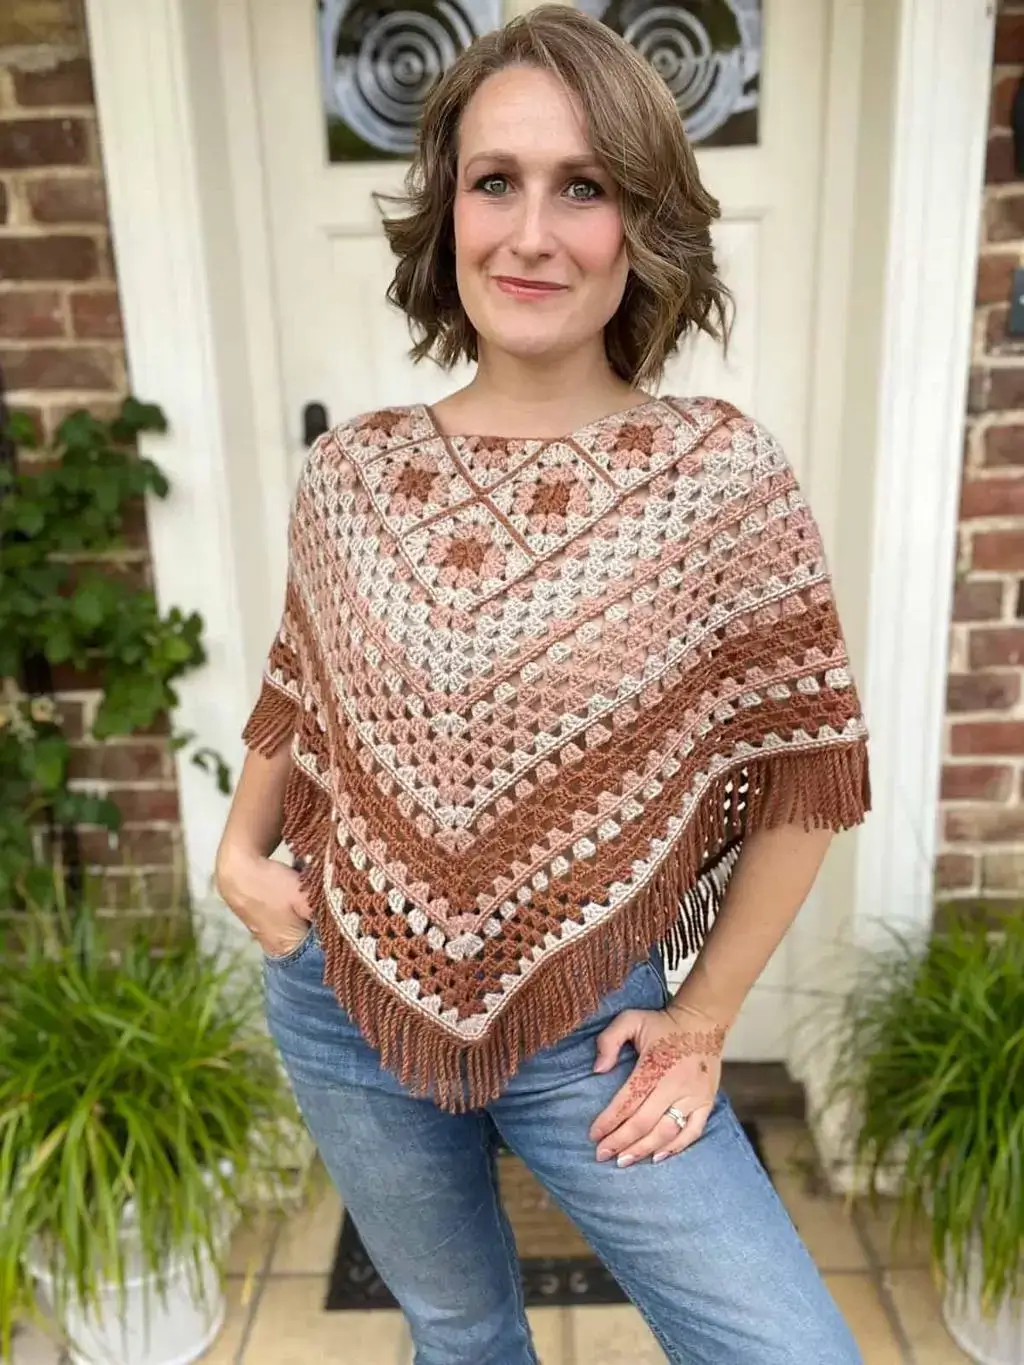
A square neckline changes the geometry of a poncho before the first long stripe is worked. This granny square crochet poncho pattern combines small floral granny motifs around the shoulders with expanding granny-stitch rows in cream, dusty rose, caramel and chocolate brown. The construction below is an original photo-inspired method rather than a transcription of a published pattern. Use DK or light worsted yarn and adjust the finished dimensions from an actual gauge swatch.
The Design: What Makes This Poncho Different
The upper section carries most of the structure. Small floral granny squares form a shallow decorative yoke across the front and shoulders, while the lower body changes to open granny clusters arranged in wide color bands. Two controlled increase points create the long front and back tips. This gives the garment its characteristic diamond silhouette without adding separate side seams.
The color sequence also matters. Cream keeps the openwork readable, dusty rose softens the transitions, and caramel plus chocolate brown concentrate visual weight toward the lower edge. A narrow finishing round stabilizes the perimeter before fringe is attached.
The main failure mode is an undersized neckline. Crochet stretches sideways less predictably once several rows and fringe add weight, so the neck opening must be tested before the body is extended.
Project Information at a Glance
| Skill Level | Construction | Yarn | Hook | Fit |
|---|---|---|---|---|
| Intermediate | Motif yoke + top-down granny body | DK #3 or light worsted #4 | 4.5–5.0 mm after swatching | Relaxed adult poncho |
Materials and Tools
Yarn
- Warm Cream — DK or light worsted — neckline, accents and selected stripes
- Dusty Rose — same weight — upper and middle body stripes
- Caramel / Camel — same weight — floral motifs and body
- Chocolate Brown — same weight — lower contrast bands
- Medium Brown — same weight — edging and fringe
Keep all colors within the same yarn family or test them together. Equal yarn-weight labels do not guarantee equal gauge.
Tools
- 4.5–5.0 mm crochet hook after swatching
- Yarn needle
- Scissors
- Locking stitch markers
- Measuring tape
- Blocking mats and pins
- Cardboard fringe gauge, approximately 15–18 cm long
Abbreviations
- MR — magic ring
- ch — chain
- sc — single crochet
- hdc — half double crochet
- dc — double crochet
- sl st — slip stitch
- sp — space
- st/sts — stitch/stitches
- RS — right side
- WS — wrong side
Gauge and Sizing
Garment measurements matter more than a fixed stitch count. Make one complete floral square first, wash or steam it according to the fiber, then measure it without stretching.
A practical target for this design is a blocked square measuring approximately 9–11 cm. The exact measurement becomes the basis for the yoke.
Before extending the body, check three dimensions:
- Neck opening sits comfortably over the head.
- Shoulder section reaches beyond the shoulder line.
- Front point is centered over the torso.
For an adult version, a neckline circumference around 55–60 cm is a useful starting range, but head circumference and preferred fit should control the final measurement.
Floral Granny Square Motif
Make enough squares to surround the neckline and create the desired shoulder arrangement.
Round 1 — Flower Center
With caramel or chocolate brown, make an MR.
R1: Ch 3, work 11 dc into MR. Join with sl st. (12 dc)
Fasten off.
Round 2 — Petal Clusters
Join dusty rose or caramel between two stitches.
R2: Ch 3, 2 dc in same space, ch 1, *3 dc in next space, ch 1*. Repeat around. Join.
The round creates a compact floral ring rather than a large dimensional flower.
Round 3 — Beginning the Square
Join cream in a ch-1 space.
R3: Work granny clusters around, creating four evenly spaced corners.
At each corner work:
(3 dc, ch 2, 3 dc)
Work 3 dc in each regular space between corners.
Join with sl st.
Round 4 — Contrast Frame
Change to dusty rose or medium brown.
Work one granny cluster in each space.
At every corner work:
(3 dc, ch 2, 3 dc)
Join and fasten off.
Block the motif square. Record its exact finished dimensions before making the remaining motifs.
Planning the Square Yoke
The photographed poncho uses decorative squares primarily across the upper chest and shoulder area rather than covering the entire garment with individual motifs.
Arrange the finished squares around the neckline on a flat surface.
Keep one corner or diagonal line directed toward the center front. Mirror the arrangement at the back.
The exact number of motifs depends on their blocked size and the wearer’s measurements.
Do not join the complete yoke until the arrangement can pass comfortably over the wearer’s head.
Joining the Granny Squares
Place neighboring motifs with right sides facing.
Using dusty rose or the chosen joining color, slip stitch through corresponding back loops.
Work from one corner to the next without pulling the seam tighter than the motifs themselves.
Alternatively, use mattress stitch for a flatter seam.
Once the upper panel is assembled, place it around the shoulders and verify the neckline.
Neckline Foundation
Join cream at the back neckline.
Round 1: Sc evenly around the opening. Where two motifs meet, work one sc into the seam rather than adding several stitches into the same point.
Round 2: Ch 2, hdc in each st around. Join.
Round 3: Sc in each st around.
Fasten off if the neckline is stable.
If the opening feels loose, work one additional sc round with several decreases distributed evenly. Do not place all decreases at the back neck.
Transition from Motifs to the Poncho Body
Turn the yoke so the intended front and back points are clearly identified.
Place one marker at the center front and one at the center back.
These two markers control every body increase.
Join the next body color along one side.
Work granny clusters evenly around the lower edge of the yoke.
A standard granny cluster is:
3 dc in the same space.
Separate adjacent clusters with ch 1.
First Granny Body Round
Round 1: Ch 3 and work 2 dc in the starting space. Ch 1.
Continue with 3 dc, ch 1 in each available space.
At the marked front point work:
(3 dc, ch 2, 3 dc)
Continue across the second half.
At the marked back point work:
(3 dc, ch 2, 3 dc)
Complete the round and join.
Continuing the Granny Stitch Body
Round 2: Sl st to the next ch-1 space. Ch 3, 2 dc in the same space, ch 1.
Work 3 dc in every ch-1 space, with ch 1 between clusters.
At both the front and back ch-2 point spaces work:
(3 dc, ch 2, 3 dc)
Repeat this round for the remainder of the body.
Each new round increases naturally at the two points while the side edges remain draped over the arms.
Suggested Color Sequence
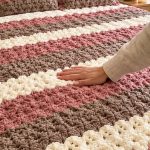
The photograph uses irregular-looking earth-tone bands rather than strict one-row stripes. A balanced sequence can be constructed as follows:
- 3 rounds dusty rose
- 2 rounds cream
- 3 rounds caramel
- 1 round cream
- 4 rounds dusty rose
- 2 rounds caramel
- 1 round cream
- 4 rounds chocolate brown
- 2 rounds dusty rose
- 1 round cream
- 3 rounds medium brown
Repeat or rearrange these blocks according to the required length.
Avoid changing color at the front point. Place transitions near the back or along a side where the joins are less visible.
Adding Narrow Structural Lines
The photographed design includes several thin lines separating broader granny sections.
After any granny round, change color and work:
Round A: Ch 1, sc in each dc and one sc in each ch-1 space. At front and back points work (sc, ch 2, sc).
Round B: Return to granny stitch, placing clusters evenly across the sc round and maintaining the two marked point increases.
These compact rounds sharpen the color divisions and reduce excessive vertical stretch.
Adjusting the Length
Measure from the shoulder to the front point while the poncho is hanging naturally.
A shorter hip-length version may finish around 55–60 cm from shoulder to point.
A longer version can reach approximately 65–75 cm before fringe.
These are target ranges rather than fixed garment measurements.
Remember that fringe visually adds length. Stop the crocheted body earlier if using long fringe.
Checking the Width
Spread both arms slightly while wearing the unfinished poncho.
The side edge should cover the upper arm without restricting movement.
If the body is long enough but the sides remain too narrow, simply continuing the standard rounds increases both dimensions simultaneously.
If additional width without much extra front length is required, add several partial rows across the side sections rather than continuing full rounds.
Final Stabilizing Round
Use medium brown or dusty rose.
Round 1: Sc evenly around the entire lower edge.
At the front and back points work:
(sc, ch 2, sc)
Round 2: Hdc in each st around. Work (2 hdc, ch 2, 2 hdc) at both points.
Round 3: Sc in each st around.
This creates a stable foundation for fringe.
Fringe
Cut strands approximately 22–26 cm long if a finished fringe near 10–12 cm is desired after folding and trimming.
For each fringe group:
- Hold two or three strands together.
- Fold them in half.
- Insert the hook through one edge stitch.
- Pull the folded loop through.
- Pass all loose ends through the loop.
- Pull the knot snug against the border without distorting the stitch.
Space fringe groups approximately 1.5–2 cm apart.
At the front and back points, place one group directly into the point space so the center line remains visually defined.
Steam or lightly dampen the fringe before trimming it to one consistent length.
Optional Denser Lower Bands
For a warmer version, replace selected open granny rounds with hdc rounds.
Work one hdc into each stitch and ch space while maintaining the front and back increases.
This produces a denser horizontal stripe similar to the compact sections visible near the lower portion of the photographed poncho.
Made-to-Measure Sizing Method
Rather than relying on a generic S/M/L label, calculate the garment from three measurements:
- Head circumference
- Shoulder width
- Shoulder-to-desired-front-point length
The finished neckline must exceed the head measurement enough to pass over it comfortably.
Once the yoke fits, continue body rounds until the shoulder-to-point measurement reaches the target.
This approach also accommodates differences in yarn gauge without rewriting the entire poncho.
Yarn Quantity
For a multicolor garment, calculate yarn consumption from the actual project rather than assuming every adult poncho requires the same amount.
Make the yoke plus four complete body rounds.
Weigh the work or record the change in each yarn ball.
Estimate the remaining number of rounds and multiply the average consumption accordingly.
Add approximately 10–15% for the neckline, final edging, fringe, swatching and color matching.
Fringe can consume considerably more yarn than expected, particularly when three strands are attached to every edge position.
Alternative Color Palettes
Autumn
Use cream, burnt orange, camel and deep chocolate.
Soft Neutral
Combine ivory, oatmeal, mushroom and taupe.
Desert Rose
Use blush, dusty rose, warm beige and burgundy.
Forest
Combine cream, sage, olive and dark brown.
Keep at least one light color in the sequence. Without contrast, the floral yoke and open granny structure become less distinct.
Blocking the Poncho
Block the motif yoke before beginning the long body section.
Block the completed garment a second time before attaching fringe.
Place the poncho flat with the front and back points aligned.
Measure from the neckline to each point. A difference greater than approximately 1 cm should be corrected before the fringe is added.
Shape the side edges without stretching the open granny spaces into elongated rectangles.
Assembly
- Make one floral granny square, block it and record its exact dimensions before duplicating the motif.
- Crochet enough matching squares for the planned upper yoke, keeping the final round and corner counts identical.
- Arrange the motifs around the neckline and shoulders, then test the opening before permanently joining the final seam.
- Join the squares with a relaxed slip-stitch or mattress-stitch seam and work the cream neckline rounds.
- Mark the exact center front and center back; keep these markers in place throughout body construction.
- Establish the first granny-stitch body round and work a two-cluster increase at both marked points on every full round.
- Continue the earth-tone color sequence, inserting compact sc rounds where a sharper horizontal division is required.
- Stop when the shoulder-to-front-point length reaches the intended measurement, remembering that fringe adds visible length.
- Work the final stabilizing rounds, block the complete poncho and confirm that the front and back points hang on the same vertical line.
- Attach evenly measured fringe groups, trim the lower edge and weave every yarn tail into a matching color section.
The completed garment should hang from a stable square-inspired yoke with centered front and back points, open granny-stitch sides and an evenly trimmed fringe edge.
7 Technical Tips
- Neck opening will not pass over the head: test the joined motif ring before adding the body. The opening needs enough finished circumference for the wearer’s head without relying on aggressive stretching.
- Front point drifts sideways: the increase marker has moved between rounds. Keep one locking marker inside the same ch-2 front point and move it only after completing each round.
- Granny rows begin rippling: extra clusters have been inserted into ordinary spaces. Only the designated front and back point spaces receive two clusters separated by ch 2.
- Shoulder yoke becomes stiff: the motif joining seam is too tight. A joined edge should remain approximately the same length as the two blocked square edges before seaming.
- Color-change seam becomes obvious: transitions are being made at the front point. Move color changes to the back half of the garment and weave tails horizontally into the matching stripe.
- Lower edge stretches after fringe is attached: fringe groups are too heavy or too closely spaced. Start with two strands per group at approximately 1.5–2 cm intervals and assess the edge before adding more.
- Front and back finish at different lengths: one increase point has missed a round. Measure neckline-to-point distance on both sides before the final border; correct the short section before adding fringe.
Care
Wash according to the yarn manufacturer’s instructions. Support the garment when wet because the open granny body can lengthen under its own weight.
Dry flat with the front and back points shaped symmetrically. Straighten the fringe while damp and trim only after the garment has dried completely.
Conclusion
This earth-tone granny square crochet poncho pattern depends on three measurements: the blocked motif, the finished neckline and the shoulder-to-point length. Make the floral yoke first, confirm that it fits over the head, then build the striped granny body around fixed front and back increase points. Finish with a compact border before adding the brown fringe so the lower edge remains stable. For the next step, crochet and block one test square in the four chosen colors before purchasing the full yarn quantity. Share the finished poncho on Pinterest or Instagram with #EarthToneGrannyPoncho. Would you keep the dusty-rose sections shown here, or replace them with burnt orange for a stronger autumn version?