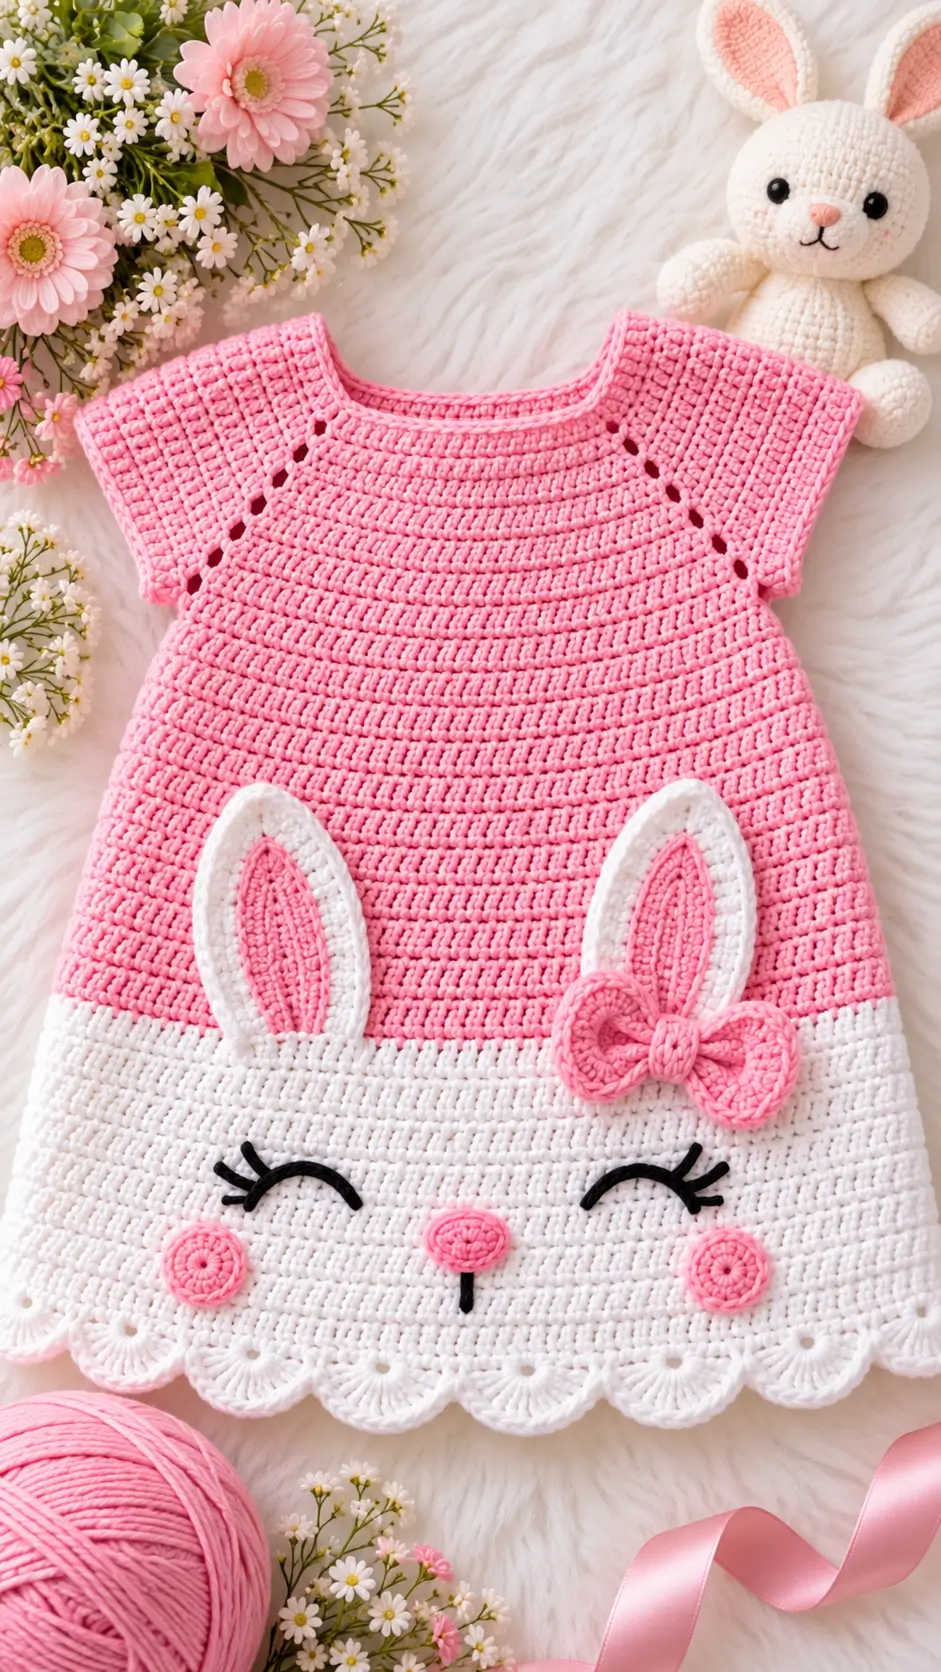
A rabbit loses its identity quickly when its ears are shortened or mounted too far apart. This bunny amigurumi crochet pattern builds those ears first into the design proportions, then balances them with a 36-stitch head and compact seated body. Use Sport cotton, a 2.5 mm hook and 8 mm eyes for an approximately 20 cm rabbit. Intermediate beginners can use the project to practice controlled shaping and symmetrical assembly.
The Design: What Makes This Bunny Different
The photographed rabbit depends on three structural decisions. First, the head is deliberately wider than the upper body, producing the compact juvenile proportion visible in the reference. Second, the ears stand vertically rather than dropping from the sides; a narrow base reduces twisting while separate pink panels reproduce the two-color construction. Third, the back legs are rounded and attached low, creating a stable seated silhouette rather than a long-legged standing rabbit.
A common mistake in a crochet bunny pattern is placing the ears at the extreme sides of the head. That makes the head appear wider and less rabbit-like. Mounting them closer to the crown keeps the face visually centered. The same proportion matters in an amigurumi rabbit pattern with oversized eyes: too much space between eyes and nose stretches the muzzle and changes the character.
Project Info at a Glance
| Skill Level | Time | Finished Size | Hook | Best For |
|---|---|---|---|---|
| Intermediate beginner | 4–6 hours | Approx. 20 cm including ears | 2.5 mm | Nursery décor, seasonal display, handmade toy |
Materials and Tools
Yarn
- Cream — Sport/fine cotton — approximately 60 g — Schachenmayr Catania, YarnArt Jeans or comparable smooth cotton.
- Pale pink — Sport/fine cotton — approximately 2–5 g for inner ears and nose.
- Black — embroidery floss or fine cotton — less than 1 g for the mouth.
Tools
- 2.5 mm crochet hook
- 8 mm safety eyes — one pair
- Polyester stuffing
- Yarn needle
- Stitch markers
- Pins
- Scissors
- Black embroidery needle
Safety note: For an item intended for a baby or very young child, replace safety eyes with firmly embroidered eyes.
Abbreviations
- MR — magic ring
- sc — single crochet
- inc — two single crochets in one stitch
- dec — decrease
- sl st — slip stitch
- ch — chain
- BLO — back loop only
- st/sts — stitch/stitches
For an invisible decrease, insert the hook through the front loops of the next two stitches, yarn over, draw through both front loops, then complete one single crochet.
Pattern — Step by Step
Construction note: Work in a continuous spiral unless a section states otherwise. Place a stitch marker in the first stitch of each round and move it after every completed round.
Head
Yarn: cream. Standard six-stitch amigurumi shaping.
R1: 6 sc in MR (6)
R2: inc ×6 (12)
R3: (1 sc, inc) ×6 (18)
R4: (2 sc, inc) ×6 (24)
R5: (3 sc, inc) ×6 (30)
R6: (4 sc, inc) ×6 (36)
R7: sc around (36)
R8: sc around (36)
R9: sc around (36)
R10: sc around (36)
R11: sc around (36)
R12: sc around (36)
R13: sc around (36)
Insert the 8 mm safety eyes between R9 and R10, approximately 7–8 stitches apart. Check the position from the front before attaching the washers.
R14: sc around (36)
R15: (4 sc, dec) ×6 (30)
R16: (3 sc, dec) ×6 (24)
Stuff the upper and side areas evenly before the opening becomes narrow.
R17: (2 sc, dec) ×6 (18)
R18: (1 sc, dec) ×6 (12)
Add the final stuffing. Keep the base slightly flatter than the crown.
R19: dec ×6 (6)
Fasten off. Close the remaining opening and weave in the tail.
Body
Yarn: cream.
R1: 6 sc in MR (6)
R2: inc ×6 (12)
R3: (1 sc, inc) ×6 (18)
R4: (2 sc, inc) ×6 (24)
R5: (3 sc, inc) ×6 (30)
R6: sc around (30)
R7: sc around (30)
R8: sc around (30)
R9: sc around (30)
R10: sc around (30)
R11: (3 sc, dec) ×6 (24)
R12: sc around (24)
R13: sc around (24)
R14: (2 sc, dec) ×6 (18)
R15: sc around (18)
R16: sc around (18)
R17: (1 sc, dec) ×6 (12)
Stuff firmly at the base and moderately at the neck.
R18: dec ×6 (6)
Fasten off. Leave a 25 cm tail for attaching the body to the head.
Arms / Front Legs — Make 2
Yarn: cream.
R1: 6 sc in MR (6)
R2: inc ×6 (12)
R3: sc around (12)
R4: sc around (12)
R5: (1 sc, dec) ×4 (8)
R6: sc around (8)
R7: sc around (8)
R8: sc around (8)
R9: sc around (8)
Stuff only the lower half. Leaving the shoulder unstuffed allows the arm to lie naturally against the body.
Flatten the opening and crochet 4 sc through both layers (4).
Fasten off. Leave a 20 cm sewing tail.
Back Legs — Make 2
Yarn: cream.
R1: 6 sc in MR (6)
R2: inc ×6 (12)
R3: (1 sc, inc) ×6 (18)
R4: sc around (18)
R5: sc around (18)
R6: (1 sc, dec) ×6 (12)
R7: sc around (12)
Stuff the leg, concentrating filling toward the front of the paw.
R8: dec ×6 (6)
Fasten off. Leave a 25 cm tail.
Outer Ears — Make 2
Yarn: cream.
R1: 6 sc in MR (6)
R2: inc ×6 (12)
R3: sc around (12)
R4: sc around (12)
R5: sc around (12)
R6: sc around (12)
R7: sc around (12)
R8: sc around (12)
R9: sc around (12)
R10: sc around (12)
R11: sc around (12)
R12: sc around (12)
R13: (1 sc, dec) ×4 (8)
R14: sc around (8)
R15: sc around (8)
R16: sc around (8)
Do not stuff the ears. Flatten each ear so the decrease line sits toward the back.
Fasten off. Leave a 25 cm tail for sewing.
Pink Inner Ears — Make 2
Yarn: pale pink.
Ch 10.
Row 1: Starting in second ch from hook, 9 sc (9)
Row 2: ch 1, turn, 9 sc (9)
Row 3: ch 1, turn, dec, 5 sc, dec (7)
Row 4: ch 1, turn, 7 sc (7)
Row 5: ch 1, turn, dec, 3 sc, dec (5)
Row 6: ch 1, turn, 5 sc (5)
Row 7: ch 1, turn, dec, 1 sc, dec (3)
Row 8: ch 1, turn, dec, 1 sc (2)
Fasten off. Leave a 20 cm tail.
Position each pink panel centrally on the front of a cream ear. Leave an even cream border visible around the pink section before sewing it in place.
Tail
Yarn: cream.
R1: 6 sc in MR (6)
R2: inc ×6 (12)
R3: (1 sc, inc) ×6 (18)
R4: sc around (18)
R5: (1 sc, dec) ×6 (12)
Stuff lightly.
R6: dec ×6 (6)
Fasten off. Leave a 20 cm sewing tail.
Cheek Patches — Make 2
Yarn: pale pink.
R1: 6 sc in MR (6)
R2: inc ×6 (12)
Sl st into the next stitch. Fasten off and leave a 15 cm tail.
For subtler cheeks closer to the reference bunny, omit the circles and use a small amount of pink yarn embroidery beneath each eye instead.
Nose
Yarn: pale pink.
R1: 6 sc in MR (6)
R2: inc ×6 (12)
Fasten off and flatten the circle into a small horizontal oval while sewing. Pinch the lower edge slightly to form the compact pink nose.
Using black embroidery floss, work one short vertical line below the nose. Add two small curved mouth lines from the bottom of that line.
Optional Pink Ear Bow
The bunny in the reference is unadorned, but a bow can be added if a more decorative version is required.
Yarn: pale pink.
Ch 16 and join with sl st, taking care not to twist.
R1: 16 sc around (16)
R2: 16 sc around (16)
R3: 16 sc around (16)
R4: 16 sc around (16)
Fasten off and flatten the tube. Wrap a separate pink strand around the center six to eight times to form the bow shape, then secure the strand at the back.
How to Assemble the Crochet Bunny
- Pin the head centrally over the narrow top of the body. Sew around the neck twice, catching one full stitch from each piece on every pass.
- Check the body from the front before securing the final knot. The widest body round should sit directly beneath the center of the face.
- Complete the face before attaching the ears. Keep the nose centered between the eyes and position both cheek details at equal distances from the mouth.
- Pin the arms approximately two rounds below the neck seam. Angle their lower ends slightly toward the front.
- Attach the back legs low on the body. Place the bunny on a flat surface while pinning so both paws contact the surface at the same height.
- Sew each pink inner-ear panel onto the flattened front of its cream outer ear using small matching stitches.
- Attach the ears to the crown. Keep a narrow gap between their bases and inspect their alignment from the front and side before sewing permanently.
- Sew the tail to the center back at the lower third of the body. Keep its lowest edge above the sitting surface.
- Attach the optional bow beside one ear rather than across both ear bases so the upright ears remain structurally independent.
- Weave every remaining yarn tail through several internal stitches before trimming. The completed rabbit should sit without the head rotating, either ear collapsing outward or one rear paw lifting from the surface.
7 Technical Tips for Better Bunny Amigurumi
- Mark every round. Move the stitch marker after each completed round. Being one stitch out by R15 of the head shifts the six decreases and can create a diagonal shaping ridge.
- Check neck stuffing. Fill the upper 2 cm of the body firmly enough that finger pressure does not collapse the neck opening. An under-stuffed neck allows the 36-stitch head to tilt after assembly.
- Use invisible decreases. Work head and body decreases through the front loops when using smooth cotton. A conventional two-loop decrease can produce six visible gaps around each decrease round.
- Install the eyes early. Attach the 8 mm eyes before reducing the head below 24 stitches. After R17, reaching the correct washer position inside the head becomes considerably harder.
- Control crochet tension. Sport cotton worked with the 2.5 mm hook should create fabric dense enough that stuffing cannot be seen when the piece is lightly stretched. If gaps remain visible, test a hook 0.25–0.5 mm smaller.
- Measure ear placement. Measure both ear bases from the centerline of the face before sewing. A placement difference of about 5 mm becomes conspicuous because the ears are long and vertical.
- Keep long sewing tails. Leave at least 15–25 cm on structural pieces such as the ears, legs and head. Short yarn tails make it difficult to secure seams through several internal stitches.
Finishing the Bunny
Finish the rabbit by checking three measurements: equal ear height, equal paw contact with the sitting surface, and a centered nose beneath the eyes. Those details control the likeness more than additional decoration.
Before starting another bunny amigurumi crochet pattern, record the yarn, hook size and finished height from this version so later rabbits can be scaled consistently. Photograph the finished bunny from both the front and side; the side view exposes neck tilt and uneven leg placement that a front image can hide.
Save the finished bunny to Pinterest or share your version on Instagram with #PinkEarBunny. For your next rabbit, would you keep both ears upright or modify one ear so it folds forward?









