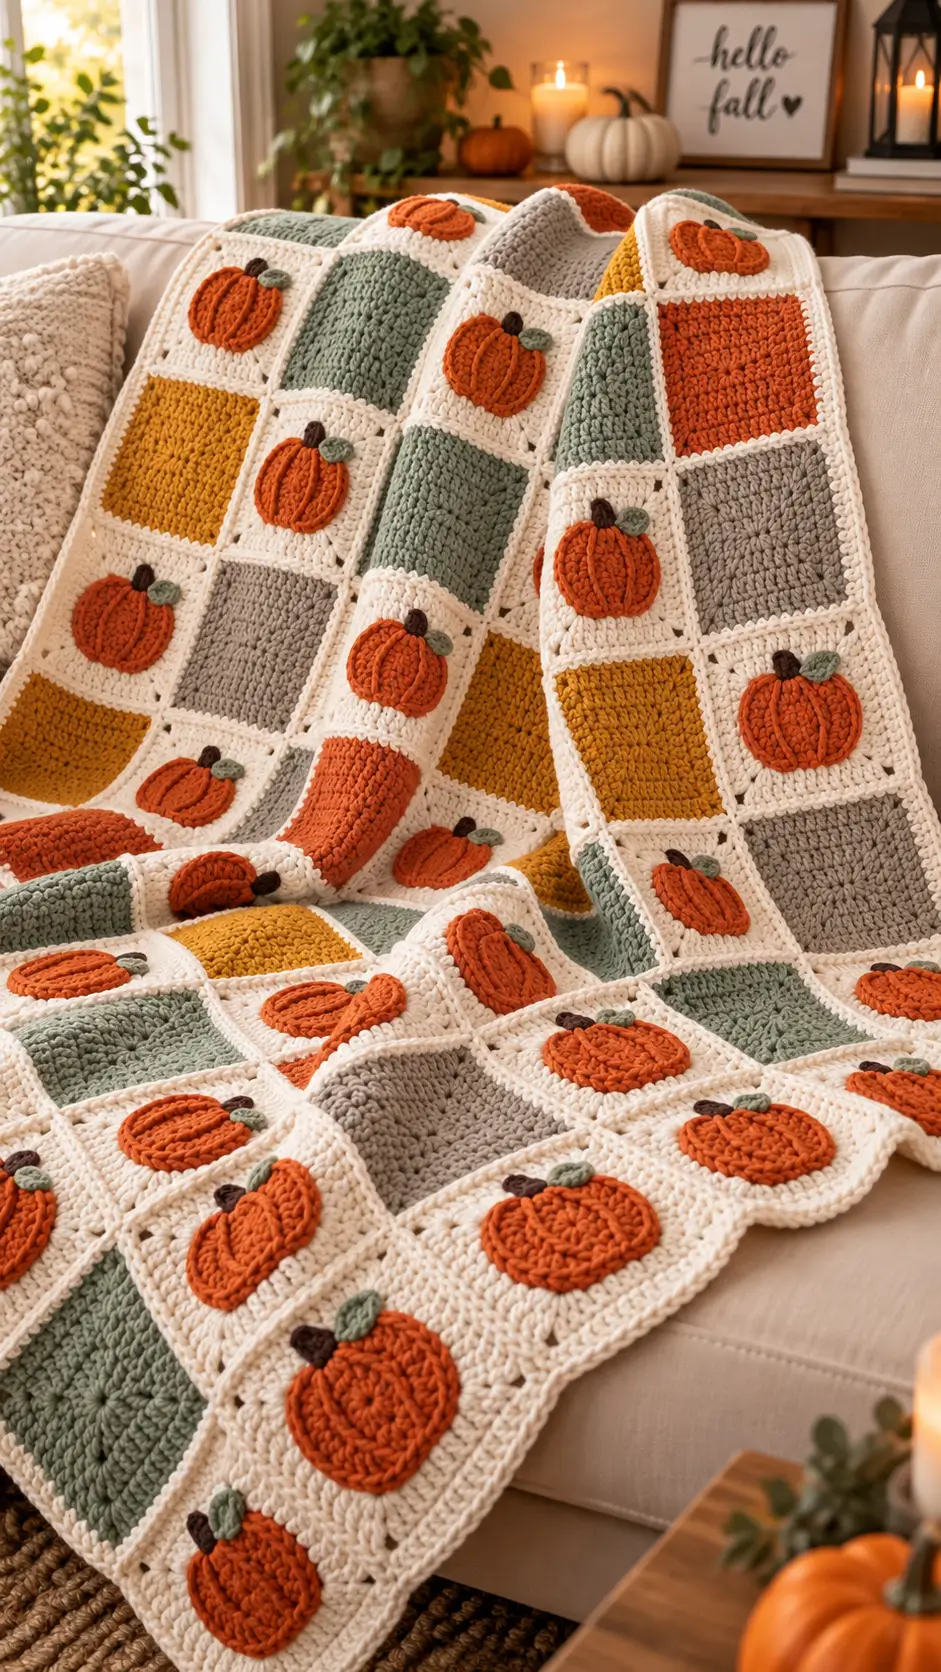
Pumpkin ribs have to remain visible after the motif is sewn flat, which is the defining construction problem in this pumpkin granny square blanket. This version uses worsted-weight yarn, a 4 mm hook, dimensional appliqués, and approximately 10–14 cm blocks depending on gauge. The project suits intermediate crocheters. Modular construction also lets you replace or reposition individual squares before joining the complete throw.
The Design: What Makes This Pumpkin Blanket Different
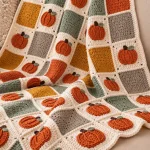
The blanket relies on three structural decisions. First, the pumpkins sit above the cream fabric instead of being formed only through color changes. That creates the pronounced ribs visible across each orange motif.
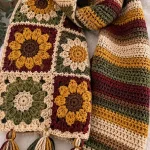
Second, pumpkin blocks alternate with solid sage, mustard, orange, and gray squares. This prevents the crochet pumpkin blanket from becoming a continuous field of identical motifs while keeping the autumn palette consistent.
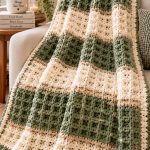
Cream joining yarn is the third decision. It creates a visible grid and connects the border visually to every block. A common mistake in an autumn granny square blanket is joining squares before blocking them to a common measurement. Even small differences multiply across a long row. Choose one finished block dimension, block every component to it, and only then assemble the grid.
Project Info at a Glance
| Skill Level | Time | Finished Size | Hook | Best For |
|---|---|---|---|---|
| Intermediate | Multi-session blanket project | Custom; approximately 10–14 cm per square | 4.0 mm | Throws, autumn décor, modular blankets |
Materials and Tools
Yarn
The photographed blanket uses a coordinated autumn palette. Worsted-weight yarn is a practical choice for reproducing its dense, substantial surface.
- Cream — worsted weight — quantity based on final blanket dimensions — smooth cotton or acrylic
- Burnt orange — worsted weight — for pumpkins and solid blocks
- Sage green — worsted weight — for leaves and solid blocks
- Mustard/gold — worsted weight — for solid blocks
- Warm gray/taupe — worsted weight — for solid blocks
- Dark brown — worsted weight — small quantity for stems
Yarn requirements depend on the final blanket dimensions, individual square size, gauge, and fiber. Make a sample square before purchasing the complete quantity for a large throw.
Tools
- 4.0 mm crochet hook
- Tapestry needle
- Stitch markers
- Scissors
- Blocking mats
- Rust-resistant blocking pins
- Tape measure
- Optional row counter
Safety eyes and stuffing are unnecessary because this is a flat textile rather than amigurumi.
Abbreviations
- MR — magic ring
- sc — single crochet
- hdc — half double crochet
- dc — double crochet
- inc — increase
- dec — decrease
- sl st — slip stitch
- ch — chain
- BLO — back loop only
- st/sts — stitch/stitches
An invisible decrease is primarily an amigurumi technique and is not required for the blanket construction below.
Pumpkin Granny Square Blanket Pattern
Work the individual squares first and join them after blocking. Keep the same yarn weight, hook size, and tension across the project so the solid blocks and pumpkin blocks finish at matching dimensions.
Solid Granny Square
Yarn: sage green, mustard, burnt orange, or warm gray.
Make enough solid blocks to alternate with the cream pumpkin squares in your chosen blanket layout.
R1: Make an MR. Ch 3, 2 dc, ch 2; repeat (3 dc, ch 2) three more times. Join with sl st.
R2: Sl st to the corner. Ch 3, 2 dc, ch 2, 3 dc in the same corner. Repeat ch 1, (3 dc, ch 2, 3 dc) in the next corner around. Ch 1 and join.
R3: Sl st to the corner. Work (3 dc, ch 2, 3 dc) in each corner. Work 3 dc into each side ch-1 space, placing ch 1 between groups.
R4: Repeat the established granny-square sequence, adding one additional side cluster on each side.
Continue in the same manner if a larger square is required. Measure rather than relying only on the round number.
Fasten off. Leave approximately a 15 cm tail for weaving.
Cream Background Square
Yarn: cream.
Use the same construction as the solid granny square. Matching the structure helps maintain compatible edge counts when the blanket is assembled.
R1: Make an MR and form four 3-dc clusters separated by ch-2 corner spaces.
R2: Increase at all four corners with (3 dc, ch 2, 3 dc).
R3: Add one 3-dc cluster in each available side space while maintaining the corner groups.
R4: Continue the established square pattern, adding another cluster to each side.
Continue until the cream block reaches the same dimensions as the solid blocks.
Fasten off and weave in the yarn tail. Block the square before attaching the dimensional pumpkin if maximum relief is desired.
Ribbed Pumpkin Appliqué
Yarn: burnt orange.
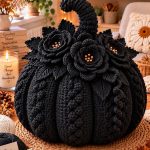
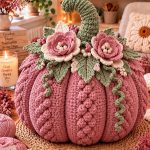
The pumpkin is constructed as a small ribbed panel. Working into the back loops creates the raised vertical channels that give the motif its segmented pumpkin appearance.
Row 1: Ch 8. Starting in the second ch from the hook, sc 7. (7)
Row 2: Ch 1 and turn. Work 7 sc BLO. (7)
Row 3: Ch 1 and turn. Work 7 sc BLO. (7)
Row 4: Ch 1 and turn. Work 7 sc BLO. (7)
Row 5: Ch 1 and turn. Work 7 sc BLO. (7)
Row 6: Ch 1 and turn. Work 7 sc BLO. (7)
Row 7: Ch 1 and turn. Work 7 sc BLO. (7)
Fasten off with a long tail.
Bring the first and final rows together and seam them. Flatten the resulting ribbed loop with the seam positioned at the back.
Shape the piece into a low oval pumpkin. Keep the ribs visible rather than stretching the fabric completely flat.
If a firmer sewing edge is needed, work approximately 24 sc evenly around the outer pumpkin edge.
Leave approximately a 30 cm orange tail for attaching the pumpkin to the cream square.
Pumpkin Stem
Yarn: dark brown.
Row 1: Ch 4.
Row 2: Beginning in the second ch from the hook, sl st into each of the next 3 ch. (3)
Fasten off, leaving approximately a 15 cm sewing tail.
Sage Leaf
Yarn: sage green.
Row 1: Ch 5. Beginning in the second ch from the hook, work 1 sl st, 1 sc, 1 hdc, and 3 hdc in the final ch.
Rotate the foundation chain and work along the opposite side: 1 hdc, 1 sc, 1 sl st.
Fasten off, leaving approximately a 15 cm tail for sewing.
Keep the leaf small in relation to the pumpkin. A finished width of roughly one quarter to one third of the pumpkin width maintains the proportions visible in the blanket.
Assembling the Pumpkin Motif
Place one orange pumpkin in the center of a cream square. Check its position vertically and horizontally before sewing.
Pin the pumpkin at the top, bottom, left, and right. Sew around its outside edge while keeping the raised ribs free. Stitching directly through every rib will compress the texture.
Position the brown stem behind the upper edge of the pumpkin. Sew it securely to the cream background.
Place the sage leaf diagonally beside the stem. Tack around the edge of the leaf without pulling the center tightly against the square.
Repeat for each cream pumpkin block required by the blanket layout.
Planning the Blanket Layout
Arrange all completed squares on a clean, flat surface before joining them.
Alternate pumpkin motifs with solid sage, mustard, gray, and burnt-orange blocks. Avoid placing too many blocks of the same color directly beside one another unless a deliberate repeating pattern is planned.
Step back from the arrangement and check the color distribution by rows and columns. The orange pumpkins already carry substantial visual weight, so the solid orange blocks should be distributed carefully.
Photograph the final arrangement before joining. This provides a reference if the squares are moved during assembly.
Joining the Granny Squares
Yarn: cream.
The cream joining yarn is a visible part of this blanket design. It separates the autumn colors and creates the grid structure seen between the blocks.
Begin by joining individual squares into horizontal rows. Keep corresponding corners aligned.
A flat slip-stitch join produces a relatively restrained seam. Single crochet can be used when a stronger raised grid is preferred.
After completing each horizontal row, lay it flat and inspect the seam. Correct mismatched corners immediately rather than compensating for them in the next row.
Join the completed horizontal strips to form the full blanket.
At every four-square intersection, check that all four corners meet cleanly. Excess fabric at these points usually indicates inconsistent edge counts, tension, or seam placement.
Cream Outer Border
Yarn: cream.
Join cream yarn at any outer corner after every square has been assembled.
Border R1: Work evenly around all four sides. Maintain a consistent number of stitches along equivalent square edges and place three stitches into each outer corner.
Border R2: Continue around the blanket using the established stitch pattern. Maintain identical corner increases at all four corners.
For a result close to the reference design, keep the border relatively narrow. The cream grid and raised pumpkins already supply substantial surface detail.
Fasten off. Weave the final tail through at least 5 cm of neighboring stitches before trimming.
Assembly
- Block every solid and cream background square to one target measurement.
- Place each orange pumpkin centrally on a cream block and pin its four outermost points.
- Sew around the pumpkin perimeter while leaving the raised ribs free from the background.
- Attach each brown stem behind the upper orange edge so its lower end is concealed.
- Position each sage leaf beside the stem and tack around its perimeter without flattening the center.
- Arrange all finished blocks and distribute sage, mustard, gray, orange, and pumpkin motifs across the planned grid.
- Join the blocks into horizontal rows with cream yarn, checking the seam after every square.
- Join the completed rows and inspect every four-square intersection for twisting or excess fabric.
- Crochet the narrow cream perimeter border, keeping corner increases identical at all four corners.
- Weave in the remaining tails, block according to the yarn care instructions, and measure the blanket after drying.
The completed blanket should lie flat while the pumpkin appliqués remain visibly raised above their cream background squares.
7 Technical Tips for a Better Pumpkin Granny Square Blanket
- Mark every corner before joining. A one-stitch offset at a square corner can produce a diagonal pull that becomes increasingly visible as additional blocks are attached.
- Do not stuff the pumpkin appliqués. Their relief comes from the BLO ribbing; fiberfill would produce rounded domes rather than the flatter segmented pumpkins shown in this design.
- Keep the pumpkin centered. Position its midpoint within approximately 5 mm of the measured center of the cream square so repeated motifs form orderly rows.
- Maintain consistent tension between colors. A 5–10 mm size difference between squares can accumulate into a substantial mismatch across a full blanket row.
- Block every square to one measurement. If the target is 10 cm, pin each finished block to 10 × 10 cm rather than judging the dimensions visually.
- Pin the appliqué at four points before sewing. Sewing an unpinned pumpkin can rotate the motif or stretch one side while the perimeter is being attached.
- Weave yarn tails through at least 5 cm of neighboring stitches. Short tails are more likely to work free at seams and dimensional appliqués where the fabric receives repeated movement.
Adjusting the Blanket Size
The modular construction makes the finished dimensions adjustable. Crochet one complete sample block, block it, and record its finished width before calculating the blanket layout.
For example, if each finished square measures 12 cm, a layout that is 10 squares wide will measure approximately 120 cm before allowing for joining and the outer border. A 12-square length would measure approximately 144 cm before those additions.
Calculate dimensions from your actual blocked square rather than relying on another maker’s gauge. Fiber, hook size, stitch tension, and blocking method can all change the final measurement.
Color Placement
Burnt orange should remain the dominant accent because it defines the pumpkin motifs. Cream provides the structural background, while sage, mustard, and gray separate the stronger orange areas.
Lay out every square before joining. If two orange solid blocks fall immediately beside heavily orange pumpkin blocks, move one of them to another position. The same check applies to large clusters of sage or mustard.
A deliberately irregular distribution works particularly well for this design. It maintains the patchwork appearance without requiring every row to repeat the same sequence.
Blocking and Finishing
Blocking is particularly important in a modular blanket. Individual squares that differ slightly can become difficult to join cleanly, even when their stitch counts appear similar.
Block the individual squares before assembly. After joining and adding the border, block the complete blanket again according to the yarn manufacturer’s care instructions.
Do not aggressively flatten the orange pumpkin appliqués during final blocking. The raised ribs are an intentional structural feature. Shape each pumpkin by hand while the blanket dries so the orange segments remain defined.
Conclusion
A pumpkin granny square blanket works best when the dimensional motif and the block grid are treated as separate construction problems. Standardize the square measurement first, make the ribbed pumpkins independently, and attach them only after the cream backgrounds have been checked for size. Your next step is to crochet one cream block, one solid block, and one pumpkin, then block that sample set before calculating the final quantity. Save the finished layout to Pinterest or share the completed grid on Instagram with #PumpkinGrannySquareBlanket. Which arrangement would you use: pumpkins in alternating columns or an irregular pumpkin distribution?