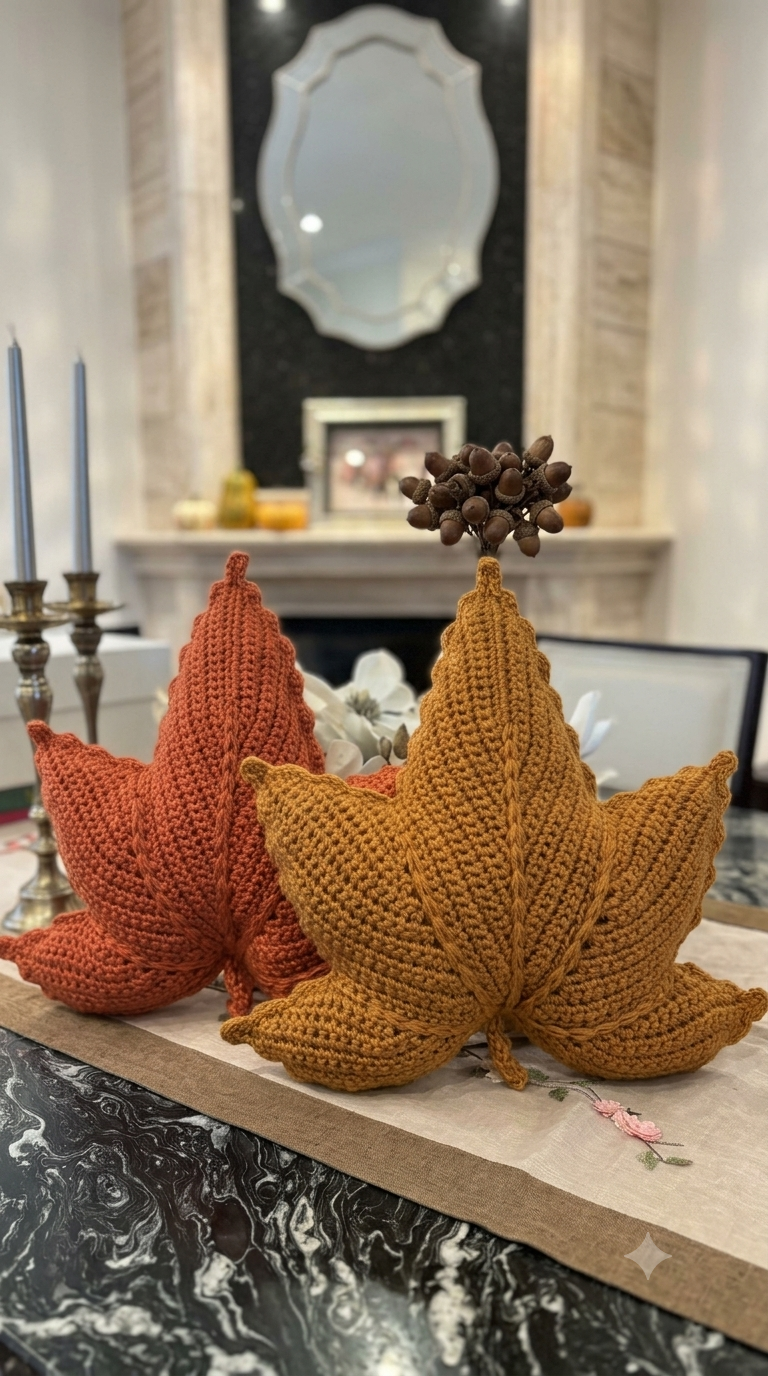
A pumpkin needs deep vertical furrows and a compressed base before its silhouette reads like the pointed gourd in the reference photo. This pumpkin amigurumi crochet pattern uses DK yarn, a 2.5 mm hook and six-part sculpting to produce an approximately 15 cm decorative piece. The project suits an advanced beginner familiar with continuous rounds. Its narrow footprint makes the finished pumpkin practical for table, mantel and shelf displays.
The Design: What Makes This Sculpted Pumpkin Different
The photographed pumpkin is taller than the conventional flattened crochet pumpkin, so the body needs more plain rounds relative to its diameter. A 36-stitch plateau keeps the adaptation medium-sized without turning the center into a broad sphere.
Second, the ribs are structural. Six evenly positioned strands pass vertically around the stuffed body and compress it into separate lobes. Equal tension matters because one overtightened strand produces a visibly narrower segment.
Finally, the top remains narrow beneath a short stem. That combination separates this ribbed crochet pumpkin from a simple stuffed ball and gives the crochet gourd pattern its elongated profile. The most common construction error is overstuffing before sculpting; excessive internal pressure makes the channels shallow.
Project Info at a Glance
| Skill Level | Time | Finished Size | Hook | Best For |
|---|---|---|---|---|
| Advanced beginner | 3–4 hours | Approx. 15 cm tall | 2.5 mm | Fall table and shelf decor |
The 15 cm measurement is a target for this photo-inspired version. Actual dimensions depend on yarn, gauge, stuffing and sculpting tension.
Materials and Tools
Yarn
- Burnt orange — DK/light — allow approximately 50 g for the project.
- Rust or ochre — DK/light — use as an alternative body color to reproduce the two-color display shown in the photograph.
- Matching orange or ochre yarn — reserve several long lengths for sculpting the pumpkin ribs.
The 50 g quantity is a practical working allowance rather than an exact consumption figure. Gauge, fiber type and final dimensions can change the amount required.
Tools
- 2.5 mm crochet hook
- Polyester stuffing
- Long tapestry needle
- Yarn needle
- 6 removable stitch markers
- Scissors
- Pins
No safety eyes are required because the photographed pumpkin has no face.
Abbreviations
- MR — magic ring
- sc — single crochet
- inc — 2 sc in one stitch
- dec — invisible decrease over 2 stitches
- sl st — slip stitch
- ch — chain
- BLO — back loop only
- st/sts — stitch/stitches
For an invisible decrease, insert the hook through the front loops of the next two stitches, yarn over and complete them as one single crochet.
Pumpkin Amigurumi Pattern — Step by Step
Work the pumpkin body in a continuous spiral unless another instruction is given. Place a stitch marker in the first stitch of every round.
Pumpkin Body
Yarn: burnt orange, rust or ochre DK.
R1: 6 sc in MR (6)
R2: inc ×6 (12)
R3: (1 sc, inc) ×6 (18)
R4: (2 sc, inc) ×6 (24)
R5: (3 sc, inc) ×6 (30)
R6: (4 sc, inc) ×6 (36)
R7: sc around (36)
R8: sc around (36)
R9: sc around (36)
R10: sc around (36)
R11: sc around (36)
R12: sc around (36)
R13: sc around (36)
R14: sc around (36)
R15: sc around (36)
R16: sc around (36)
R17: sc around (36)
R18: sc around (36)
Begin stuffing. Keep the center firm enough to retain height, but leave enough compression for the external sculpting strands.
R19: (4 sc, dec) ×6 (30)
R20: sc around (30)
R21: (3 sc, dec) ×6 (24)
R22: sc around (24)
Add more stuffing. Concentrate the filling through the vertical center instead of packing the outside wall rigidly.
R23: (2 sc, dec) ×6 (18)
R24: sc around (18)
R25: (1 sc, dec) ×6 (12)
Finish stuffing before completing the final round.
R26: dec ×6 (6)
Fasten off. Leave approximately 25 cm of yarn. Pass the tail through the front loops of the remaining six stitches and pull the opening closed.
The body intentionally uses a 36-stitch plateau. The extended sequence of even rounds creates the tall profile visible in the reference pumpkin rather than the flatter shape of a conventional crochet pumpkin.
Stem
Yarn: same color as the pumpkin body.
R1: 6 sc in MR (6)
R2: sc around (6)
R3: sc around (6)
R4: sc around (6)
R5: sc around (6)
R6: sc around (6)
Do not stuff the stem firmly. Insert only a very small amount of polyester filling if the stem collapses.
Fasten off and leave approximately 25 cm of yarn for sewing.
Sculpted Pumpkin Ribs
Use matching body yarn. Six channels divide the pumpkin into the pronounced sections visible in the reference photograph.
Cut a strand of matching yarn approximately 100 cm long and thread it onto a long tapestry needle.
Insert the needle through the bottom center of the pumpkin and bring it out immediately beside the top center. Carry the yarn vertically down the outside of the pumpkin and insert the needle through the bottom center again.
Pull the strand gradually until a visible groove forms.
Repeat the process around the body at approximately equal 60-degree intervals. Complete all six channels before tightening any individual channel to its final depth.
Inspect the pumpkin from above. The six sections should occupy approximately equal portions of the circumference.
If deeper ribs are required, pass the sculpting yarn through each channel for a second time.
Secure the shaping yarn at the bottom center and bury the remaining tail through the stuffed body.
Pointed Lobe Shaping
The pumpkin in the reference photograph differs from a conventional round pumpkin because each lower section extends into a slightly pointed lobe. This effect is produced with additional shaping rather than six separately crocheted pieces.
After completing the main channels, pinch one lower lobe between your fingers.
Insert a threaded tapestry needle approximately 15 mm from the lower center, catch several stitches on the surface of the lobe and return the needle toward the center.
Pull the yarn only until the section begins to angle outward.
Repeat around all six lobes. Check the pumpkin on a flat surface after every second section so the base does not become uneven.
The bottom center should remain sufficiently flat for the finished pumpkin to stand without support.
Optional Crochet Leaf
The reference photograph does not clearly show a leaf attached to the pumpkin. This component is therefore optional.
Yarn: green DK.
Foundation: ch 10.
Row 1: Starting in the second ch from the hook, work 3 sc, 3 hdc, 3 dc (9).
Rotate the work and crochet along the opposite side of the foundation chain.
Row 2: 3 dc, 3 hdc, 3 sc (9).
Sl st at the base.
Fasten off and leave approximately 20 cm of yarn if the leaf will be sewn beside the stem.
How to Assemble the Crochet Pumpkin
- Place the completed pumpkin body upright and identify the closed top and bottom centers.
- Mark six equally spaced rib positions around the widest section with removable stitch markers.
- Run the first long sculpting strand from the bottom center to the top center, down the outside and back through the body.
- Form all six vertical channels before tightening any single channel to its final depth.
- Adjust the stuffing through the fabric with the blunt end of the crochet hook if one lobe appears noticeably flatter than the others.
- Shape each lower lobe toward the base while maintaining approximately equal tension around the circumference.
- Position the stem directly over the six-stitch upper closure and pin it in place.
- Sew through the final-round stitches of the stem, taking small stitches into the pumpkin surface so the attachment remains narrow.
- If using the optional leaf, position it against one side of the stem after the stem has been secured.
- Pass every remaining yarn tail through the stuffed center, trim under slight tension and reshape the six lobes until the base sits level.
The completed pumpkin consists of one stuffed body, six sculpted channels, six pointed lower sections and one short central stem.
7 Technical Tips for Better Pumpkin Shaping
- Control marker drift. A misplaced round marker can shift the decrease points and create a diagonal line through the pumpkin. Move the marker immediately after completing the first stitch of every round.
- Avoid excessive stuffing. A body packed until the stitches spread will resist the sculpting yarn and produce shallow channels. The stuffed pumpkin should retain its height while remaining compressible under finger pressure.
- Use invisible decreases. Conventional decreases can produce horizontal gaps on the narrowing upper section. Working through the front loops keeps the decrease area less visible.
- Keep all six channels equal. One overtightened sculpting strand produces one narrow lobe and five wider sections. Mark all six positions first and tighten the channels progressively in two passes.
- Check the stem from several angles. A six-stitch stem can look centered from the front while leaning from the side. Pin it in place and inspect the pumpkin from four directions before sewing.
- Protect the flat base. Pulling the lower sculpting stitches too high can make the pumpkin rock instead of sitting flat. Keep the lower anchors approximately 15 mm from the central base and test stability while shaping.
- Bury sculpting tails deeply. Cutting a tail beside its knot can allow the channel to loosen. Pass each tail at least 4–5 cm through the stuffed body before trimming it under slight tension.
Adjusting the Pumpkin Size
The easiest way to alter the finished dimensions is to change yarn weight and hook size while keeping the basic shaping system intact. A finer yarn produces a smaller decorative pumpkin, while a heavier yarn increases both diameter and height.
For structural changes, alter the maximum stitch count in increments of six. A smaller version can stop increasing at 30 stitches. The medium version in this pattern reaches 36 stitches. A larger version can continue to 42 stitches before beginning its plateau rounds.
When changing the maximum circumference, adjust the number of plain rounds as well. Adding circumference without sufficient height creates a squat pumpkin; adding too many plain rounds creates an unusually narrow gourd.
Choosing Colors for a Pumpkin Set
The reference photograph uses two closely related autumn colors rather than identical pumpkins. One body is a deeper rust-orange, while the second is closer to mustard or ochre.
To reproduce that arrangement, crochet each pumpkin from the same yarn line and weight but change the color. Keeping fiber content, hook size and tension consistent reduces unintended size differences between the finished pieces.
A three-piece arrangement can use burnt orange, ochre and dark rust. Work all three bodies from the same stitch counts if matching dimensions are required, or remove two plateau rounds from one body to create controlled height variation.
Finishing the Ribbed Crochet Pumpkin
Check the six sculpting channels before cutting any shaping yarn. Correcting their depth at this stage is faster than reopening a finished stem attachment.
For a coordinated set, work the same pumpkin amigurumi crochet pattern in rust, ochre and burnt orange while keeping the yarn weight and hook constant. Photograph the finished pumpkins from the front and overhead to document the spacing between the six ribs.
Save the finished project to Pinterest or share it on Instagram with #SculptedPumpkinAmigurumi. For the next version, compare six pronounced lobes with eight narrower sections to determine which construction best reproduces the pointed pumpkin silhouette.









