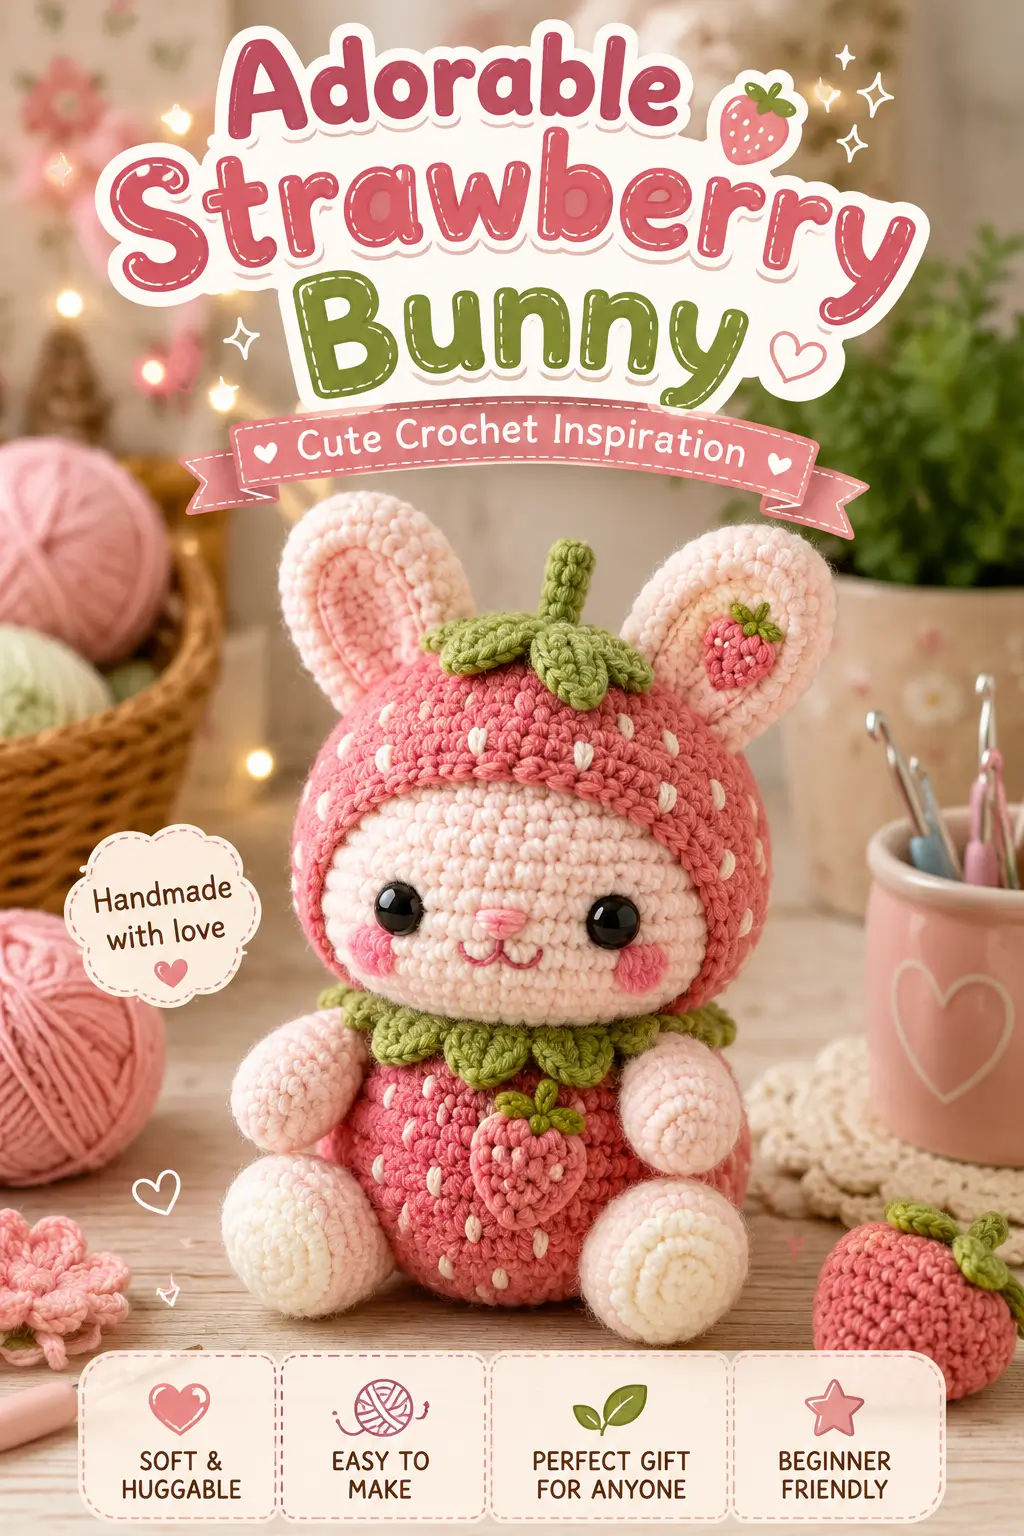
A rabbit under a mushroom cap needs the ears to break the silhouette without collapsing the brim. This mushroom bunny amigurumi uses DK-weight yarn, a 2.25 mm hook, and compact shaping to produce a small display piece at about 14 cm tall. The project suits an intermediate maker who wants controlled stitch counts, a stable cap edge, and a decorative basket base that works as spring shelf decor or nursery styling.
The Design: What Makes This Mushroom Bunny Different
This version works because three structures do different jobs. First, the head is nearly spherical, but the face is kept shallow so the nose can sit low and centered without pushing the safety eyes too far apart. Second, the mushroom cap is built as a separate dome with a flared brim. That flare matters. A flat edge reads like a hat. A rippled edge reads like a toadstool. Third, the basket is not just a prop. It hides part of the body, lowers the visible center of gravity, and keeps the piece upright on a shelf.
The ears also need a narrower base than a standard bunny ear. Wide ears force the cap upward and distort the top curve. One common mistake with mushroom rabbit crochet patterns is attaching the ears after the cap placement is fixed. That usually makes the brim buckle at the back. In most mushroom bunny amigurumi projects, the order of fitting matters more than the sewing itself.
Project Info at a Glance
| Skill Level | Time | Finished Size | Hook | Best For |
|---|---|---|---|---|
| Intermediate | 6–8 hours | Approx. 14 cm tall | 2.25 mm | Shelf decor, nursery styling, seasonal display |
Materials and Tools
Yarn
- Cream/white — DK — 45 g — for head, paws, ears, cap brim accents
- Red — DK — 25 g — for mushroom cap and mushroom appliqués
- Beige/oat — DK — 35 g — for basket
- Pink — DK — 8 g — for inner ears, cheeks, flower
- Leaf green — DK — 12 g — for grass and leaves
- Yellow — DK — scrap amount — for flower center
Tools
- Hook 2.25 mm
- Safety eyes 10 mm
- Polyester stuffing
- Tapestry needle
- Stitch markers
- Fine embroidery thread for nose detail
Abbreviations
MR = magic ring, sc = single crochet, inc = increase, dec = decrease, sl st = slip stitch, ch = chain, BLO = back loop only, FLO = front loop only, st = stitch, rep = repeat.
Use invisible decrease on all shaping rounds for the head, body, and cap so the decreases recess into the fabric instead of forming a ridged seam line.
Pattern — Step by Step
Work in a continuous spiral unless noted. Stitch counts are shown in parentheses at the end of each round.
Head
Yarn: cream
R1: 6 sc in MR (6)
R2: inc x6 (12)
R3: (sc, inc) x6 (18)
R4: (2 sc, inc) x6 (24)
R5: (3 sc, inc) x6 (30)
R6: (4 sc, inc) x6 (36)
R7–12: sc around (36)
R13: (4 sc, dec) x6 (30)
R14: (3 sc, dec) x6 (24)
R15: (2 sc, dec) x6 (18)
Insert 10 mm safety eyes between R9 and R10, spaced 8 stitches apart. Embroider the nose between the eyes, centered 2 rounds lower.
R16: (sc, dec) x6 (12)
Stuff firmly, with extra fill at the cheeks.
R17: dec x6 (6)
Fasten off. Close the opening. Leave a 20 cm tail if you prefer to sew the head to the body with the original closing strand.
Body
Yarn: cream
R1: 6 sc in MR (6)
R2: inc x6 (12)
R3: (sc, inc) x6 (18)
R4: (2 sc, inc) x6 (24)
R5: (3 sc, inc) x6 (30)
R6–9: sc around (30)
R10: (3 sc, dec) x6 (24)
R11: sc around (24)
R12: (2 sc, dec) x6 (18)
Stuff lightly. Much of the body will sit inside the basket, so avoid overfilling.
R13: (sc, dec) x6 (12)
Fasten off. Leave a 25 cm tail for sewing.
Front Paws (Make 2)
Yarn: cream
R1: 6 sc in MR (6)
R2: (sc, inc) x3 (9)
R3–4: sc around (9)
R5: (sc, dec) x3 (6)
Stuff very lightly. Flatten the opening. Fasten off and leave a 15 cm tail.
Back Feet (Make 2)
Yarn: cream
R1: 6 sc in MR (6)
R2: inc x6 (12)
R3–4: sc around (12)
R5: (sc, dec) x4 (8)
Stuff lightly. Flatten. Fasten off and leave a 15 cm tail.
Outer Ears (Make 2)
Yarn: cream
R1: 6 sc in MR (6)
R2: inc x6 (12)
R3: (sc, inc) x6 (18)
R4–6: sc around (18)
R7: (sc, dec) x6 (12)
R8–10: sc around (12)
Flatten and sc through both sides across the top opening to close. Do not stuff. Fasten off and leave a 20 cm tail.
Inner Ears (Make 2)
Yarn: soft pink
Ch 7.
Row 1: starting in second ch from hook, sc 5, 3 sc in last ch, continue on opposite side of chain, sc 4, inc in last st (14)
Row 2: inc, sc 4, 3 inc, sc 4, 2 inc (20)
Row 3: sc around (20)
Fasten off. Sew one inner ear panel to each outer ear, keeping a small cream border visible.
Mushroom Cap Dome
Yarn: red
R1: 6 sc in MR (6)
R2: inc x6 (12)
R3: (sc, inc) x6 (18)
R4: (2 sc, inc) x6 (24)
R5: (3 sc, inc) x6 (30)
R6: (4 sc, inc) x6 (36)
R7: (5 sc, inc) x6 (42)
R8–11: sc around (42)
R12: in BLO, sc around (42)
R13: (6 sc, inc) x6 (48)
R14: sc around (48)
Fasten off. Leave a short tail to weave in.
Mushroom Brim Ruffle
Yarn: cream
Join to FLO of R12 on the cap.
R1: (2 sc in next st, sc in next 2 sts) rep around (64)
R2: sl st around loosely (64)
Fasten off. Weave in ends. The loose slip-stitch edge keeps the brim crisp instead of tight.
Cap Spots (Make 6–7)
Yarn: cream
R1: 6 sc in MR (6)
R2: inc x6 (12)
Fasten off. Leave a tail for sewing. Make one larger top spot and several side spots. Stitch them to the cap after fitting the ears so placement stays balanced.
Cheek Patches (Make 2)
Yarn: pink
R1: 6 sc in MR (6)
R2: inc x6 (12)
Fasten off. Flatten lightly and sew below the eyes.
Basket Base
Yarn: beige
R1: 6 sc in MR (6)
R2: inc x6 (12)
R3: (sc, inc) x6 (18)
R4: (2 sc, inc) x6 (24)
R5: (3 sc, inc) x6 (30)
R6: (4 sc, inc) x6 (36)
R7: in BLO, sc around (36)
R8–15: sc around (36)
R16: in FLO, (3 sc, inc) x9 (45)
R17: sc around (45)
R18: crab stitch or loose reverse sc around (45)
Fasten off. If you do not use crab stitch, substitute a loose slip stitch. The basket should stand on its own without curling inward.
Grass Border
Yarn: leaf green
Join around the lower outside edge of the basket at the base round.
*ch 4, sl st in next st* rep around.
Fasten off. Trim or steam lightly if any blades twist too sharply.
Mushroom Appliqué Tops (Make 2)
Yarn: red
R1: 6 sc in MR (6)
R2: inc x6 (12)
R3: sc around (12)
Flatten slightly into a dome. Fasten off and leave a tail.
Mushroom Appliqué Stems (Make 2)
Yarn: cream
Ch 5.
Row 1: starting in second ch from hook, sc 4
Fasten off. Sew one stem beneath each red dome on the basket front.
Mushroom Appliqué Spots (Make 6)
Yarn: cream
For each spot, work 6 sc in MR and pull tight. Stitch three spots to each basket mushroom.
Leaf Appliqués (Make 3–4)
Yarn: leaf green
Ch 6.
Work back along chain: sl st, sc, hdc, sc, sl st.
Fasten off and leave a sewing tail.
Flower Appliqué
Yarn: pink and yellow
With pink: 5 sc in MR, then *ch 2, 2 dc in next st, ch 2, sl st in same st* rep 5 times to form petals.
With yellow: embroider or sew a small center knot.
Fasten off. Sew to the basket front between the mushroom appliqués.
Tail
Yarn: cream
R1: 6 sc in MR (6)
R2: sc around (6)
Fasten off. Stuff with a pinch of filling only if needed.
Assembly
- Sew the head to the body with the face angled slightly upward.
- Attach the front paws low on the head-body join so they can hook over the basket rim.
- Sew the back feet to the lower body, keeping them symmetrical even if they remain partly hidden.
- Attach the tail to the back of the body.
- Sew the inner ear panels to the outer ears if not already attached.
- Pin both ears to the top of the head first, then test-fit the mushroom cap over them before sewing anything permanently.
- Sew the ears in place with a slight inward tilt, then secure the cap around the head so the brim sits just above the eyes.
- Stitch the cream spots to the cap, placing the largest one near the crown and smaller ones around the sides.
- Sew the cheek patches to the face and refine the nose embroidery if needed.
- Place the assembled bunny inside the basket, stitch the body to the basket interior at the base and back wall, then add the grass, mushrooms, leaves, and flower appliqués.
The finished piece should stand upright with the bunny fixed securely inside the basket.
7 Technical Tips
- Mark the first stitch of every round on the head, cap, and basket. Losing one increase point on a 36- or 42-stitch section shifts the seam line and shows up immediately at the brim.
- Keep stuffing firmer in the top half of the head than the lower half. Too much fill under the muzzle pushes the eyes outward and flattens the nose area.
- Use invisible decreases on all visible shaping rounds. Standard decreases leave horizontal bars that become obvious on cream yarn under direct light.
- Insert the safety eyes before the head drops below 24 stitches. Waiting until 18 stitches makes the eye posts harder to lock and can stretch the fabric around the socket.
- Do not over-tighten the cream brim round. A rigid brim pulls upward instead of forming the soft toadstool wave visible in the sample.
- Pin the ears, then pin the cap, then recheck from front and side view before sewing. An ear set even 3 to 4 stitches too far outward will distort the cap silhouette.
- Weave tails back through the body or basket wall for at least 4 cm. Short tail burying often loosens when the piece is handled by the ears or basket rim.
Conclusion
This mushroom bunny amigurumi depends on proportion more than complexity. The head stays compact, the ears stay narrow, the cap needs a controlled 42-stitch dome, and the basket provides the stability that the design needs. Keep the shaping clean, fit the cap before final sewing, and treat the appliqués as finishing structure rather than decoration only. The next step is to swatch your cream yarn with the 2.25 mm hook and confirm that the fabric closes without gaps. Share the finished piece on Pinterest and Instagram with a front view, side view, and basket detail shot. Hashtag: #MushroomBunnyAmigurumi. Did you keep the brim level all around, or did you angle one side lower for a more natural toadstool look?









