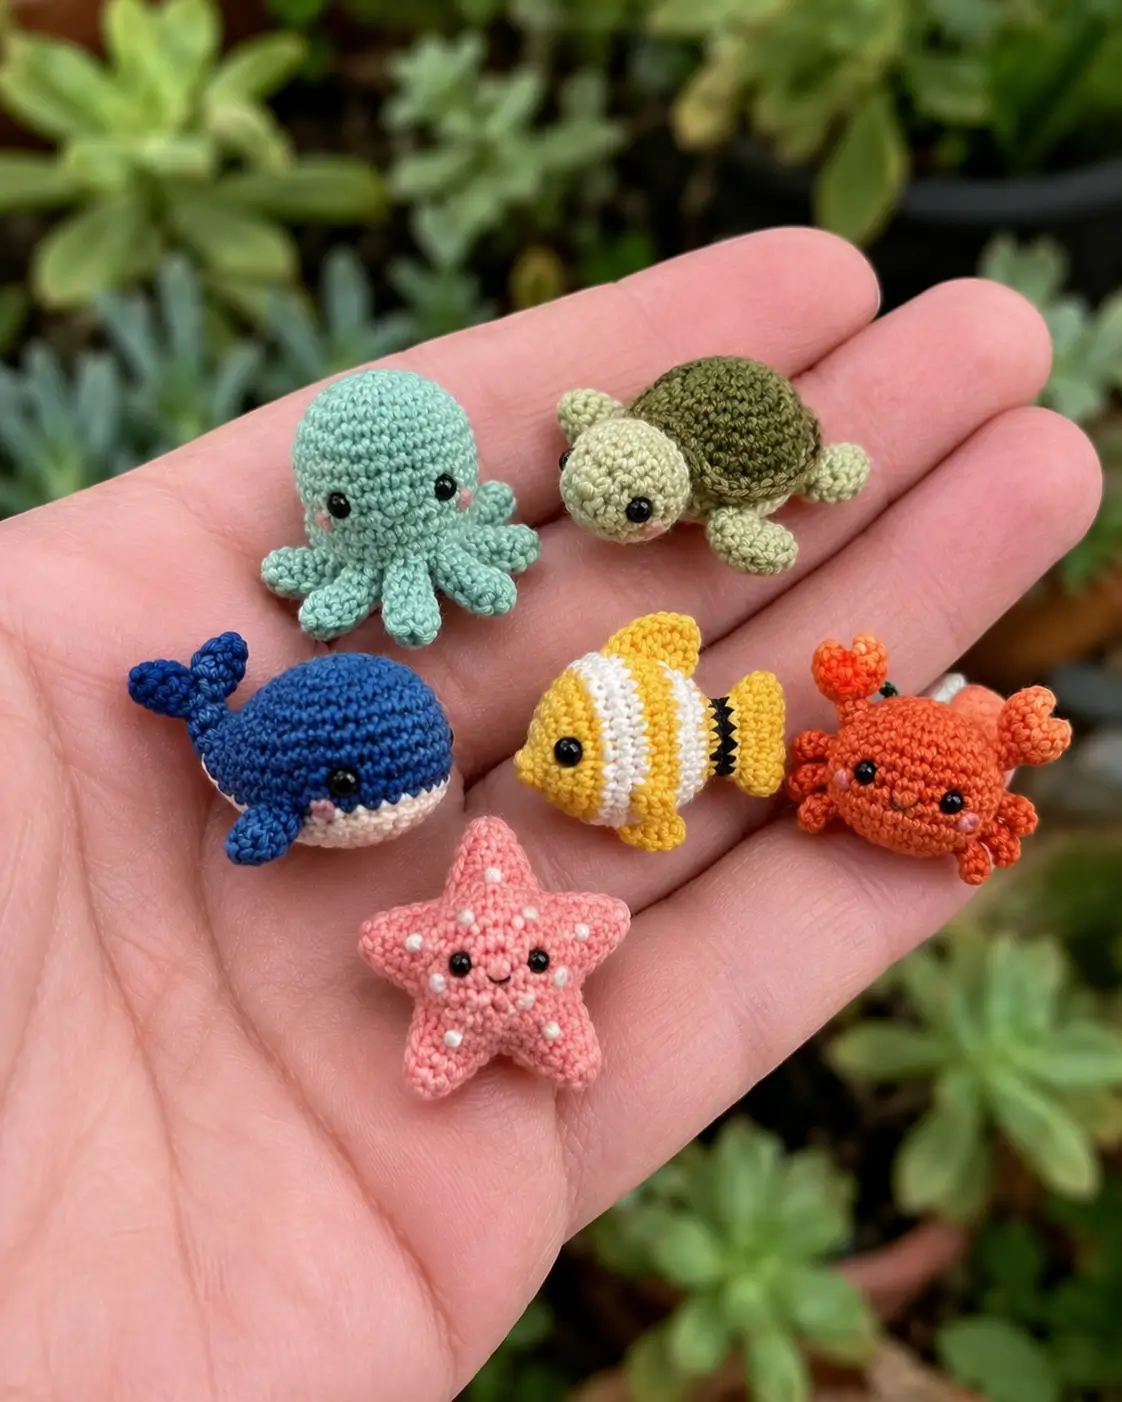
A sea turtle stops reading as a sea turtle the moment the shell sits too high above the head. This mini sea turtle amigurumi uses DK yarn, a 2.75 mm hook, and 8 mm safety eyes to produce a turtle around 10 cm long. You work it in separate parts with a low shell dome and short tail. The maker can turn it into a keychain, mobile piece, or small shelf sample without committing to a full-size plush.
The Design: What Makes Sea Turtle Structure Different
You need three proportions right before color even matters. First, the shell has to stay broad and low, not tall, because sea turtles read flatter than land turtles. Second, the front flippers need more reach than the rear pair; otherwise the silhouette shifts from swimmer to generic tortoise. Third, the head has to project only slightly beyond the shell edge, which keeps the profile compact. Published references show that designers solve this in different ways: African-flower shell construction, no-sew plush shaping, or a rounded quick-make body. Most of them still leave a gap for the photo style here, where the small turtle amigurumi relies on a restrained dome and clear flipper hierarchy. A common mistake is making all four flippers the same size. That kills the sea turtle read fast.
Project Info at a Glance
| Skill Level | Time | Finished Size | Hook | Best For |
|---|---|---|---|---|
| Beginner | 1 hour to evening project | approx. 10.16 cm long | 2.75 mm | keychains, ornaments, mobiles |
Materials and Tools
Yarn
- Light sage green — DK / #3 — small amount — Paintbox Yarns Simply DK or similar
- Olive brown — DK / #3 — small amount — Paintbox Yarns Simply DK or similar
- Soft tan — DK / #3 — small amount — Paintbox Yarns Simply DK or similar
- Soft pink — DK / #3 — scrap amount — optional cheek circles
Tools
- Hook 2.75 mm
- 8 mm safety eyes
- Polyfill stuffing
- Yarn needle
- Stitch markers
- Pins
- Black embroidery floss for nostrils or mouth if desired
Abbreviations
MR = magic ring
sc = single crochet
inc = increase
dec = decrease
sl st = slip stitch
ch = chain
BLO = back loop only
FO = fasten off
Use invisible decrease on all closing rounds so the head and shell edge do not open into visible holes.
Pattern — Step by Step
Continuous spiral unless noted.
Head (Make 1)
Yarn: light sage green — Source: Standard amigurumi math
R1: 6 sc in MR (6)
R2: inc ×6 (12)
R3: (sc 1, inc) ×6 (18)
R4: (sc 2, inc) ×6 (24)
R5: (sc 3, inc) ×6 (30)
R6: sc around (30)
R7: sc around (30)
Insert safety eyes between R5 and R6, about 8 sts apart.
R8: (sc 3, dec) ×6 (24)
R9: (sc 2, dec) ×6 (18)
Stuff firmly but keep the neck end flexible.
R10: (sc 1, dec) ×6 (12)
R11: dec ×6 (6)
Fasten off. Leave 20 cm tail.
Body Base (Make 1)
Yarn: soft tan — Source: Standard amigurumi math
R1: 6 sc in MR (6)
R2: inc ×6 (12)
R3: (sc 1, inc) ×6 (18)
R4: (sc 2, inc) ×6 (24)
R5: (sc 3, inc) ×6 (30)
R6: sc around (30)
R7: sc around (30)
Do not overstuff this piece later; the underside should stay flatter than the shell top.
Fasten off. Leave 30 cm tail.
Shell Dome (Make 1)
Yarn: olive brown — Source: Standard amigurumi math
R1: 6 sc in MR (6)
R2: inc ×6 (12)
R3: (sc 1, inc) ×6 (18)
R4: (sc 2, inc) ×6 (24)
R5: (sc 3, inc) ×6 (30)
R6: BLO sc around (30)
R7: sc around (30)
Working BLO at R6 creates the shell edge break. Keep this round even.
Fasten off. Leave 30 cm tail.
Front Flippers (Make 2)
Yarn: light sage green — Source: Standard amigurumi math
R1: 6 sc in MR (6)
R2: inc ×6 (12)
R3: (sc 1, inc) ×6 (18)
R4: (sc 2, inc) ×6 (24)
R5: sc around (24)
R6: (sc 2, dec) ×6 (18)
R7: sc around (18)
Flatten the piece lightly so it reads as a paddle, not a tube.
Fasten off. Leave 18 cm tail.
Back Flippers (Make 2)
Yarn: light sage green — Source: Standard amigurumi math
R1: 6 sc in MR (6)
R2: inc ×6 (12)
R3: (sc 1, inc) ×6 (18)
R4: sc around (18)
R5: (sc 1, dec) ×6 (12)
R6: sc around (12)
These should finish shorter and narrower than the front pair.
Fasten off. Leave 18 cm tail.
Tail (Make 1)
Yarn: light sage green — Source: Standard amigurumi math
R1: 6 sc in MR (6)
R2: sc around (6)
R3: (sc 1, inc) ×3 (9)
R4: sc around (9)
Stuff only the base so the tip stays flat.
Fasten off. Leave 15 cm tail.
Optional Cheek Circles (Make 2)
Yarn: soft pink — Source: Standard amigurumi math
R1: 6 sc in MR (6)
sl st to first st (6)
Skip these if you want a stricter match to the reference turtle, which reads clean-faced.
Fasten off. Leave 10 cm tail.
Shell Scute Detail (Make 1)
Yarn: olive brown or a darker brown — Source: Standard amigurumi math
No rounds for this section. After assembly, embroider six short spoke lines from the shell center toward the edge and one partial ring around the middle third of the shell.
Keep the stitching shallow so the shell stays low.
Fasten off. Leave 8 cm tail.
Assembly
- Place the shell dome over the body base with right sides facing out.
- Add a light amount of stuffing between the two pieces, keeping the center fuller than the edge.
- Whipstitch or sew-sc the shell and body together around the outer edge.
- Pin the head to the front center so the chin sits just below the shell edge.
- Sew the head in place over roughly 6–8 stitches of contact.
- Pin the front flippers one stitch forward of the shell midpoint on each side, then sew them down at a slight forward angle.
- Pin the back flippers farther rearward and slightly lower than the front pair, then sew them down.
- Attach the tail at the back center with the flatter side touching the shell join.
- Add optional cheek circles just below the eye line, or replace them with one small blush stitch on each side.
- Embroider the shell scute lines, check symmetry from overhead, and weave all ends into the shell seam.
The turtle is complete when the shell stays lower than the top of the head and the front flippers project farther than the back pair.
7 Technical Tips
- Stitch marker drift: A marker that slips by even one stitch on a 30-stitch shell changes limb spacing enough to show from above. Move the marker every round, not every other round.
- Stuffing firmness: Overfilling the shell makes the turtle read like a dome-backed tortoise. Stop when the shell springs back lightly under a thumb press instead of pushing outward hard.
- Invisible decrease: Standard decreases on the head create pinholes near the eye line at this size. Work dec through the front loops only and tighten the next stitch immediately.
- Eye placement timing: Put the eyes in before the head drops below 18 stitches. Waiting until the closure rounds makes the face pinch and throws off spacing.
- Velvet tension swap: If you remake this in velvet, the same stitch counts will spread wider and shorten the profile. Drop the eye size or widen the eye gap by one stitch so the face does not crowd.
- Pinning order: Pin the head first, then the front flippers, then the rear flippers. That sequence keeps the swimmer profile balanced and stops the rear pair from creeping too far forward.
- Tail weaving: The tail is small, so one pass of yarn is not enough. Weave the tail end through at least three seam directions inside the shell join before trimming.
Conclusion
A small turtle only works when proportion beats decoration. Keep the shell low, keep the front flippers longer than the rear pair, and keep the head compact. That order matters more than color choice. Next, crochet one sample in your main palette and photograph it from above before batching the rest for a set. Post the result to Pinterest and Instagram with #MiniSeaTurtlePattern so you can compare shell height and flipper angle across versions. This mini sea turtle amigurumi also works well as a keychain or nursery mobile component. Did you place your rear flippers one round farther back than your first draft?









