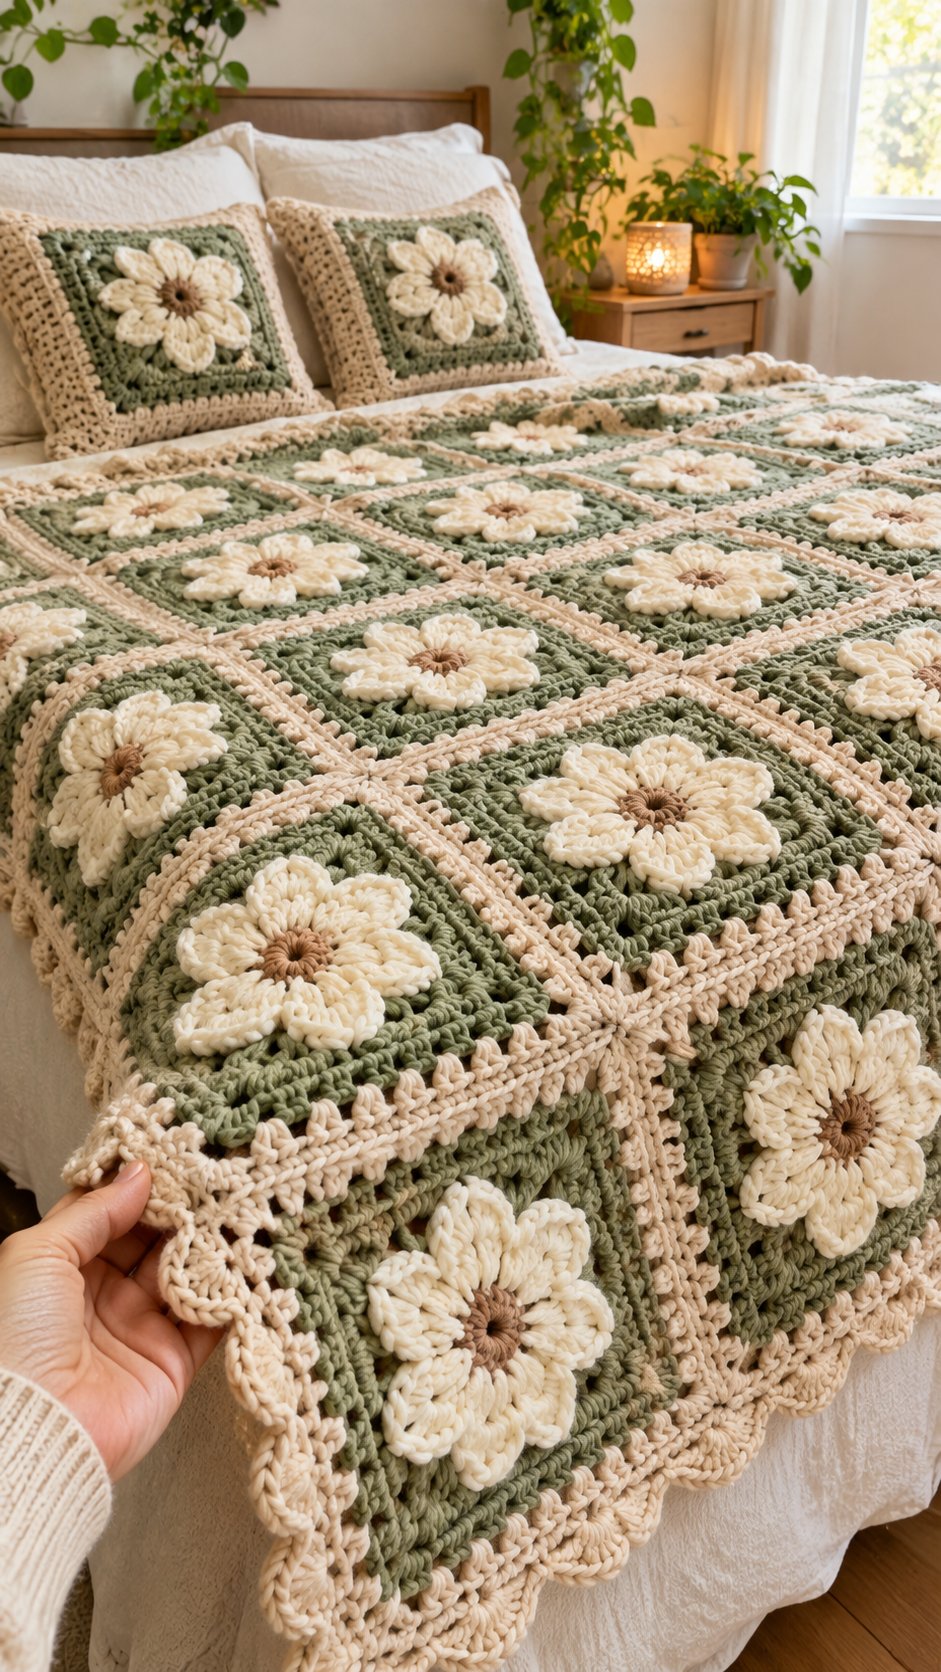
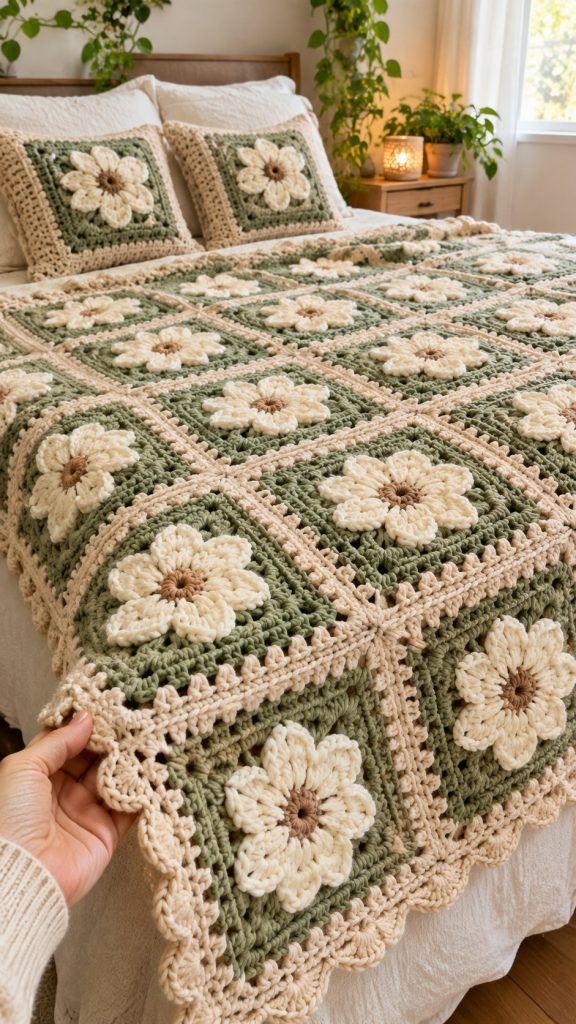
This blanket is built from one flower square, repeated until the colours and texture settle into a calm, even fabric. The design is not fussy, and it does not rely on a complicated stitch pattern. It relies on proportion, a clear centre, and a border that finishes the work without competing with the flowers.
This pattern is written for a blanket that works on a bed, a sofa, or a favourite chair. The same square also makes matching cushions, so the set can be made from one batch of yarn rather than two separate projects.
The Design: What Makes This Daisy Blanket Different
Three structural decisions shape the whole blanket.
First, the flower sits above the background, not inside it. The brown centre is worked first, then two layers of cream petals are built over it. The petals are not flat circles. They stand slightly proud of the surface, which gives the blanket a soft, raised texture when it is folded or draped.
Second, the sage-green rounds turn the flower into a square without flattening it. The green is worked only after the petals are complete, so the flower keeps its shape while the square gains straight sides for joining.
Third, the cream outer round is the finishing layer. It evens out small differences in tension, gives the seam a clean edge, and makes the blanket look intentional rather than patched together.
A frequent mistake is to change the petal colour at random. Keep the petals cream, the centre brown, and the square sage green, and the blanket will read as a single design even when it is made over several weeks.
Project at a Glance
| Skill level | Intermediate |
| Yarn weight | Medium (DK / light worsted) |
| Hook | 5 mm |
| Finished blanket | 125 × 150 cm (adjustable) |
| Square size | 12.5 × 12.5 cm |
| Squares | 80 (8 wide × 10 tall) |
| Cushions | Two 40 cm covers |
Materials and Tools
- Sage green, 1000 g
- Cream, 800 g
- Oatmeal / light beige, 400 g
- Brown, 200 g
- 5 mm crochet hook
- Scissors
- Tapestry needle
- Stitch markers
- Measuring tape
- Blocking board or pins (optional but helpful)
Yarn quantities are estimates based on the 80-square layout. Heavier yarn will increase both size and yarn use.
Use the same brand and weight across colours so all squares block to the same size.
Abbreviations
| ch | Chain |
| sl st | Slip stitch |
| dc | Double crochet (US single) |
| tr | Treble crochet (US double) |
| htr | Half treble (US half double) |
| st | Stitch |
| sp | Space |
| RS | Right side |
| WS | Wrong side |
| rep | Repeat |
| sk | Skip |
This pattern uses UK terms, with US equivalents given where they differ.
UK treble (tr) is the US double crochet. UK double (dc) is the US single crochet.
Before You Begin
Colour choice changes the result more than stitch choice. Test one complete square before making all 80.
Check the blocked size. If your square measures more than 12.5 cm, move down a hook size. If it measures less, move up a hook size. Keep all squares to the same tension so the blanket joins without puckering.
The Daisy Square, Step by Step
Work one square through all rounds, then repeat. Do not cut the cream after round 5 unless you are changing colour for a cushion panel.
Round 1 — Brown center
Ch 4, sl st into first ch to form a ring.
Ch 3 (counts as first tr), 11 tr into ring, sl st to top of ch 3. (12 tr)
Round 2 — Cream petals, first set
(Ch 4, tr, ch 4, sl st) into same stitch, *sl st into next st, (ch 4, tr, ch 4, sl st) into same st; repeat from * five times. (6 petals)
Round 3 — Cream petals, second set
Sl st into first petal space behind round 2, *(ch 4, tr, ch 4, sl st) into same space; repeat from * five times, placing each new petal between two round 2 petals. (6 petals, 12 total)
Round 4 — Sage green, shaping the square
Join sage green in any petal tip. Ch 3 (counts as first tr), 2 tr in same st, ch 2, 3 tr in same st — corner made.
*Ch 1, 3 htr in next petal space, ch 1, (3 tr, ch 2, 3 tr) in next petal space; repeat from * around, ending with ch 1, sl st to top of ch 3.
Round 5 — Sage green, stabilising
Ch 3, tr in each st around, working (2 tr, ch 2, 2 tr) in each corner ch-2 space, and ch 1 between side groups. Sl st to join.
Round 6 — Cream outer round
Join cream. Dc in each st around, working 3 dc in each corner ch-2 space. Sl st to join. Fasten off and weave in ends.
Finish each square before starting the next batch. Count stitches at round 4 — a missing chain space is the most common cause of a square that will not lie flat.
Joining the Squares
Join squares with the oatmeal yarn using a flat slip-stitch seam on the wrong side.
- Lay out 8 squares wide and 10 squares tall.
- Join each row first, working from right to left.
- Join the rows together from top to bottom.
- Keep the seam tension even. A tight seam will pull the blanket inward.
Do not join with the sage-green yarn. Oatmeal seams give a clear grid and make mistakes easier to see.
Border
Round 1 — Oatmeal: Dc around the whole blanket, working 3 dc in each corner. Sl st to join.
Round 2 — Sage green: Tr around, working (2 tr, ch 2, 2 tr) in each corner.
Round 3 — Cream scallop: *Sk 1 st, 5 tr in next st, sk 1 st, sl st in next st; repeat from * around. Sl st to join. Fasten off.
Check corners after round 2. If the corners pull inward, add one extra chain in each corner space before round 3.
Matching Cushion Covers
Make two cushion fronts from 9 squares each (3 × 3). Use the same rounds, then add a plain back panel.
For the back panel, work 3 rows of plain dc in cream, then close with a slip-stitch seam, leaving a small gap to insert a 40 cm cushion pad.
Use the same border as the blanket, but work only round 1 and round 3 for a lighter cushion edge.
Care, Blocking and Storage
Block the blanket before adding the border. Pin it to 125 × 150 cm, spray lightly, and leave it to dry flat.
Wash in cool water on a gentle cycle. Dry flat, away from direct heat. Do not hang a wet crochet blanket — the weight will stretch the squares.
Store folded, not hung, with lavender or cedar if moths are a concern.
Troubleshooting
| Problem | Likely cause | Fix |
| Squares curl up | Tension too tight in round 4 | Use a larger hook for round 4 only. |
| Corners ripple | Too many stitches in the first green round | Count corners before continuing. |
| Squares are different sizes | Hook or tension changed | Block to 12.5 cm or remake outliers. |
| Joining looks uneven | Seam tension varied | Rejoin the uneven row with even slip stitches. |
| Blanket feels stiff | Yarn too heavy for a 5 mm hook | Move up to a 5.5 mm hook. |
Conclusion
This pattern is built around one repeatable square. Once twelve petals, four corners, and one cream outer round are familiar, the remaining squares are a matter of rhythm rather than new skills.
Make the blanket first, then use leftover sage green and cream to finish the matching cushions. The result is a coordinated set that looks deliberate rather than assembled from spare squares.









