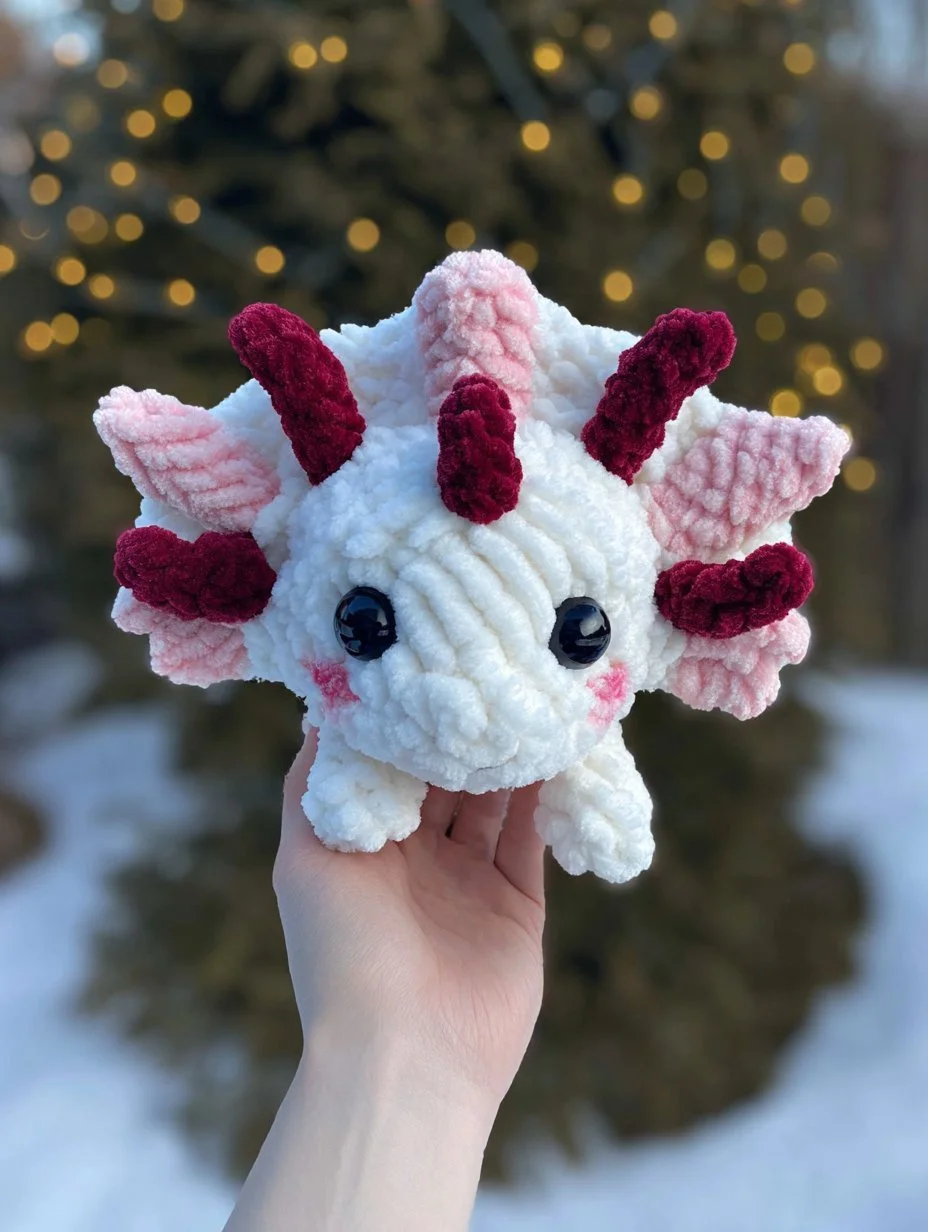
Blue Whale Amigurumi Pattern
A blue whale amigurumi requires a proportionate, rounded form and distinct flippers to create a striking representation of this majestic creature. This amigurumi pattern provides a fun way to craft a whimsical plush whale that can be a delightful gift or decoration. The finished plush measures approximately 25 cm, making it a great size for snuggling or displaying on a shelf. Although the pattern is suitable for intermediate crocheters, beginners with some experience will find it manageable. Made using super bulky yarn, this plush crochet animal offers a quick and satisfying project.
The Design: What Makes Blue Whale Different
The blue whale’s significant characteristic is its elongated shape, which features a broad, rounded body complemented by wide, flat flippers. The head of the whale is wider than the body, creating a stunning visual effect that showcases its natural proportions. This shape encourages the use of large stitches that highlight the fluffy nature of super bulky yarn, providing both stability and a soft texture that enhances the overall look of the finished toy.
The flippers are unique; they are broad and slightly curved at the edges, defining their placement on the sides of the body. This design provides a gentle balance when the plush sits upright, preventing it from toppling over. A common mistake for beginner crocheters is to overlook the importance of evenly distributing stuffing throughout the whale’s body, which can lead to an imbalanced or distorted shape. To avoid this, ensure you’re adding a consistent amount of fill, particularly in areas adjacent to the flippers, as this is crucial for maintaining the whale’s elegant silhouette.
The plush yarn’s texture is integral to the design as it reduces the visibility of stitch work, allowing for smoother lines and forms. Properly created, this blue whale amigurumi will exude charm and stability as a handmade amigurumi toy. With each stitch, the plush character comes to life, celebrating the ocean’s largest inhabitant, making it an appealing project for any crochet enthusiast.
Project Info at a Glance
| Skill Level | Time | Finished Size | Hook | Yarn |
|——————|————|—————|——–|————|
| Intermediate | 5–6 hours | 25 cm | 4.5 mm | Super Bulky |
Materials and Tools
Using the correct materials is essential for achieving the desired aesthetic and structural properties of your blue whale amigurumi. The combination of super bulky yarn ensures a plush texture and allows the toy to maintain its shape.
Yarn
- Main color super bulky yarn — 150 g for head, body, and flippers
- Accent color super bulky yarn — 80 g for the underside and details
- Detail color yarn — 30 g for eye embroidery and additional features
The choice of colors can greatly influence the character of your whale. Consider substituting different shades of blue or even gray to create variations of the classic blue whale look. Be creative with the accent colors, which can add personality to your finished piece.
Tools
- 4.5 mm crochet hook
- 18 mm safety eyes
- Polyester fiberfill
- Yarn needle
- Locking stitch marker
- Pins
- Scissors
- Embroidery thread
Pins, stitch markers, and the timing of safety eye placement play a vital role when securing pieces before sewing. They help in aligning the flippers and other features accurately, ensuring a more professional finish.
Abbreviations
MR = magic ring
sc = single crochet
inc = increase
dec = invisible decrease
sl st = slip stitch
ch = chain
BLO = back loop only
FO = fasten off
Invisible decrease is accomplished by working through the front loops of the next two stitches before completing the single crochet.
Pattern Notes
In this blue whale amigurumi pattern, all rounds are worked in a continuous spiral unless otherwise noted. It is helpful to use a stitch marker to keep track of your last stitch. Stuff the whale firmly, but do not stretch the stitches as this can distort the shape. Remember to place the safety eyes before fastening off the head to ensure proper positioning. Pin the flippers and any special features before sewing, as this can significantly improve the accuracy of your placements.
Working with plush yarn can obscure stitches; hence it aids in creating a smoother final appearance. Keep in mind that the completion size of your whale may vary depending on your tension while crocheting. To maintain balance when the whale is upright, ensure that the body is evenly stuffed and the flippers are attached securely. Preserving the characteristic shape of the blue whale is achievable with careful attention to detail in the construction process.
Pattern — Step by Step
Head Make 1
R1: 6 sc in MR (6)
R2: inc ×6 (12)
R3: [sc, inc] ×6 (18)
R4: [2 sc, inc] ×6 (24)
R5: [3 sc, inc] ×6 (30)
R6: [4 sc, inc] ×6 (36)
R7: [5 sc, inc] ×6 (42)
R8-12: sc around (42)
R13: [5 sc, dec] ×6 (36)
R14: [4 sc, dec] ×6 (30)
R15: [3 sc, dec] ×6 (24)
R16: [2 sc, dec] ×6 (18)
R17: [sc, dec] ×6 (12)
R18: dec ×6 (6) FO, leaving a tail for sewing.
Notes: Stuff the head firmly but not overly tight to maintain shape. Position safety eyes between rounds 7 and 8, spaced about 8-10 stitches apart. The shape of the head should be round and smooth prior to attaching it to the body.
Body Make 1
R1: 6 sc in MR (6)
R2: inc ×6 (12)
R3: [sc, inc] ×6 (18)
R4: [2 sc, inc] ×6 (24)
R5: [3 sc, inc] ×6 (30)
R6: [4 sc, inc] ×6 (36)
R7: [5 sc, inc] ×6 (42)
R8-12: sc around (42)
R13: [5 sc, dec] ×6 (36)
R14: [4 sc, dec] ×6 (30)
R15: [3 sc, dec] ×6 (24)
R16: [2 sc, dec] ×6 (18)
R17: [sc, dec] ×6 (12)
R18: dec ×6 (6) FO, leaving a tail for sewing.
Notes: Make sure to stuff the body evenly for balance, taking special care around the neck area where it joins the head. The bottom part should be slightly firmer, while the upper section can remain softer to assist in achieving a good sitting posture.
Front Flippers Make 2
R1: 6 sc in MR (6)
R2: inc ×6 (12)
R3: [sc, inc] ×6 (18)
R4: [2 sc, inc] ×6 (24)
R5: sc around (24)
R6: [3 sc, dec] ×6 (18)
R7: [2 sc, dec] ×6 (12)
R8: dec ×6 (6) FO, leaving a tail for sewing.
Notes: Position the flippers wide and flattened on the sides of the body to support balance. Ensure they are sewn at an angle that represents a natural position.
Back Flippers Make 2
R1: 6 sc in MR (6)
R2: inc ×6 (12)
R3: [sc, inc] ×6 (18)
R4: [2 sc, inc] ×6 (24)
R5: sc around (24)
R6: [3 sc, dec] ×6 (18)
R7: [2 sc, dec] ×6 (12)
R8: dec ×6 (6) FO, leaving a tail for sewing.
Notes: Similar to the front flippers, ensure these are firmly attached but maintain a slight upward tilt. This adds to the character’s overall appearance.
Tail Make 1
R1: 6 sc in MR (6)
R2: inc ×6 (12)
R3: [sc, inc] ×6 (18)
R4-5: sc around (18)
R6: [sc, dec] ×6 (12)
R7: dec ×6 (6) FO, leaving a tail for sewing.
Notes: Position the tail at the back of the body, ensuring there is sufficient stuffing to form a defined shape. This contributes to the overall whale silhouette and aids in balance.
Face Embroidery
The placement of the eyes should be carefully spaced apart, approximately 8-10 stitches. For the nose, a simple stitch in contrasting yarn should be placed slightly above the mouth line to provide character. Use embroidery thread for the mouth by creating a gentle upward curve to express a friendly demeanor.
To prevent a crooked expression, always check your tension as you stitch the face. Secure the tails of your embroidery inside the plush for a clean finish, ensuring they do not pull the fabric out of shape.
Assembly
- Attach the head to the body, using the yarn tail from the head to stitch securely.
- Attach the largest flippers, making sure they are placed evenly on the sides of the body.
- Attach the front flippers, aligning them correctly to give a natural look.
- Attach the back flippers, ensuring they complement the body’s shape and stance.
- Add the tail, stitching it at the center back for balance.
- Add safety eyes if they were not secured during head assembly, checking for proper spacing.
- Embroider the nose and mouth using contrasting thread for clarity.
- Sew cheek patches if desired for extra detail.
- Check the balance from front, side, and back viewpoints to ensure the whale stands upright.
- Weave in any loose ends and gently shape the plush to enhance its final appearance.
Your blue whale amigurumi is now complete, ready to bring joy to anyone who sees it!
7 Technical Tips
-
Stitch marker drift: As you progress, it is common for the stitch marker to shift due to the plush yarn. Use a locking stitch marker to secure your position accurately and prevent losing track of your rounds. This is critical as even a slight shift can cause the overall shape to become skewed.
-
Stuffing firmness: A common error is over-stuffing the whale, resulting in distortion. Aim for a snug fit without stretching, especially around the flippers, to maintain an accurate shape. Balance is key to ensuring the plush toy maintains its intended appearance.
-
Invisible decrease gaps: If gaps are left during decreases, they can affect the integrity of the plush. Make sure to complete the invisible decrease through both front loops tightly to eliminate any holes that could compromise the appearance. This attention to detail is essential for a polished final product.
-
Eye placement timing: Attach the safety eyes before closing round 18 of the head for accurate positioning. Miscalculating this can lead to unsightly distances between the eyes, detracting from the character’s charm. It’s always good practice to double-check alignment before sealing seams.
-
Plush yarn tension: Be mindful that plush yarn may hide stitches, making it difficult to troubleshoot as you progress. Regularly check your tension by laying the plush flat to ensure stitches are not overly tight. This will help avoid irregularities in the texture that are difficult to fix later.
-
Pinning before sewing: Use pins to position both flippers and the tail correctly before securing. This precaution helps maintain symmetry and proportion during assembly, preventing future adjustments that can lead to distortion in the plush. Taking the time for proper placement will make a significant difference in the final look.
-
Tail weaving: After sewing the tail onto the body, ensure that the woven ends are secure inside the plush. This minimizes the possibility of the tail detaching during play, which can compromise the durability of your work. A well-secured tail enhances both the appearance and longevity of the amigurumi.
Related Patterns
-
Dolphin Plushie — This pattern features a playful dolphin design that pairs well with the blue whale. Its curved body and rounded form complement the ocean theme.
-
Starfish Amigurumi — This star-shaped design is a fun aquatic companion to your blue whale. Its vibrant colors and unique shape add diversity to your ocean collection.
-
Seahorse Snuggler — A delicate seahorse pattern offers a slim alternative to the round form of the whale, ideal for those interested in exploring intricate designs.
-
Shark Plush Toy — This pattern takes a bite out of the competition with a fierce yet cuddly shark. The contrasts between the shark and the whale create engaging character pairings that enhance storytelling in play.
Conclusion
Crafting a blue whale amigurumi pattern introduces the fun of plush crochet while highlighting the unique features of this amazing creature. After completing your plush, consider sharing your creation on social media platforms like Instagram with the hashtag #BlueWhale. Save the pattern on Pinterest for your next crochet project. Have you thought about other ocean creatures that would pair well with your new whale?









