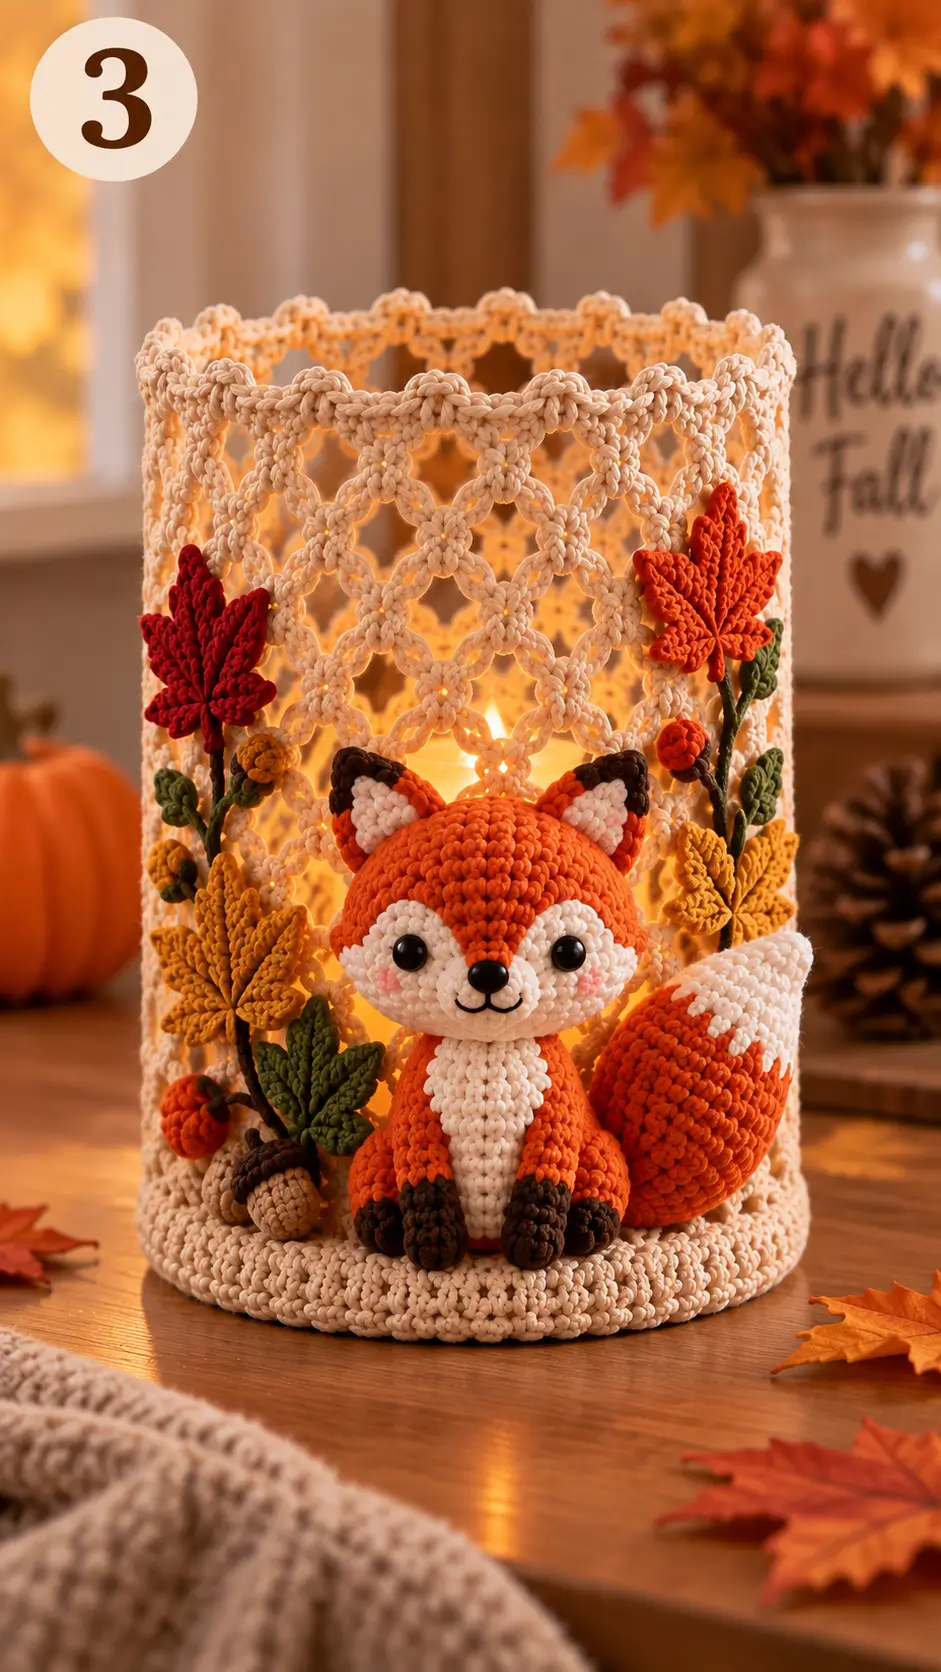
A red fly-agaric cap needs its white spots to read as a woodland mushroom rather than an ordinary red dome. This autumn mushroom crochet lantern combines a cream openwork cylinder with two dimensional mushrooms, acorns, berries, and maple-style leaves. Cotton or smooth DK/worsted yarn gives the appliqués enough definition, while the illuminated center should use a battery-operated LED light rather than an exposed flame.
The Design: What Makes This Crochet Lantern Different
The lantern is built as two separate systems. A firm circular base supports a tall cream lattice wall, while the autumn motifs are crocheted individually and attached afterward. This prevents the mushrooms and leaves from interfering with the openwork structure.
The two mushrooms use different heights and cap widths so the arrangement does not appear mechanically symmetrical. Red caps with raised white spots create the strongest focal points, while orange and green leaves direct the eye toward the center. Brown acorns and red berries fill smaller gaps near the base.
Published mushroom appliqué patterns commonly use DK or worsted yarn with hooks from about 3.25 to 4 mm, while crochet lantern projects use cotton and open chain spaces to transmit light. These specifications provide a useful technical starting point for the photo-inspired construction.
Project Info at a Glance
| Skill Level | Working Time | Finished Size | Hook | Construction |
|---|---|---|---|---|
| Intermediate | Multi-session | Approx. 25–30 cm tall | 3.5–4 mm | Round base, openwork cylinder and sewn appliqués |
The dimensions are an estimate for recreating the proportions visible in the photograph rather than measurements from an identified original pattern. Published crochet lantern designs vary considerably in size depending on yarn, hook, and intended light source.
Materials and Tools
Yarn
- Cream or natural cotton — DK or light worsted — approximately 180–220 g for the base and lantern wall
- Red yarn — DK or worsted — approximately 40–50 g for mushroom caps and berries
- White yarn — approximately 30–40 g for mushroom stems and spots
- Dark brown yarn — approximately 20 g for branches and acorn caps
- Medium brown yarn — approximately 15–20 g for acorn bodies
- Mustard or burnt-orange yarn — approximately 30 g for autumn leaves
- Dark green yarn — approximately 25–30 g for leaves and small buds
Smooth cotton is particularly useful for the lattice and small botanical details because the stitch structure remains visible. A published mushroom appliqué using DK cotton specifies a 3.25 mm hook, while another worsted mushroom design uses a 4 mm hook.
Tools
- 3.5 mm crochet hook
- 4 mm crochet hook if required for the lantern body
- Tapestry needle
- Stitch markers
- Scissors
- Flexible measuring tape
- Polyester stuffing for dimensional mushrooms and acorns
- Fabric stiffener — optional for the lattice wall
- Battery-operated LED candle or LED light
Do not use an exposed candle flame inside the crochet lantern. Yarn, stuffing, and decorative fibers are combustible. Use a cool battery-operated LED light.
Abbreviations
- MR — magic ring
- ch — chain
- sc — single crochet
- hdc — half double crochet
- dc — double crochet
- tr — treble crochet
- inc — increase
- dec — decrease
- sl st — slip stitch
- st/sts — stitch/stitches
- ch-sp — chain space
- BLO — back loop only
For stuffed components, work decreases through the front loops when a less visible decrease is required.
Autumn Mushroom Crochet Lantern Pattern
This is a photo-inspired construction rather than a transcription of an identified commercial pattern. Crochet the structural lantern first, then make and position the mushrooms, leaves, berries, branches, and acorns individually.
Round Lantern Base
Yarn: cream or natural cotton.
R1: 6 sc in MR. (6)
R2: Inc × 6. (12)
R3: (1 sc, inc) × 6. (18)
R4: (2 sc, inc) × 6. (24)
R5: (3 sc, inc) × 6. (30)
R6: (4 sc, inc) × 6. (36)
R7: (5 sc, inc) × 6. (42)
R8: (6 sc, inc) × 6. (48)
R9: (7 sc, inc) × 6. (54)
R10: (8 sc, inc) × 6. (60)
R11: (9 sc, inc) × 6. (66)
R12: (10 sc, inc) × 6. (72)
Measure the circle. Continue the same six-increase formula if a wider lantern is required.
R13: Sc BLO around. (72)
R14: Sc around. (72)
R15: Sc around. (72)
The BLO round forms a defined corner between the horizontal base and the vertical lower wall.
Lower Solid Wall
Yarn: cream.
R16: Sc around. (72)
R17: Sc around. (72)
R18: Sc around. (72)
R19: Sc around. (72)
The solid band provides a stable area for attaching mushrooms, leaves, branches, and acorns.
Openwork Lattice Wall
Yarn: cream.
The photograph shows a large diamond mesh rather than a solid cylinder. The exact lattice can be varied, but all chain spaces should remain consistent in length.
Mesh Round 1: Ch 1, sc in first st, ch 5, skip 3 sts, sc in next st. Repeat around, adjusting only at the round transition if necessary.
Mesh Round 2: Sl st into the first chain space. Ch 1, sc around the center of the chain space, ch 5, sc into the next chain space. Repeat around.
Mesh Round 3: Repeat Mesh Round 2.
Continue the mesh until the wall measures approximately 20–24 cm from the solid base.
Keep every ch-5 loop at similar tension. A single short loop pulls neighboring diamonds inward, while an oversized loop produces a visible bulge.
Upper Lantern Border
Yarn: cream.
Border Round 1: Work 4–5 sc into each upper chain space, choosing the number that allows the rim to lie flat.
Border Round 2: Sc around without increases.
Border Round 3: (Sl st, ch 3, 2 dc in same st, ch 3, sl st in same st), skip 2–3 sts. Repeat around to form small scalloped points.
Fasten off and weave the tail through the solid border.
Large Red Mushroom
Large Mushroom Stem
Yarn: white or cream.
R1: 6 sc in MR. (6)
R2: Inc × 6. (12)
R3: (1 sc, inc) × 6. (18)
R4: Sc BLO around. (18)
R5: Sc around. (18)
R6: (4 sc, dec) × 3. (15)
R7: Sc around. (15)
R8: Sc around. (15)
R9: Sc around. (15)
R10: Sc around. (15)
R11: Sc around. (15)
R12: Sc around. (15)
R13: (3 sc, dec) × 3. (12)
R14: Sc around. (12)
R15: Sc around. (12)
Stuff firmly enough to hold the stem upright, but leave the upper 1 cm slightly softer so the cap can be sewn flat against it.
Fasten off, leaving a 25 cm sewing tail.
Large Mushroom Cap
Yarn: red.
R1: 6 sc in MR. (6)
R2: Inc × 6. (12)
R3: (1 sc, inc) × 6. (18)
R4: (2 sc, inc) × 6. (24)
R5: (3 sc, inc) × 6. (30)
R6: (4 sc, inc) × 6. (36)
R7: Sc around. (36)
R8: Sc around. (36)
R9: (4 sc, dec) × 6. (30)
The resulting shallow dome should extend beyond the stem on both sides. Add a small amount of stuffing underneath the center before sewing the cap to the stem.
Fasten off with a long sewing tail.
White Mushroom Spots
Yarn: white.
Make 7–9 small spots in mixed sizes.
Small spot: 6 sc in MR, sl st to first sc. (6)
Larger spot: R1: 6 sc in MR. (6)
R2: Inc × 6. (12)
Fasten off with a sewing tail. Attach the spots irregularly across the cap rather than arranging them in straight rows.
Small Red Mushroom
Small Mushroom Stem
Yarn: white or cream.
R1: 6 sc in MR. (6)
R2: Inc × 6. (12)
R3: (1 sc, inc) × 6. (18)
R4: Sc BLO around. (18)
R5: (4 sc, dec) × 3. (15)
R6: Sc around. (15)
R7: Sc around. (15)
R8: Sc around. (15)
R9: (3 sc, dec) × 3. (12)
R10: Sc around. (12)
R11: Sc around. (12)
Stuff the lower two-thirds firmly.
Fasten off with a long tail.
Small Mushroom Cap
Yarn: red.
R1: 6 sc in MR. (6)
R2: Inc × 6. (12)
R3: (1 sc, inc) × 6. (18)
R4: (2 sc, inc) × 6. (24)
R5: (3 sc, inc) × 6. (30)
R6: Sc around. (30)
R7: (3 sc, dec) × 6. (24)
Add five to seven white spots using the small spot instructions. Sew the cap centrally to the stem.
Crochet Acorns
The photograph contains multiple dimensional acorns. Published crochet acorn appliqués use DK or lightweight yarn and commonly separate the body from a textured cap; puff stitches are also documented for creating cap texture.
Acorn Body — Make 3
Yarn: medium brown.
R1: 6 sc in MR. (6)
R2: Inc × 6. (12)
R3: (1 sc, inc) × 6. (18)
R4: Sc around. (18)
R5: Sc around. (18)
R6: (1 sc, dec) × 6. (12)
Add a small amount of stuffing.
R7: Dec × 6. (6)
Fasten off and close the opening.
Acorn Cap — Make 3
Yarn: dark brown.
R1: 6 sc in MR. (6)
R2: Inc × 6. (12)
R3: (1 sc, inc) × 6. (18)
R4: Sc around using a textured stitch or BLO sc. (18)
Fasten off with a long tail. Place the cap over the broad end of the acorn body and sew around its edge.
For the stem, attach dark brown yarn at the top, ch 5, sl st back down the chain, and fasten off.
Red Autumn Berries
Yarn: red. Make 10–14.
R1: 6 sc in MR. (6)
R2: Inc × 6. (12)
R3: Sc around. (12)
R4: Dec × 6. (6)
Add a tiny amount of stuffing before closing.
Fasten off. Group berries in clusters of two or three along dark-brown crocheted branches.
Berry Branches
Yarn: dark brown.
Ch 20–30 according to the required branch length.
Sl st back along the chain to create a narrow cord.
For a side branch, join yarn approximately halfway along the main stem, ch 6–8, then sl st back to the main branch.
Make several branches at different lengths. Sew the red berries to the branch ends before attaching the completed branch to the lantern.
Autumn Leaves
Use burnt orange, mustard, and dark green. The photograph combines broad pointed leaves with smaller curled foliage, so varying the dimensions improves the layered arrangement.
Large Pointed Leaf — Make 4–6
Yarn: orange, mustard or green.
Ch 11.
Beginning in the second chain from the hook, work:
Sl st, sc, hdc, dc, tr, tr, dc, hdc, sc, sl st.
Ch 2 at the tip and work along the opposite side of the foundation chain:
Sl st, sc, hdc, dc, tr, tr, dc, hdc, sc, sl st.
For a more maple-like silhouette, add three short pointed lobes along each side using chains of 3–5 stitches followed by slip stitches back toward the center.
Fasten off with a 20 cm sewing tail.
Small Leaf — Make 6–10
Ch 7.
Sl st in second ch, sc, hdc, dc, hdc, sc.
Ch 2 at the tip.
Work down the opposite side: sc, hdc, dc, hdc, sc, sl st.
Fasten off with a sewing tail.
Green Buds
Yarn: dark or olive green. Make 6–8.
R1: 6 sc in MR. (6)
R2: (1 sc, inc) × 3. (9)
R3: Sc around. (9)
R4: (1 sc, dec) × 3. (6)
Fasten off. These small components fill spaces between larger leaves and berry branches.
Assembly
- Block or lightly stiffen the cream lattice cylinder and check that the base sits flat.
- Position the large mushroom slightly left of center and sew its stem firmly to the solid lower band.
- Place the smaller mushroom to the right and slightly lower so the two caps do not form a straight horizontal line.
- Sew the mushroom caps to their stems and check that the white spots remain visible from the front.
- Attach one acorn close to the base between the mushrooms and position the remaining acorns toward the outer sides.
- Arrange the dark-brown berry branches vertically along both sides of the mushrooms before sewing them to the lattice.
- Place the largest orange and green leaves around the outer edges, allowing some leaves to overlap branches.
- Fill exposed attachment points with small leaves and green buds.
- Weave every tail toward the inside of the lantern so no loose ends remain visible through the open mesh.
- Place a battery-operated LED light in the center and check that no yarn or stuffing touches a hot electrical component.
The completed lantern should stand independently, with the mushroom arrangement concentrated across the lower front and enough open lattice remaining above it for the LED light to show through.
7 Technical Tips for the Mushroom Lantern
- Keep the base completely flat. If the circular base begins cupping before reaching 72 stitches, check the increase placement and hook tension before adding the wall.
- Measure every mesh loop. A ch-5 opening that is noticeably shorter than its neighbors pulls the lattice inward and can make the cylinder lean.
- Stuff mushroom stems to roughly 70–80% firmness. Excess stuffing rounds the stems into cylinders and removes the tapered profile visible in the design.
- Pin each mushroom before sewing. A cap shifted by even 1 cm can make the stem appear tilted once the lantern is standing upright.
- Keep white spots irregular. Equal spacing creates a polka-dot grid; varying both spot diameter and spacing produces a more convincing fly-agaric cap.
- Attach heavy appliqués to solid stitches. Sewing a stuffed acorn only to a chain loop can stretch the opening and distort the surrounding diamond mesh.
- Use LED illumination only. Keep candles, tealights with real flames, and other combustion sources away from yarn, polyester stuffing, and crocheted decorations.
Adjusting the Lantern Size
Change the diameter at the base rather than attempting to stretch the completed lattice. The circular formula adds six stitches during every increase round: 6, 12, 18, 24, 30, 36, 42, and onward.
Stop increasing when the base reaches the required diameter. The stitch count at that point determines how many mesh repeats can fit around the cylinder.
For a taller lantern, add additional mesh rounds before making the upper border. The mushrooms and botanical pieces do not need to become proportionally larger. Leaving more empty lattice above the appliqués can improve the visible lighting area.
A smaller table lantern can use DK cotton and a 3–3.5 mm hook. Published crochet lantern projects demonstrate that changing yarn thickness and hook size can substantially change finished dimensions without changing the basic construction principle.
Positioning the Autumn Appliqués
Do not sew the decorative pieces immediately after making them. Place the lantern upright and pin every major component first.
Start with the two mushrooms because they establish the center of the composition. The larger mushroom should occupy more vertical space, while the smaller one sits lower and overlaps the surrounding foliage.
Next position the acorns. Their dark caps create visual weight near the base, so distributing them across both sides prevents one half of the lantern from appearing heavier.
Add the largest leaves after the acorns. Orange leaves work well around the red mushroom caps because the colors remain distinct, while dark-green leaves provide contrast against the cream lattice.
Berry branches should travel vertically or diagonally through the remaining gaps. Avoid covering too much of the mesh; the open spaces are necessary for the lantern effect.
Making the Lantern Wall Firmer
Cotton yarn provides more structural definition than very soft, fuzzy fibers. If the completed cylinder collapses inward, several methods can improve stability.
First, block the lantern around a cylindrical form with approximately the same diameter as the base. Allow the crochet to dry fully before removing the form.
A removable transparent inner cylinder can also support the crochet while allowing LED light to pass through. Keep any supporting material appropriate for the selected battery light and follow the light manufacturer’s clearance instructions.
Fabric stiffener is another option for the upper lattice. Test it on a yarn sample first because some products can change the color or surface appearance of cotton.
Finishing the Autumn Mushroom Crochet Lantern
Check the lantern from all four sides before weaving the final sewing tails. The front should retain a clear hierarchy: large mushroom first, smaller mushroom second, then leaves, berries, and acorns around them.
Trim loose fibers from the cream lattice and reshape any chain spaces distorted during assembly. Test the lantern with its battery-operated LED light in a dim room and reposition leaves if they block too much of the openwork.
This autumn mushroom crochet lantern can also be adapted by replacing orange leaves with deeper rust tones or increasing the number of acorns around the base. Photograph the finished piece for Pinterest or Instagram with #AutumnMushroomLantern. For the final layout, decide which side should carry the largest maple-style leaf before permanently sewing the foliage in place. “`0









