Red and Black Cat Amigurumi Crochet Pattern
Introduction
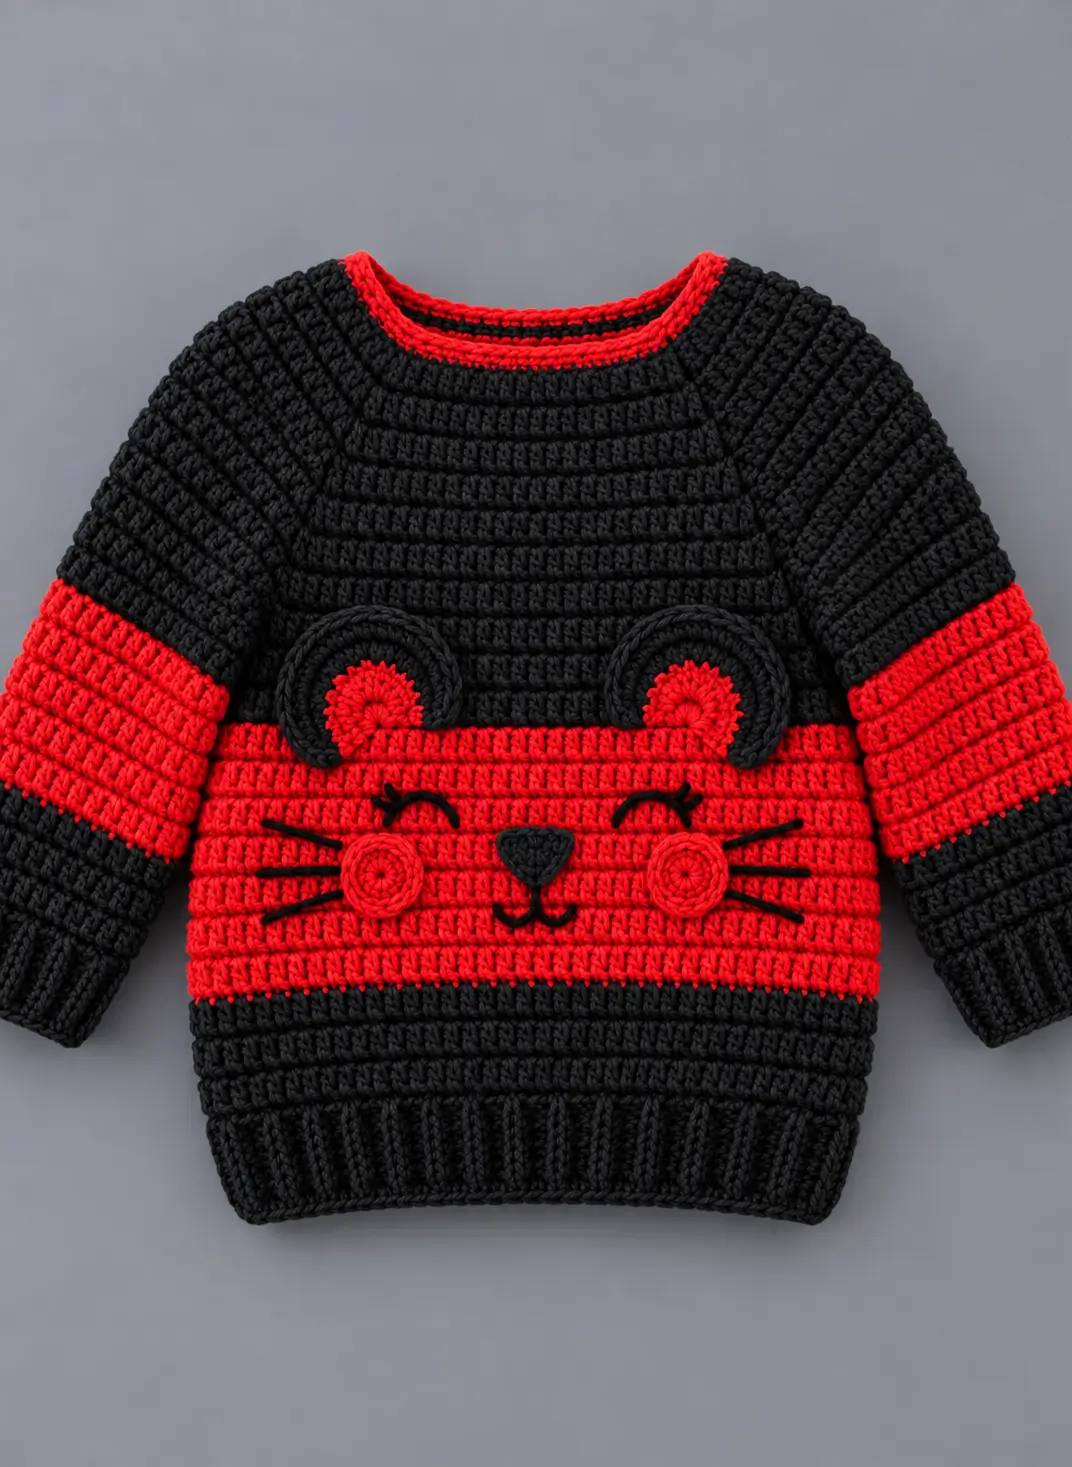
A cat with black curled ears, circular red cheeks and three whiskers on each side needs its face mapped before the head closes. This cat amigurumi crochet pattern translates those details into a 20–22 cm DK-weight figure worked with a 3.0 mm hook. The project is intermediate level and uses red and black yarn, stuffing and embroidery. Its flat facial pieces make the expression repeatable across multiple finished cats.
The Design: What Makes This Cat Different
The reference uses color blocking rather than realistic feline markings, so red becomes the dominant body color while black defines the ears, limbs and facial lines. Circular cheek patches are sewn flat instead of being embroidered; that keeps both cheeks equal in diameter. The closed eyes are also embroidered, preserving the expression visible in the source image without adding plastic eyes.
For this red cat amigurumi, the head reaches a 36-stitch plateau. That produces enough width for the cheeks, nose and whiskers without turning the head into an oversized sphere. The crochet kitten pattern uses a slightly narrower body to maintain a readable neck transition.
A frequent mistake is attaching cat ears too far down the sides. That makes a feline head read as a bear. Pin both ears above the upper third of the head before sewing.
Project Info at a Glance
| Skill Level | Time | Finished Size | Hook | Best For |
|---|---|---|---|---|
| Intermediate | Approx. 6–9 hours | Approx. 20–22 cm | 3.0 mm | Display, gifts, character crochet |
Actual dimensions can change depending on yarn choice, crochet tension and stuffing density.
Materials and Tools
Yarn
- Red yarn — DK/light worsted — approximately 90–100 g available — smooth cotton/acrylic or acrylic yarn.
- Black yarn — DK/light worsted — approximately 30–50 g available — use the same yarn weight as the red.
- Black embroidery yarn — small amount for the eyes, whiskers, nose and mouth.
- Red embroidery yarn — optional for correcting or finishing cheek edges.
Tools
- 3.0 mm crochet hook
- Polyester fiberfill
- Yarn needle
- Scissors
- Stitch markers
- Dressmaking pins
Safety eyes are intentionally omitted because this cat uses embroidered closed eyes. This also keeps the facial design closer to the original red-and-black character.
Abbreviations
- MR — magic ring
- sc — single crochet
- inc — 2 sc in one stitch
- dec — decrease
- sl st — slip stitch
- ch — chain
- BLO — back loop only
- st/sts — stitch/stitches
For an invisible decrease, insert the hook through the front loops of the next two stitches, yarn over, draw through both front loops, then complete the single crochet.
Cat Amigurumi Pattern — Step by Step
Work the stuffed pieces in continuous spirals unless a section states otherwise. Place a stitch marker in the first stitch of each round and move it upward as you work.
Head
Yarn: Red
R1: 6 sc in MR (6)
R2: inc ×6 (12)
R3: (1 sc, inc) ×6 (18)
R4: (2 sc, inc) ×6 (24)
R5: (3 sc, inc) ×6 (30)
R6: (4 sc, inc) ×6 (36)
R7: sc around (36)
R8: sc around (36)
R9: sc around (36)
R10: sc around (36)
R11: sc around (36)
R12: sc around (36)
R13: sc around (36)
R14: (4 sc, dec) ×6 (30)
R15: (3 sc, dec) ×6 (24)
Stop here to begin stuffing. This is also a practical stage for marking the eye, nose and cheek positions before the opening becomes too small.
R16: (2 sc, dec) ×6 (18)
R17: (1 sc, dec) ×6 (12)
R18: dec ×6 (6)
Finish stuffing firmly. Fasten off and close the opening.
Body
Yarn: Red
R1: 6 sc in MR (6)
R2: inc ×6 (12)
R3: (1 sc, inc) ×6 (18)
R4: (2 sc, inc) ×6 (24)
R5: (3 sc, inc) ×6 (30)
R6: (4 sc, inc) ×6 (36)
R7: sc around (36)
R8: sc around (36)
R9: sc around (36)
R10: sc around (36)
R11: sc around (36)
R12: sc around (36)
R13: (4 sc, dec) ×6 (30)
R14: sc around (30)
R15: (3 sc, dec) ×6 (24)
R16: sc around (24)
R17: (2 sc, dec) ×6 (18)
R18: sc around (18)
Stuff the lower body firmly. Use slightly less stuffing near the neck opening so the head can sit evenly against the body.
Fasten off. Leave approximately 30 cm of yarn for sewing the body to the head.
Arms / Front Legs — Make 2
Yarn: Black
R1: 6 sc in MR (6)
R2: inc ×6 (12)
R3: (1 sc, inc) ×6 (18)
R4: sc around (18)
R5: sc around (18)
R6: (1 sc, dec) ×6 (12)
R7: sc around (12)
R8: sc around (12)
R9: sc around (12)
R10: sc around (12)
R11: sc around (12)
R12: sc around (12)
Stuff the lower half only. Leave the shoulder end relatively flat.
Fasten off. Leave approximately 20 cm of yarn for sewing.
Back Legs — Make 2
Yarn: Black
R1: 6 sc in MR (6)
R2: inc ×6 (12)
R3: (1 sc, inc) ×6 (18)
R4: (2 sc, inc) ×6 (24)
R5: sc around (24)
R6: sc around (24)
R7: (2 sc, dec) ×6 (18)
R8: sc around (18)
R9: (1 sc, dec) ×6 (12)
R10: sc around (12)
R11: sc around (12)
Stuff firmly around the foot and use slightly less stuffing toward the upper edge.
Fasten off. Leave approximately 25 cm of yarn for sewing.
Outer Ears — Make 2
Yarn: Black
R1: 6 sc in MR (6)
R2: inc ×6 (12)
R3: (1 sc, inc) ×6 (18)
R4: (2 sc, inc) ×6 (24)
R5: sc around (24)
Do not stuff. Fold the piece slightly inward to produce a shallow curled ear.
Fasten off. Leave approximately 25 cm of yarn for attachment.
Inner Ears — Make 2
Yarn: Red
R1: 6 sc in MR (6)
R2: inc ×6 (12)
R3: (1 sc, inc) ×6 (18)
Fasten off. Leave a sewing tail.
Sew one red circle inside each black outer ear while leaving a visible black border. Fold part of the black edge inward before attaching the ear to create the curled appearance.
Tail
Yarn: Black
R1: 6 sc in MR (6)
R2: inc ×6 (12)
R3: sc around (12)
R4: sc around (12)
R5: sc around (12)
R6: sc around (12)
R7: sc around (12)
R8: sc around (12)
R9: sc around (12)
R10: sc around (12)
R11: sc around (12)
R12: sc around (12)
R13: sc around (12)
R14: sc around (12)
R15: sc around (12)
R16: sc around (12)
R17: (1 sc, dec) ×4 (8)
R18: sc around (8)
R19: sc around (8)
R20: sc around (8)
Stuff only the lower half lightly. Keep the remaining section flexible so the tail can be curved during assembly.
Fasten off. Leave approximately 25 cm of yarn for sewing.
Cheek Patches — Make 2
Yarn: Red
R1: 6 sc in MR (6)
R2: inc ×6 (12)
R3: (1 sc, inc) ×6 (18)
Finish with a sl st. Fasten off and leave approximately 20 cm of yarn for sewing.
Keep both circles completely flat. Do not stuff them. Because the head is also red, a narrow black stitched outline can be added around each cheek if more visual separation is required.
Nose and Mouth
Thread a yarn needle with black yarn. Make three short horizontal stitches across the center of the lower face. Add progressively shorter stitches underneath until the nose forms a compact downward-pointing triangle.
Bring the yarn out immediately below the nose. Make one short vertical stitch, followed by a curved stitch toward each side to create the mouth.
Closed Eyes
Use black embroidery yarn for the eyes. Each closed eye should span approximately four to five stitches.
Make a shallow curved line for each eyelid. Add two short lash stitches near the outside corner of each eye. Count the rounds and stitches from the center of the face so both eyes occupy matching positions.
Whiskers
Work three black whiskers on each side of the face.
The middle whisker should measure approximately 3 cm on a 20–22 cm finished cat. Angle the upper whisker slightly upward and the lower whisker slightly downward. Match those angles on the opposite side.
Assembly
- Center the head over the body’s 18-stitch opening. Pin it at four opposing points before beginning the seam.
- Sew the head to the body around the complete neck opening. Make a second pass if the head shifts when the figure is held upright.
- Position the two cheek patches at equal distances from the nose. Pin both before sewing either patch permanently.
- Complete the closed eyes, lashes, nose, mouth and six whiskers while the front of the head remains unobstructed.
- Position the front legs on opposite sides of the upper body. Count body rounds from the neck so both shoulders begin at the same height.
- Place the back legs low on the body. The feet and lower body should contact the working surface when the cat is placed in its sitting position.
- Pin both ears before sewing. Angle the curled openings slightly forward so the red inner-ear circles remain visible from the front.
- Attach the tail to the lower back or side of the body. Curve it toward one rear leg and add a hidden anchoring stitch if the curve needs additional support.
- Weave every long assembly tail through the stuffed body in two different directions before trimming the excess yarn.
- Check the finished cat from the front, back and both sides. Redistribute stuffing through the crochet fabric with the blunt end of a yarn needle where small dents remain.
The completed cat should sit primarily on the lower body and two back feet without relying on the tail for support.
7 Technical Tips for a Cleaner Cat Amigurumi
- Control stitch-marker drift. Missing the first stitch can rotate the shaping line several stitches over ten rounds. Move the marker immediately after completing the first stitch of every new round.
- Prevent a flat head. A 36-stitch head can develop dents when stuffing is concentrated only in the center. Insert small pieces of stuffing around the circumference before filling the middle.
- Hide decrease gaps. Standard sc2tog decreases can leave visible horizontal openings on the face. Work the decreases through the front loops of the next two stitches.
- Mark the eyes before closing. Establish both eye positions while the head still has at least a 12-stitch opening. This gives the needle enough internal access to correct a misplaced eyelid.
- Match yarn thickness. Red and black yarns of different diameters can produce visibly different limb sizes even with identical stitch counts. Use yarns from the same weight category and compare both arms after Round 5.
- Pin both ears together. Sewing one ear before positioning the second can produce different heights or angles. Count the head rounds between the eye line and each lower ear edge before sewing.
- Secure the tail base. A tail attached with a single sewing pass can loosen with handling. Stitch around the complete base and weave the remaining yarn at least 5 cm through the stuffed body.
Conclusion
The finished cat should retain the strongest details from the red-and-black reference: curled black ears with red centers, circular cheek patches, a compact black nose, closed eyelids and three whiskers on each side. Before making another version, record the exact head rounds used for the eyes and cheek centers so repeated faces remain consistent. Save this cat amigurumi crochet pattern to Pinterest with a clear front-view photograph, or share the completed cat on Instagram using #RedBlackCatAmigurumi. For the next version, change one feature at a time rather than resizing every component. Which detail would you keep: the curled ears or the circular cheeks?