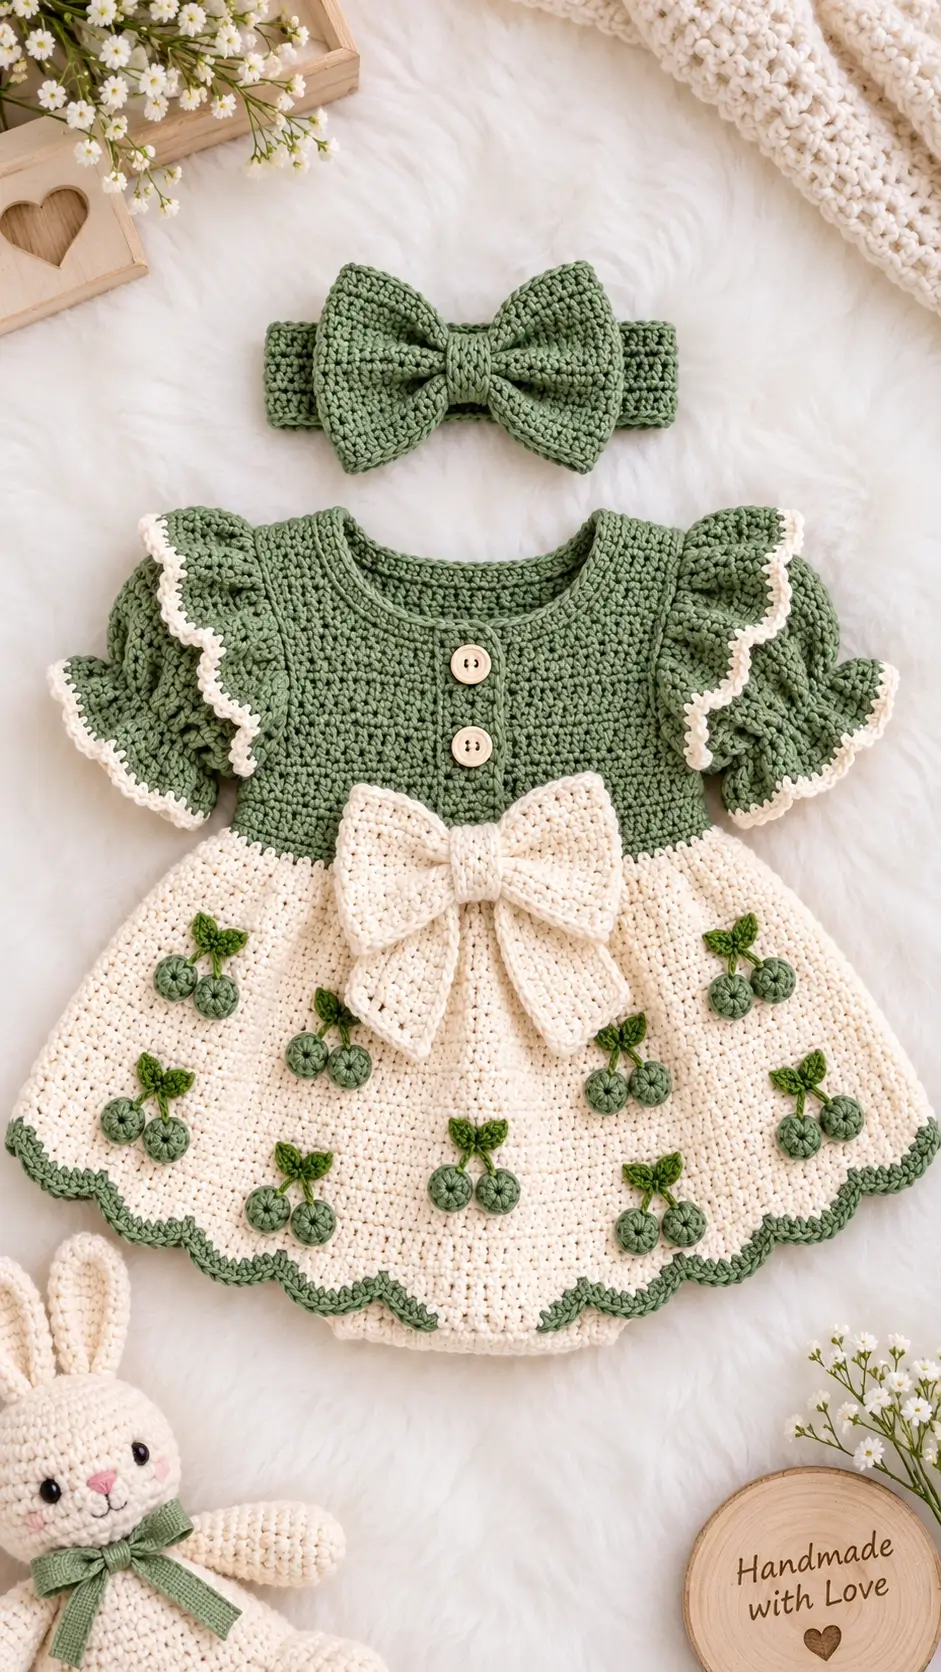
Bunny Amigurumi Crochet Pattern: Cream Rabbit With Long Ears
Introduction
A rabbit with ears nearly as long as its head needs a narrow ear base or the silhouette turns into a bear. This bunny amigurumi crochet pattern uses DK yarn, a 3 mm hook and 8 mm eyes to produce a cream rabbit about 15–18 cm tall when sitting. The intermediate-beginner construction uses standard spiral rounds and separate limbs. Its compact scale also makes it practical for using one partial 50 g skein.
The Design: What Makes This Bunny Different
The head stops at 36 stitches rather than expanding to 42 or 48, keeping the face compact enough for the photographed rabbit’s narrow upright ears. Those ears have an 18-stitch upper section but narrow to 12 stitches toward the base, which limits sideways spread after sewing. A separate low-profile muzzle adds facial projection without making the entire head longer.
The body follows the same six-stitch expansion system, giving the long-eared crochet bunny a stable sitting base before the upper torso narrows. Back legs are broader than the arms because a seated rabbit needs more visual and physical weight below the body. The cream amigurumi bunny also uses flat cheek circles rather than bulky spheres.
A frequent rabbit-making error is sewing the ears too far apart. Wide spacing makes the forehead appear flat and changes the species read immediately.
Project Info at a Glance
| Skill Level | Time | Finished Size | Hook | Best For |
|---|---|---|---|---|
| Intermediate beginner | 4–6 hours | Approx. 15–18 cm sitting | 3.0 mm | Nursery display, shelf figure, gift topper |
The 15–18 cm size range is supported by a current step-by-step bunny reference; actual measurements change with yarn, hook and tension.
Materials and Tools
Yarn
- Warm cream — DK / 8-ply cotton or cotton blend — up to 50 g — YarnArt Jeans, Gazzal Jeans or a comparable tightly twisted yarn.
- Soft pink — DK — 2–5 g — for nose embroidery and optional cheek detail.
- Sage green — DK — 5–10 g — for the crochet neck bow if fabric ribbon is not being used.
- Black — embroidery floss — less than 1 g — for the mouth.
A published YarnArt Jeans bunny uses less than a 50 g skein of its main color, making 50 g a useful purchasing ceiling for this smaller construction.
Tools
- 3.0 mm crochet hook
- 8 mm safety eyes, one pair
- Polyester toy stuffing
- Tapestry needle
- Locking stitch marker
- Sewing pins
- Embroidery needle
- Scissors
DK yarn with a 3 mm hook and 8 mm eyes is suitable for this scale. Safety eyes contain small components; substitute embroidered eyes for a toy intended for a child under three.
Abbreviations
- MR — magic ring
- sc — single crochet
- inc — two sc in one stitch
- dec — invisible decrease over two stitches
- sl st — slip stitch
- ch — chain
- BLO — back loop only
- st/sts — stitch/stitches
- R — round or row
For an invisible decrease, pick up only the front loops of the next two stitches, then complete one single crochet through them.
Pattern — Step by Step
Work continuous spirals unless a section states otherwise. The shaping below is an original pattern drafted for the photographed rabbit.
Head
Yarn: cream — construction based on standard six-stitch amigurumi sphere math.
R1: 6 sc in MR (6)
R2: inc ×6 (12)
R3: (1 sc, inc) ×6 (18)
R4: (2 sc, inc) ×6 (24)
R5: (3 sc, inc) ×6 (30)
R6: (4 sc, inc) ×6 (36)
R7: sc around (36)
R8: sc around (36)
R9: sc around (36)
R10: sc around (36)
R11: sc around (36)
R12: sc around (36)
Insert 8 mm eyes between R9 and R10, with about 7–8 visible stitches between the posts. Check the face from the front before fitting the washers.
R13: (4 sc, dec) ×6 (30)
R14: (3 sc, dec) ×6 (24)
Begin stuffing. Pack the lower cheeks first, then add smaller pieces toward the crown.
R15: (2 sc, dec) ×6 (18)
R16: (1 sc, dec) ×6 (12)
R17: dec ×6 (6)
Fasten off. Leave a 15 cm tail, thread it through the front loops of the final six stitches and close.
Body
Yarn: cream — original 36-stitch medium body.
R1: 6 sc in MR (6)
R2: inc ×6 (12)
R3: (1 sc, inc) ×6 (18)
R4: (2 sc, inc) ×6 (24)
R5: (3 sc, inc) ×6 (30)
R6: (4 sc, inc) ×6 (36)
R7: sc around (36)
R8: sc around (36)
R9: sc around (36)
R10: sc around (36)
R11: (4 sc, dec) ×6 (30)
R12: sc around (30)
R13: (3 sc, dec) ×6 (24)
Stuff the lower half firmly enough that the base retains a rounded sitting shape.
R14: (2 sc, dec) ×6 (18)
R15: sc around (18)
R16: (1 sc, dec) ×6 (12)
R17: dec ×6 (6)
Fasten off. Leave a 30 cm sewing tail before closing the opening.
Arms / Front Legs — Make 2
Yarn: cream.
R1: 6 sc in MR (6)
R2: inc ×6 (12)
R3: sc around (12)
R4: sc around (12)
R5: sc around (12)
R6: sc around (12)
R7: dec ×6 (6)
Add only a small plug of stuffing to the paw end. The shoulder half should remain flatter so it lies against the body.
Fasten off. Leave a 20 cm tail on each arm.
Back Legs — Make 2
Yarn: cream.
R1: 6 sc in MR (6)
R2: inc ×6 (12)
R3: (1 sc, inc) ×6 (18)
R4: sc around (18)
R5: sc around (18)
R6: sc around (18)
R7: (1 sc, dec) ×6 (12)
R8: sc around (12)
R9: dec ×6 (6)
Stuff through R7, with the highest density at the foot. A firm lower leg gives the seated body a wider contact area.
Fasten off. Leave a 25 cm attachment tail.
Long Ears — Make 2
Yarn: cream.
R1: 6 sc in MR (6)
R2: inc ×6 (12)
R3: (1 sc, inc) ×6 (18)
R4: sc around (18)
R5: sc around (18)
R6: sc around (18)
R7: sc around (18)
R8: sc around (18)
R9: sc around (18)
R10: (1 sc, dec) ×6 (12)
R11: sc around (12)
R12: sc around (12)
R13: sc around (12)
R14: sc around (12)
Do not stuff. Flatten the lower four rounds gently, keeping the front surface centered.
Fasten off. Leave a 25 cm tail on each ear.
Muzzle
Yarn: cream.
R1: 6 sc in MR (6)
R2: inc ×6 (12)
R3: (1 sc, inc) ×6 (18)
Fasten off with a 20 cm tail. Position the circle across the lower center of the face and allow it to cup slightly during sewing rather than stretching it flat.
Embroider a small inverted pink triangle at the center. Add two short black mouth lines below the nose.
Cheek Patches — Make 2
Yarn: very pale pink, or cream if surface blush will be applied later.
R1: 6 sc in MR (6)
R2: inc ×6 (12)
Fasten off with a 12 cm tail. For the subtler appearance in the image, surface color can replace the crocheted circles; do not apply cosmetic pigment to a toy intended for mouthing.
Tail
Yarn: cream.
R1: 6 sc in MR (6)
R2: inc ×6 (12)
R3: (1 sc, inc) ×6 (18)
R4: sc around (18)
R5: sc around (18)
R6: (1 sc, dec) ×6 (12)
Stuff lightly.
R7: dec ×6 (6)
Fasten off. Leave a 20 cm tail for sewing.
Sage Neck Bow
Yarn: sage green. The photograph uses a ribbon bow; this crochet version reproduces its scale without requiring woven ribbon.
Ch 25.
Row 1: starting in the second ch from hook, 24 sc (24)
Row 2: ch 1, turn, 24 sc (24)
Row 3: ch 1, turn, 24 sc (24)
Row 4: ch 1, turn, 24 sc (24)
Fasten off and weave in both ends. Fold the strip so both short ends overlap at the center.
For the center band, ch 7.
Row 1: starting in second ch, 6 sc (6)
Rows 2–3: ch 1, turn, 6 sc (6)
Wrap the small band around the pinched center and stitch it closed at the back. Sew the bow to the front of the neck rather than tying a loose cord around the rabbit.
Assembly
- Sew the head to the top center of the body with repeated small stitches through both closed surfaces, checking that the eye line remains horizontal.
- Position the body so its broadest lower section sits level before tightening the neck seam.
- Attach the muzzle below the eyes, centering the pink nose on the vertical line between them; then add the mouth and cheek patches.
- Pin the front legs about one round below the neck seam and sew both at matching heights.
- Place the back legs low on either side of the body so their lower edges touch the sitting surface.
- Pin the ears roughly two to three stitches apart on the crown; angle their bases slightly outward while keeping the upper sections mostly vertical.
- Sew the tail to the lower rear of the body, testing the figure on a flat table before fixing the final stitches.
- Attach the sage bow at the center front of the neck with several hidden stitches through its rear band.
- Inspect every seam for visible stuffing, loose attachment loops or gaps wider than one stitch and repair those areas with matching yarn.
- Weave each remaining tail through the stuffed body in two different directions, trim it after light tension, and allow the cut end to retract inside.
The completed rabbit should sit on its back legs and tail with both ears remaining distinct from the head outline.
7 Technical Tips
- Stitch-marker drift: move the marker after the first stitch of every round, not after completing the round. Losing one round on a 36-stitch head can shift both eye and ear placement by several millimetres.
- Stuffing firmness: fill the lower body to roughly 80–90% of the density used in the head. Overfilling the 36-stitch belly rounds pushes the back legs outward and can make the rabbit tip forward.
- Invisible-decrease ridges: work both picked-up front loops at the same tension as the surrounding single crochet. Pulling the decrease unusually tight creates six visible dents around R13 of the head.
- Eye-placement timing: install the 8 mm eyes before reducing below 24 stitches. Once R15 is complete, reaching the washers from inside the head becomes much harder without distorting the opening.
- Yarn tension: with DK cotton and a 3 mm hook, reject any fabric section where stuffing can be seen through a relaxed stitch gap. A larger hook can open the fabric enough to expose white fiberfill between stitches.
- Ear pinning: pin both 12-stitch ear bases before making a permanent seam. A difference of only two head stitches between left and right placement is visible because the ears are long and nearly parallel.
- Tail weaving: pass every long attachment tail through the stuffed body twice in different directions before trimming. Cutting directly beside a seam can allow a 5–10 mm yarn end to work back through the surface.
Conclusion
Check the finished rabbit first from the front, then from directly above: the two long ears should sit close to the centerline, the 8 mm eyes should remain level, and both back legs should touch the same surface. Photograph those three views before changing any seam placement, because asymmetry is easier to measure from a still image. Your next practical step is to pin the ears and legs without sewing them, then test the sitting balance. Save this bunny amigurumi crochet pattern to Pinterest and share the finished version on Instagram with #CreamLongEarBunny. Which ear position suits this rabbit better: nearly parallel like the photo, or tilted outward by one stitch at each base?









