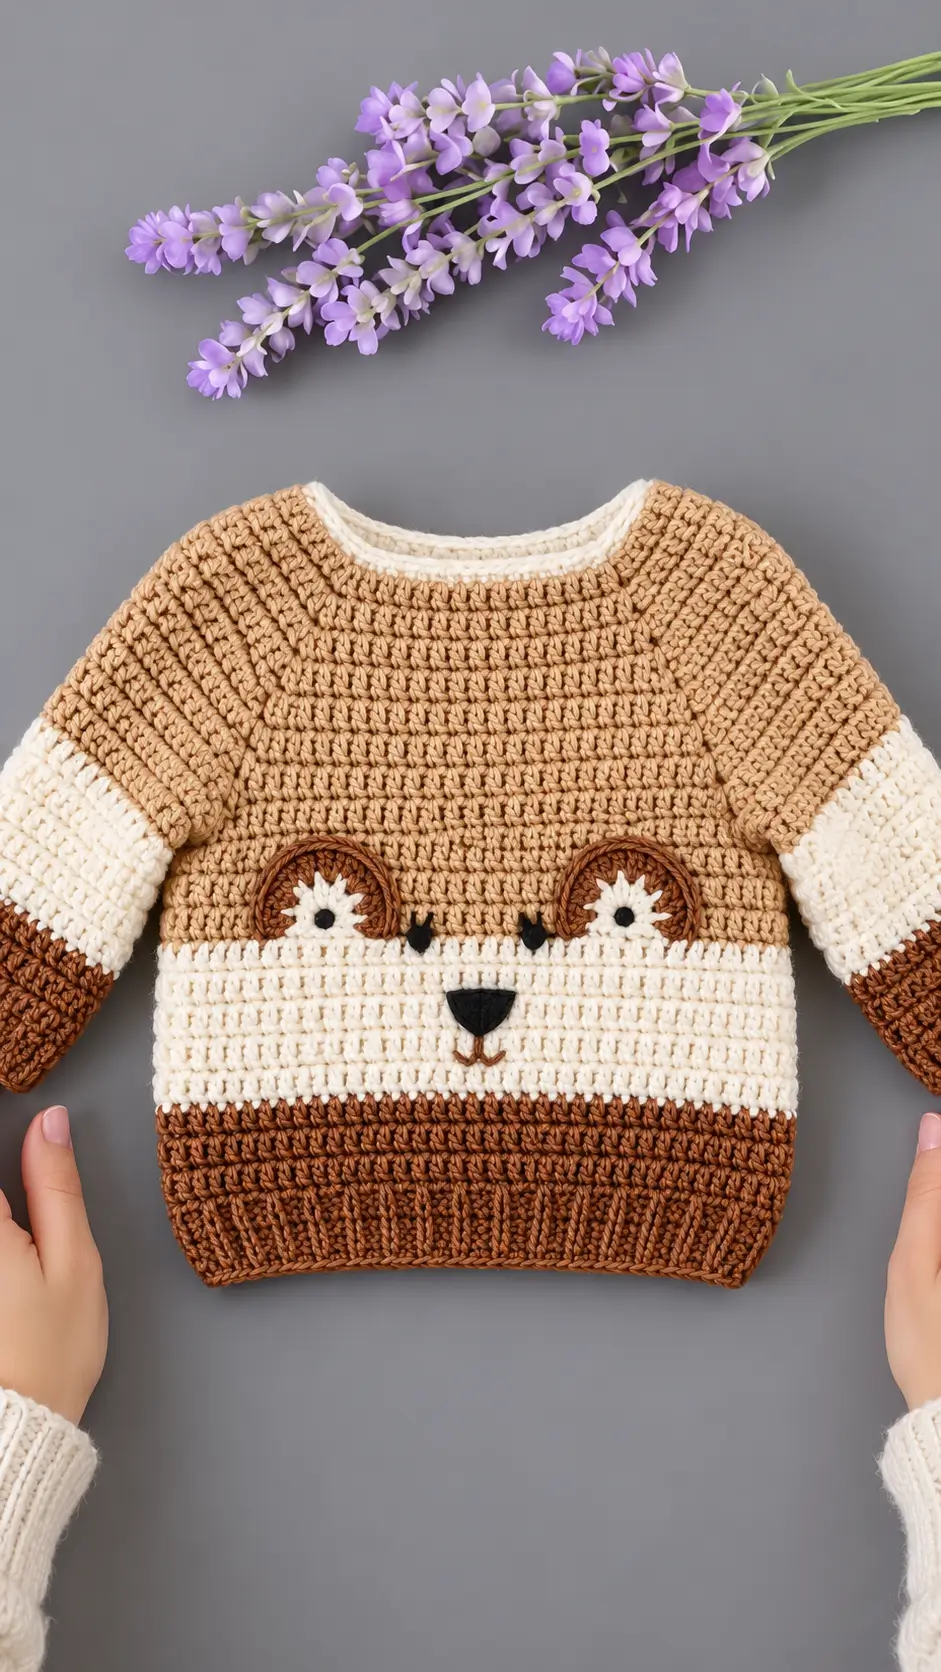
Introduction
A sloth’s dark eye masks have to stretch toward the temples without turning the face into a raccoon. This sloth amigurumi crochet pattern translates the tan, cream and chestnut palette in the reference into a 17 cm DK-yarn toy using a 3 mm hook and intermediate shaping. Long flexible limbs make the finished figure suitable for sitting on a shelf or wrapping around a narrow support.
The Design: What Makes This Sloth Different
The wide cream face is the first structural decision. Instead of changing the entire head color, two overlapping face patches preserve the tan head outline while reproducing the pale facial area seen in the reference. Chestnut eye masks sit above those patches, giving the eyes the elongated sloth placement required for species recognition.
Long arms are the second decision. They extend farther than the back legs, so the crochet sloth pattern can produce the characteristic hanging proportion without making the torso unnaturally narrow. The body remains compact at a 36-stitch plateau for stability.
Finally, the triangular embroidered nose is kept small. Oversizing this feature is a common mistake in a sloth plush crochet pattern because it compresses the cream facial area and makes the eye masks appear too close together.
Project Info at a Glance
| Skill Level | Time | Finished Size | Hook | Best For |
|---|---|---|---|---|
| Intermediate | 5–7 hours | Approx. 17 cm | 3.0 mm | Display toy, woodland collection |
Materials and Tools
Yarn
- Warm tan — DK/light worsted — allow approximately 60 g
- Cream/ivory — DK/light worsted — allow approximately 20 g
- Chestnut brown — DK/light worsted — allow approximately 10 g
- Black — DK — less than 2 g for nose and facial embroidery
Tools
- 3.0 mm crochet hook
- Two 9 mm black safety eyes
- Polyester toy stuffing
- Yarn needle
- Locking stitch marker
- Dressmaking pins
- Scissors
For a toy intended for a young child, use securely embroidered eyes instead of detachable plastic safety eyes.
Abbreviations
- MR — magic ring
- sc — single crochet
- inc — 2 sc in one stitch
- dec — invisible decrease over next 2 stitches
- sl st — slip stitch
- ch — chain
- BLO — back loop only
- st/sts — stitch/stitches
For an invisible decrease, insert the hook through the front loops of the next two stitches, yarn over, pull through both front loops, then complete the single crochet.
Sloth Amigurumi Pattern — Step by Step
Work in a continuous spiral unless a section states otherwise. Move the stitch marker after every completed round.
Head
Yarn: warm tan.
R1: 6 sc in MR (6)
R2: inc ×6 (12)
R3: (sc, inc) ×6 (18)
R4: (2 sc, inc) ×6 (24)
R5: (3 sc, inc) ×6 (30)
R6: (4 sc, inc) ×6 (36)
R7–R12: sc around (36)
R13: (4 sc, dec) ×6 (30)
R14: sc around (30)
R15: (3 sc, dec) ×6 (24)
Attach the completed face patches and eye masks before locking the safety-eye washers. Begin stuffing after the eyes are secured.
R16: (2 sc, dec) ×6 (18)
R17: (sc, dec) ×6 (12)
R18: dec ×6 (6)
Stuff firmly enough to retain the oval profile. Fasten off and close the opening. Weave in the tail.
Body
Yarn: warm tan.
R1: 6 sc in MR (6)
R2: inc ×6 (12)
R3: (sc, inc) ×6 (18)
R4: (2 sc, inc) ×6 (24)
R5: (3 sc, inc) ×6 (30)
R6: (4 sc, inc) ×6 (36)
R7–R11: sc around (36)
R12: (4 sc, dec) ×6 (30)
R13: sc around (30)
R14: (3 sc, dec) ×6 (24)
R15: sc around (24)
R16: (2 sc, dec) ×6 (18)
R17: sc around (18)
Stuff the lower body firmly and leave the upper edge slightly softer for the head seam.
Fasten off. Leave approximately 30 cm of yarn for sewing the body to the head.
Arms / Front Legs — Make 2
Yarn: warm tan.
R1: 6 sc in MR (6)
R2: inc ×6 (12)
R3: sc around (12)
R4: (4 sc, dec) ×2 (10)
R5–R16: sc around (10)
R17: (3 sc, dec) ×2 (8)
R18–R20: sc around (8)
Stuff only the lower half. Keeping the upper arm relatively flat allows it to hang instead of projecting rigidly from the body.
Flatten the opening and work 4 sc through both layers. Fasten off and leave approximately 25 cm of yarn for sewing.
Back Legs — Make 2
Yarn: warm tan.
R1: 6 sc in MR (6)
R2: inc ×6 (12)
R3: sc around (12)
R4: (4 sc, dec) ×2 (10)
R5–R12: sc around (10)
R13: (3 sc, dec) ×2 (8)
R14–R15: sc around (8)
Lightly stuff the lower two-thirds. Flatten the opening and crochet 4 sc through both layers.
Fasten off. Leave approximately 25 cm of yarn for assembly.
Cream Face Patches — Make 2
Yarn: cream/ivory.
R1: 6 sc in MR (6)
R2: inc ×6 (12)
R3: (sc, inc) ×6 (18)
R4: (2 sc, inc) ×6 (24)
Sl st into the next stitch. Do not stuff. Fasten off with approximately 25 cm of yarn for sewing.
Pin the two circles so their inner edges overlap slightly at the center of the face. Shape them into broad ovals while sewing to create the wide cream facial area.
Chestnut Eye Masks — Make 2
Yarn: chestnut brown.
Ch 7.
R1: Starting in the second ch from the hook, sc in the next 5 ch, 3 sc in the final ch; continue along the opposite side of the foundation chain, sc in the next 4 ch, inc in the final ch (14).
R2: inc, 4 sc, inc ×3, 4 sc, inc ×2 (20).
Sl st and fasten off with approximately 20 cm of yarn.
Position one mask over each cream face patch. Angle the inner ends slightly downward toward the nose to create the characteristic sloth eye markings.
Cheek Patches — Make 2
Yarn: cream/ivory.
R1: 6 sc in MR (6)
R2: inc ×6 (12)
Sl st and fasten off with approximately 15 cm of yarn.
Place these small flat circles beneath the lower inner edges of the eye masks. Do not add stuffing.
Claw Pads — Make 4
Yarn: cream/ivory.
R1: 6 sc in MR (6)
R2: inc ×6 (12)
R3: sc around (12)
Flatten each piece and fasten off with approximately 15 cm of yarn.
Sew one pad over the end of each limb. Using cream yarn, add three short straight stitches to each tip to represent the sloth’s three claws.
Nose and Mouth
Yarn: black and chestnut brown.
Mark a triangle approximately 10 mm wide and 7 mm high at the center of the cream face. Fill the triangle with closely spaced horizontal black stitches.
Bring chestnut yarn out directly below the nose. Make one vertical stitch approximately 7 mm long, followed by two shallow diagonal mouth stitches approximately 5 mm long.
Secure the embroidery tails inside the head.
Optional Hanging Loop
Yarn: warm tan.
Ch 18. Sl st into each chain back toward the beginning.
Fasten off with approximately 20 cm of yarn. Sew both ends between the upper shoulders only when the sloth will be used as lightweight display décor. Omit the loop when making the project as a toy.
Assembly
- Pin the head centrally above the body’s 18-stitch opening and sew around the complete neck circumference with small mattress stitches.
- Check the head from the front before tightening the final stitches. The center of the cream facial area should align with the middle of the torso.
- Sew the cream face patches across the lower front portion of the head, allowing their inner edges to overlap by approximately 5–8 mm.
- Position the chestnut eye masks over the cream patches. Insert the 9 mm eyes through the facial layers and head, then secure the washers before the head opening becomes too small to access.
- Attach the arms high on each side of the torso, approximately one round below the neck seam. Angle them slightly forward instead of pointing them directly sideways.
- Sew the back legs to the lower sides of the body. Keep both attachment points level so the finished sloth can sit without twisting.
- Attach the cream claw pads and embroider three claw lines on every limb.
- Embroider the small black triangular nose at the center of the cream facial area. Add the short chestnut mouth directly underneath.
- Pin the completed figure in its intended sitting position. Correct any limb rotation before hiding the sewing tails.
- Weave every remaining tail through at least three different stitch directions inside the stuffed pieces. Trim the yarn and allow the cut ends to retract into the fabric.
The completed figure has a compact tan body, elongated sloth limbs, a broad cream facial area and contrasting chestnut eye masks.
7 Technical Tips for a Cleaner Sloth Amigurumi
- Control stitch-marker drift. Move the locking marker immediately after the first stitch of every round. Missing one round on the 36-stitch plateau can rotate the decrease lines and shift the face relative to the neck.
- Avoid an overstuffed head. Stop adding fiberfill when firm finger pressure produces approximately 5–8 mm of temporary compression. Excessive stuffing stretches the stitches around the safety-eye posts and can expose the filling.
- Keep decreases less visible. Work head and body decreases through the front loops. A conventional sc2tog creates a larger surface disturbance on tightly stuffed amigurumi.
- Install the eyes at the correct stage. Position the 9 mm safety eyes before completing R16 of the head. Accessing the internal washers becomes difficult once the opening contracts to 12 stitches.
- Check the fabric before stuffing. If filling is clearly visible through the DK fabric with a 3 mm hook, reduce the hook size by approximately 0.25–0.5 mm. Do not compensate by dramatically increasing hand tension.
- Pin all four limbs before sewing. A vertical difference of only one crochet round becomes noticeable because the sloth’s arms and legs are elongated.
- Secure yarn tails in several directions. Weave assembly tails through the stuffed body in at least three directions. A tail hidden in one straight channel can work back toward the surface when the long limbs are moved.
Finishing the Sloth
Before cutting the final yarn tail, photograph the sloth directly from the front and check whether the two chestnut masks finish at equal heights beside the cream face. Correcting that small alignment error has more effect on the character than adding extra surface detail.
Your next practical step is to record the actual finished height, yarn consumption and hook used so a second sloth amigurumi crochet pattern sample can be reproduced consistently.
Pin the finished project to Pinterest or share the front and side views on Instagram with #TanFaceSloth. When comparing your finished figure with the reference, did you keep the sloth’s dark eye masks narrow and diagonal, or make them broader around the eyes?









