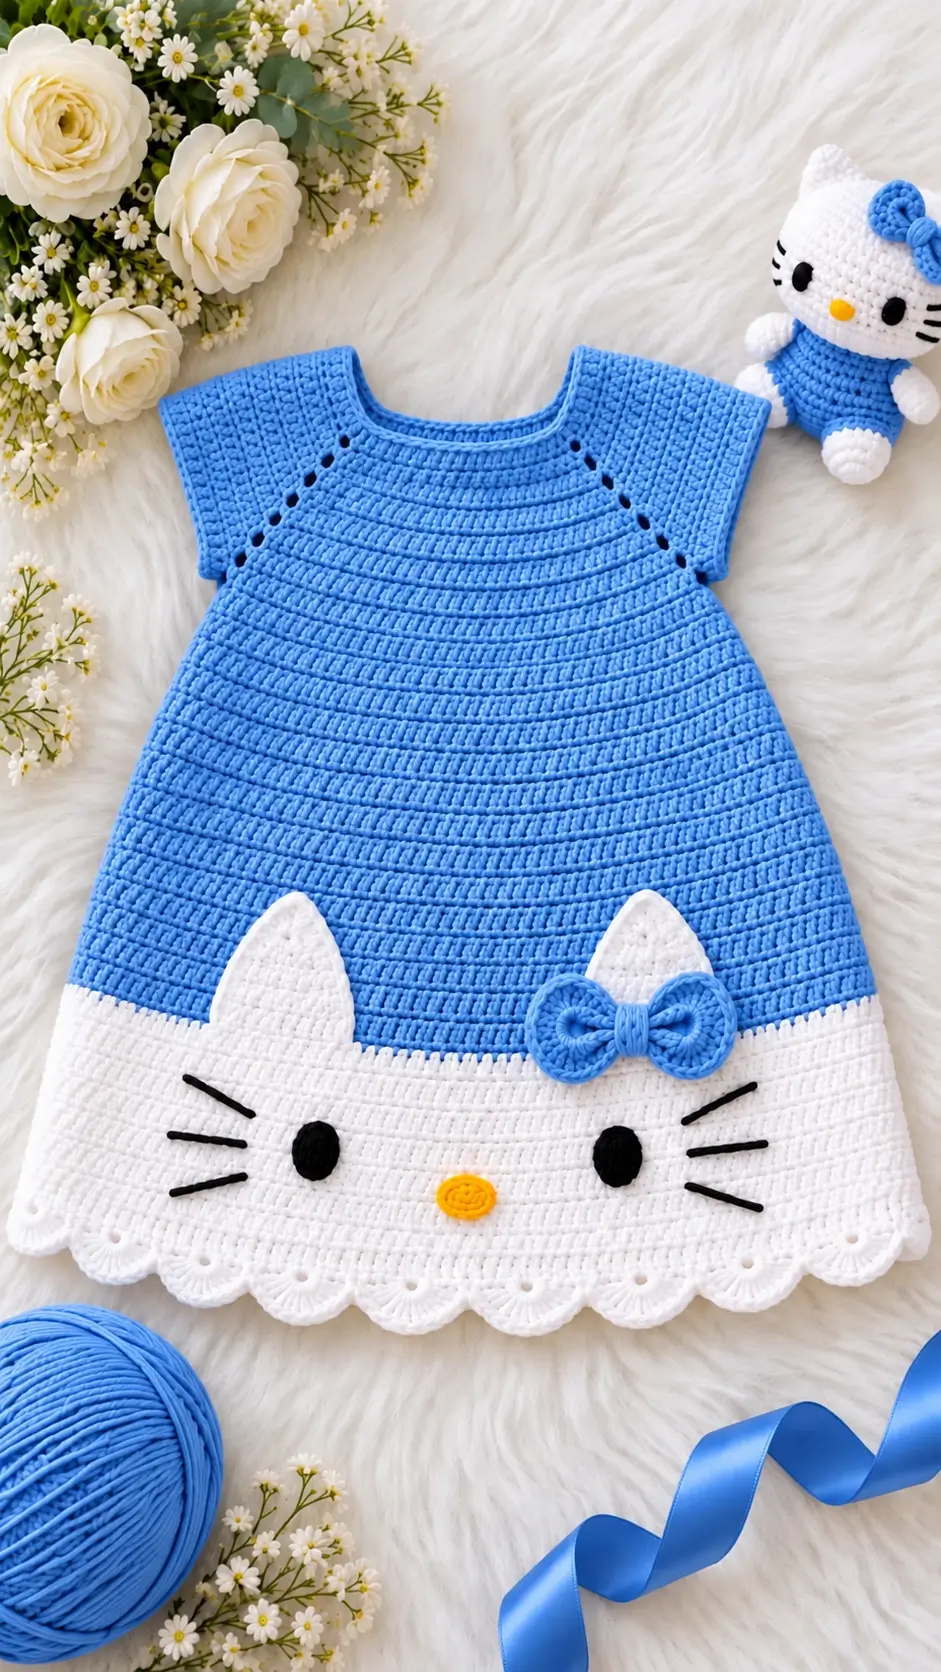
Hello Kitty’s head is wider than it is tall, so a round crochet sphere will immediately distort her defining silhouette. This Hello Kitty amigurumi crochet pattern uses DK cotton, a 2.5 mm hook and a 36-stitch head structure to produce a doll about 13 cm tall. The project suits intermediate amigurumi makers. Its compact scale also makes it practical for using partial skeins of white and blue yarn.
The Design: What Makes Blue Bow Kitty Different
The head controls the entire design. A longer plateau is used around the 36-stitch circumference so the stuffing can be compressed into a broad oval rather than a ball. The ears are made separately because this permits their angle to be adjusted after the face centerline is established.
A relatively narrow blue torso keeps the head dominant, matching the proportions visible in the reference image. Short white limbs also prevent the seated figure from becoming visually tall.
For this blue Hello Kitty amigurumi, the bow is deliberately compact and mounted close to the right ear. Moving it toward the center makes the head appear narrower. The most common error in a crochet kitty doll of this type is placing the eyes too high. Positioning them below the horizontal midpoint leaves enough upper-head area for the ears and bow.
Project Info at a Glance
| Skill Level | Time | Finished Size | Hook | Best For |
|---|---|---|---|---|
| Intermediate | 5–7 hours | Approx. 13 cm | 2.5 mm | Small display doll, character collection |
The 13 cm target falls within the 12–16 cm range documented by comparable published patterns.
Materials and Tools
Yarn
- White — DK cotton — approximately 25–30 g
- Bright blue — DK cotton — approximately 12–15 g
- Yellow — DK cotton — less than 2 g for the nose
- Black — embroidery thread or thin cotton — less than 2 g for whiskers
Tools
- 2.5 mm crochet hook
- Two 9 mm black safety eyes, or black embroidery thread
- Polyester stuffing
- Tapestry needle
- Locking stitch markers
- Pins
- Scissors
Safety note: Plastic safety eyes can present a choking hazard. For an item intended for a child under three years old, use securely embroidered eyes instead.
Abbreviations
- MR — Magic ring
- sc — Single crochet
- inc — 2 sc in one stitch
- dec — Invisible decrease
- sl st — Slip stitch
- ch — Chain
- BLO — Back loop only
For an invisible decrease, insert the hook through the front loops of the next two stitches before completing one single crochet through both loops.
Pattern — Step by Step
Work in a continuous spiral unless a section specifically states otherwise. Place a marker in the first stitch of every round.
Head
Yarn: white. Standard 6-stitch amigurumi shaping.
R1: 6 sc in MR (6)
R2: inc ×6 (12)
R3: (sc, inc) ×6 (18)
R4: (2 sc, inc) ×6 (24)
R5: (3 sc, inc) ×6 (30)
R6: (4 sc, inc) ×6 (36)
R7: sc around (36)
R8: sc around (36)
R9: sc around (36)
R10: sc around (36)
R11: sc around (36)
R12: sc around (36)
R13: sc around (36)
R14: (4 sc, dec) ×6 (30)
R15: (3 sc, dec) ×6 (24)
Insert the eyes between R9 and R10, approximately 8 stitches apart. Begin stuffing and shape the head horizontally.
R16: (2 sc, dec) ×6 (18)
R17: (sc, dec) ×6 (12)
R18: dec ×6 (6)
Finish stuffing. Fasten off and close the opening.
Body
Yarn: bright blue.
R1: 6 sc in MR (6)
R2: inc ×6 (12)
R3: (sc, inc) ×6 (18)
R4: (2 sc, inc) ×6 (24)
R5: (3 sc, inc) ×6 (30)
R6: (4 sc, inc) ×6 (36)
R7: sc around (36)
R8: sc around (36)
R9: sc around (36)
R10: sc around (36)
R11: (4 sc, dec) ×6 (30)
R12: sc around (30)
R13: (3 sc, dec) ×6 (24)
R14: sc around (24)
R15: (2 sc, dec) ×6 (18)
Stuff firmly at the base and more lightly toward the neck.
R16: (sc, dec) ×6 (12)
R17: sc around (12)
Fasten off. Leave a 25 cm tail for sewing the body to the head.
Arms / Front Legs — Make 2
Start with white yarn.
R1: 6 sc in MR (6)
R2: inc ×6 (12)
R3: sc around (12)
R4: sc around (12)
Change to blue.
R5: sc around (12)
R6: sc around (12)
R7: sc around (12)
R8: (sc, dec) ×4 (8)
Stuff only the lower half.
R9: sc around (8)
Flatten the opening and crochet 4 sc through both layers. Fasten off, leaving a 15 cm sewing tail.
Back Legs — Make 2
Start with white yarn.
R1: 6 sc in MR (6)
R2: inc ×6 (12)
R3: (sc, inc) ×6 (18)
R4: sc around (18)
R5: sc around (18)
R6: (sc, dec) ×6 (12)
Change to blue.
R7: sc around (12)
R8: sc around (12)
R9: (sc, dec) ×4 (8)
Stuff the foot firmly enough to retain an oval profile.
R10: sc around (8)
Fasten off, leaving a 20 cm sewing tail.
Ears — Make 2
Yarn: white.
R1: 6 sc in MR (6)
R2: (sc, inc) ×3 (9)
R3: (2 sc, inc) ×3 (12)
R4: sc around (12)
R5: (3 sc, inc) ×3 (15)
R6: sc around (15)
Do not stuff heavily. Flatten the lower edge and fasten off, leaving a 15 cm sewing tail.
Pin the ears before sewing. Their inner edges should sit high on the head while leaving enough room beside one ear for the bow.
Nose
Yarn: yellow.
R1: 6 sc in MR (6)
R2: inc ×6 (12)
Slip stitch into the next stitch. Fasten off, leaving a 12 cm sewing tail.
Compress the circle into a small horizontal oval while sewing it between the eyes.
Cheek Patches — Make 2
Yarn: white.
R1: 6 sc in MR (6)
R2: inc ×6 (12)
Fasten off, leaving a 12 cm sewing tail. These pieces are optional and should sit almost flush with the head rather than forming raised cheeks.
Whiskers
Use black embroidery thread.
Cut six working lengths approximately 20 cm each. Embroider three horizontal whiskers on each side of the face.
Place the middle whisker roughly level with the nose. Angle the upper whisker slightly upward and the lower whisker slightly downward. Keep the visible lengths approximately 1.5–2 cm.
Blue Bow
Yarn: bright blue.
Make two bow loops.
R1: 6 sc in MR (6)
R2: inc ×6 (12)
R3: sc around (12)
R4: sc around (12)
R5: dec ×6 (6)
Flatten each loop rather than stuffing it. Fasten off.
Center band:
Ch 5.
Row 1: sc in second ch from hook and across (4)
Rows 2–4: ch 1, turn, 4 sc (4)
Fasten off with a 15 cm tail. Wrap the rectangle around the inner edges of both loops and stitch it closed at the back.
The completed bow should measure approximately 3–3.5 cm across.
Assembly
- Pin the head centrally over the body opening. Check the face from the front before making permanent stitches.
- Sew the body to the underside of the head using small stitches through corresponding crochet loops.
- Position the yellow nose midway between the eyes and approximately one round lower. Sew it into a shallow horizontal oval.
- Embroider three black whiskers on each cheek, keeping their inner ends clear of the eyes.
- Pin the arms to opposite sides of the upper torso around R13–R14 and sew the flattened edges securely.
- Position the back legs low on the body so both feet touch the same horizontal surface when the doll sits.
- Pin both ears to the top of the head. Compare their angles from the front before sewing around each base.
- Attach the blue bow beside one ear without covering the ear tip or pulling the head fabric inward.
- Weave each sewing tail through several internal stitches before trimming it. Redistribute stuffing if assembly has produced flat areas.
- Set the doll on a level surface and correct the leg rotation or bow angle before burying the final yarn tail.
The completed figure should sit at approximately 13 cm tall when made with DK cotton and a 2.5 mm hook. Individual gauge and stuffing pressure can alter the finished measurement.
7 Technical Tips for Better Shaping
- Control stitch-marker drift. A misplaced round marker can shift facial reference points by several stitches after ten rounds. Move the marker immediately after completing every round.
- Watch stuffing firmness. Overfilling the head can transform the intended horizontal oval into a sphere. Stop adding fiberfill if the stitches begin separating enough to expose the stuffing.
- Use invisible decreases. Ordinary decreases can leave paired bars across the closing rounds. Work each decrease through the front loops of the next two stitches to reduce visible ridges.
- Check eye placement before closing. Do not complete R16–R18 until the face has been inspected. For this 36-stitch head, begin with the eyes approximately 8 stitches apart between R9 and R10.
- Keep hook size consistent. A change of only 0.5 mm can make the blue limbs noticeably looser than the white head. Work all stuffed pieces with the same 2.5 mm hook unless your yarn requires a gauge adjustment.
- Pin both ears before sewing either one. Attaching the first ear permanently can make matching the second angle difficult. Use at least two pins on each ear and inspect the head from both the front and side.
- Weave sewing tails deeply. Cutting a yarn tail immediately beside the final knot can weaken the seam during handling. Weave each tail through at least 3–4 cm of internal crochet fabric before trimming.
Conclusion
The defining measurements in this Hello Kitty amigurumi crochet pattern are the 36-stitch head circumference, low horizontal eye line, short torso and compact 3–3.5 cm bow. Complete the head first, then use it as the scale reference for every remaining component rather than changing hook size midway through the project. Pin all facial and ear pieces before sewing them permanently. After finishing, photograph the doll squarely from the front for Pinterest and Instagram so the eye spacing and bow placement remain visible. Use #BlueBowKittyPattern when sharing the project. Which photograph-specific detail would you change first: the blue outfit, bow size or width of the white head?









