Introduction
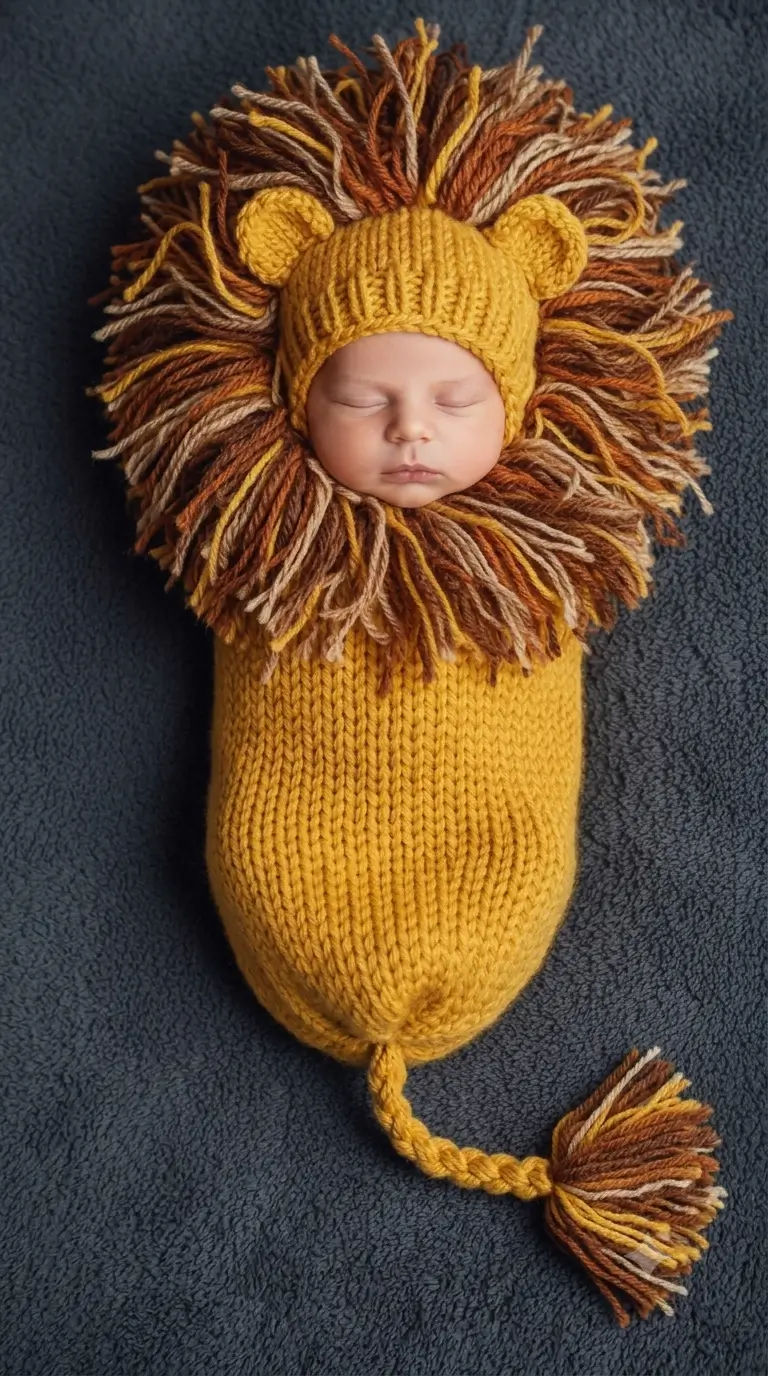
A lion without enough width behind its ears reads more like a bear, so the mane controls the entire silhouette. This lion amigurumi crochet pattern uses a mustard-gold body, rounded ears, a dense brown-and-gold mane, and a narrow tail ending in a large tuft. Worked mainly in Aran-weight yarn with a 4 mm hook, the finished lion measures about 23 cm tall and suits an intermediate-level maker who wants a highly recognizable animal design.
The Design: What Makes This Lion Different
The mane is built as a separate circular cap rather than a single row of loose strands. That decision gives the head enough visual width to reproduce the broad halo seen around a mature lion while keeping the strands anchored during handling. The muzzle projects from the lower front of the head so the face does not flatten beneath the mane. A narrow tubular tail balances the large head and ends with a separate tuft using the same brown, rust, beige, and gold colors as the mane. This free lion crochet pattern also uses relatively small ears because oversized ears can make a crochet lion resemble a teddy bear. Makers following a lion amigurumi free pattern often place the mane too far forward; keeping its front edge behind the facial plane leaves the eyes, cheeks, and muzzle readable.
Project Info at a Glance
| Skill Level | Time | Finished Size | Hook | Best For |
|---|---|---|---|---|
| Intermediate | 6–9 hours | Approx. 23 cm | 4 mm | Animal collections, nursery display, handmade gifts |
Materials and Tools
Yarn
- Mustard gold — Aran/worsted weight — approximately 50 g — Red Heart Super Saver Gold or similar.
- Dark brown — Aran/worsted weight — approximately 20 g — for mane and tail tuft.
- Rust brown — Aran/worsted weight — approximately 15 g — for mane variation.
- Warm beige — Aran/worsted weight — approximately 10 g — for mane highlights.
- Golden yellow — Aran/worsted weight — approximately 10 g — for mane highlights.
- Cream — Aran/worsted weight — approximately 10 g — for muzzle and cheek patches.
- Dark brown embroidery yarn — small amount — for nose and mouth.
Tools
- 4 mm crochet hook
- 9 mm safety eyes
- Polyester fiberfill
- Yarn needle
- Stitch markers
- Scissors
- Long pins for positioning pieces before sewing
Safety note: Plastic safety eyes are not appropriate for toys intended for children under three years old. Substitute firmly embroidered eyes for that use.
Abbreviations
- MR — magic ring
- sc — single crochet
- inc — 2 single crochet in one stitch
- dec — decrease over two stitches
- sl st — slip stitch
- ch — chain
- BLO — back loop only
An invisible decrease is worked through the front loops of the next two stitches before completing one single crochet, reducing the gap normally left by a standard decrease.
Pattern — Step by Step
Work in a continuous spiral unless a section specifically says otherwise. Place a stitch marker in the first stitch of every round and move it upward as the work progresses.
Head — Make 1
Yarn: mustard gold. Medium-size head with a 36-stitch plateau.
R1: 6 sc in MR (6)
R2: inc ×6 (12)
R3: (1 sc, inc) ×6 (18)
R4: (2 sc, inc) ×6 (24)
R5: (3 sc, inc) ×6 (30)
R6: (4 sc, inc) ×6 (36)
R7: 36 sc (36)
R8: 36 sc (36)
R9: 36 sc (36)
R10: 36 sc (36)
R11: 36 sc (36)
R12: 36 sc (36)
R13: (4 sc, dec) ×6 (30)
R14: (3 sc, dec) ×6 (24)
R15: (2 sc, dec) ×6 (18)
R16: (1 sc, dec) ×6 (12)
R17: dec ×6 (6)
Insert 9 mm eyes between R9 and R10, approximately 7 visible stitches apart, before the opening becomes too small. Stuff firmly after R13, adding small amounts around the eye backs to prevent indentations.
Fasten off and close the remaining opening. Leave a 25 cm yarn tail for sewing.
Body — Make 1
Yarn: mustard gold.
R1: 6 sc in MR (6)
R2: inc ×6 (12)
R3: (1 sc, inc) ×6 (18)
R4: (2 sc, inc) ×6 (24)
R5: (3 sc, inc) ×6 (30)
R6: (4 sc, inc) ×6 (36)
R7: 36 sc (36)
R8: 36 sc (36)
R9: 36 sc (36)
R10: 36 sc (36)
R11: 36 sc (36)
R12: 36 sc (36)
R13: (4 sc, dec) ×6 (30)
R14: 30 sc (30)
R15: 30 sc (30)
R16: (3 sc, dec) ×6 (24)
R17: 24 sc (24)
R18: 24 sc (24)
R19: (2 sc, dec) ×6 (18)
R20: (1 sc, dec) ×6 (12)
R21: dec ×6 (6)
Stuff the lower third firmly enough to support the finished figure. Reduce stuffing slightly near the neck so the head can be sewn flat against the body.
Fasten off. Leave a 30 cm tail.
Front Legs / Arms — Make 2
Yarn: mustard gold.
R1: 6 sc in MR (6)
R2: inc ×6 (12)
R3: 12 sc (12)
R4: 12 sc (12)
R5: 12 sc (12)
R6: (1 sc, dec) ×4 (8)
R7: 8 sc (8)
R8: 8 sc (8)
R9: 8 sc (8)
R10: 8 sc (8)
R11: 8 sc (8)
R12: 8 sc (8)
Stuff only the lower half. Flatten the final opening so the arms lie against the body instead of projecting outward.
Fasten off. Leave a 20 cm tail on each arm.
Back Legs — Make 2
Yarn: mustard gold.
R1: 6 sc in MR (6)
R2: inc ×6 (12)
R3: (1 sc, inc) ×6 (18)
R4: 18 sc (18)
R5: 18 sc (18)
R6: (1 sc, dec) ×6 (12)
R7: 12 sc (12)
R8: 12 sc (12)
R9: 12 sc (12)
R10: 12 sc (12)
R11: (1 sc, dec) ×4 (8)
R12: 8 sc (8)
Stuff the foot and first half of the leg firmly. Leave the upper section softer so it conforms to the lower body during assembly.
Fasten off. Leave a 25 cm sewing tail.
Ears — Make 2
Yarn: mustard gold.
R1: 6 sc in MR (6)
R2: inc ×6 (12)
R3: (1 sc, inc) ×6 (18)
R4: 18 sc (18)
Do not stuff. Fold each ear in half and work 9 sc through both layers across the opening (9).
Fasten off. Leave a 20 cm tail.
Muzzle — Make 1
Yarn: cream.
R1: 6 sc in MR (6)
R2: inc ×6 (12)
R3: (1 sc, inc) ×6 (18)
R4: 18 sc (18)
Add only a thin layer of stuffing. Too much filling produces a spherical muzzle instead of a shallow lion snout.
Fasten off and leave a 25 cm tail. Embroider an inverted triangular nose at the center and add one short vertical line below it with two curved mouth lines.
Cheek Patches — Make 2
Yarn: cream.
R1: 6 sc in MR (6)
R2: inc ×6 (12)
Slip stitch into the next stitch. Fasten off and leave a 15 cm sewing tail. Keep both circles completely flat and unstuffed.
Mane Cap — Make 1
Yarn: dark brown for the base. The cap supports the large multicolor mane.
R1: 6 sc in MR (6)
R2: inc ×6 (12)
R3: (1 sc, inc) ×6 (18)
R4: (2 sc, inc) ×6 (24)
R5: (3 sc, inc) ×6 (30)
R6: (4 sc, inc) ×6 (36)
R7: 36 sc (36)
R8: 36 sc (36)
R9: 36 sc (36)
R10: 36 sc (36)
Fasten off and leave a 30 cm tail.
Cut approximately 80–100 yarn strands measuring 13–15 cm each. Mix dark brown, rust, beige, and gold rather than arranging the colors in rigid stripes. Attach the strands with lark’s-head knots through the outer stitches of R6–R10, adding extra dark brown pieces around the lower sides. Trim the finished mane to roughly 5 cm from knot to tip.
Tail — Make 1
Yarn: mustard gold.
R1: 6 sc in MR (6)
R2: 6 sc (6)
R3: 6 sc (6)
R4: 6 sc (6)
R5: 6 sc (6)
R6: 6 sc (6)
R7: 6 sc (6)
R8: 6 sc (6)
R9: 6 sc (6)
R10: 6 sc (6)
R11: 6 sc (6)
R12: 6 sc (6)
R13: 6 sc (6)
R14: 6 sc (6)
Do not stuff the tail. Its narrow tube needs to remain flexible.
Fasten off and leave a 25 cm tail for attaching it to the body.
Tail Tuft — Make 1
Yarn: dark brown.
R1: 6 sc in MR (6)
R2: inc ×6 (12)
R3: 12 sc (12)
R4: 12 sc (12)
R5: dec ×6 (6)
Add a small amount of stuffing before R5. Fasten off with a 15 cm tail.
Cut 20–30 strands of brown, rust, beige, and gold yarn approximately 8 cm long. Knot them around the final rounds of the tuft and trim them to approximately 3 cm. The tuft should remain smaller than the head mane.
Assembly
- Position the head centrally on the narrow end of the body. Pin it at four points, then sew twice around the neck seam.
- Check the head from the front and side before closing the final few neck stitches. Add a small amount of stuffing beneath the seam if the head tilts forward.
- Place the muzzle across approximately R10–R14 of the head. Sew around the edge while keeping the nose centered between the eyes.
- Sew one cheek patch to each side of the muzzle. Keep their inner edges close to the muzzle rather than beneath the eyes.
- Position the front legs on opposite sides of the upper body. The tops should sit approximately two rounds below the neck seam.
- Pin the back legs near the lower third of the body. Set both feet at the same height before sewing so the lion does not lean sideways.
- Center the mane cap over the rear and sides of the head. Its front edge should remain behind the eyes and muzzle.
- Insert the ears through the mane strands and sew them to the upper sides of the head. Leave enough mane in front of each ear to blend the bases into the surrounding fringe.
- Sew the tail to the lower back of the body, then attach the multicolor tuft securely to its free end.
- Trim the mane into an even circular silhouette, weave every yarn tail into the stuffed sections, and check each sewn component for movement.
The completed figure should measure approximately 23 cm tall when made with Aran-weight yarn and a 4 mm hook.
7 Technical Tips for a Cleaner Lion
- Mark every round. Losing the first stitch by even one position can rotate the decrease lines and make the muzzle appear off-center. Move the marker immediately after completing the first stitch rather than waiting until the end of the round.
- Control stuffing firmness. The head should feel firm but should not expand beyond the 36-stitch silhouette. Stop adding fiberfill when the crochet fabric begins to spread enough for visible gaps to appear between adjacent stitches.
- Use invisible decreases on the visible surfaces. A standard decrease can leave horizontal bars across the head and body. Work through the front loops of two stitches when shaping R13 onward on the head and each decrease round of the body.
- Set eye placement before installing the washers. Test the 9 mm eyes between R9 and R10 with approximately seven visible stitches between their inner edges. Once the washers are locked, moving them usually requires cutting the posts or remaking the head.
- Keep mane tension consistent. Pulling some lark’s-head knots tighter than others creates dents around the mane cap. Each knot should sit against the crochet fabric without compressing the underlying 36-stitch circumference.
- Pin paired parts before sewing. An ear positioned only one round higher than its partner is noticeable because the mane creates a strong circular frame around the face. View the pinned head from directly in front before securing either ear.
- Hide long tails through stuffed areas. Short yarn ends can work back through the surface when the figure is handled. After knotting a seam, pass at least 5 cm of yarn through the stuffed body before cutting the end close to the fabric.
Conclusion
The defining measurement in this design is not the height of the body but the width of the mane around the 36-stitch head. Finish all facial pieces before trimming the fringe, then cut the mane to about 5 cm so the ears remain visible without losing the lion silhouette. Your next practical step is to crochet the head and mane cap first and compare their circumferences before cutting the multicolor strands. Save the finished lion amigurumi crochet pattern to Pinterest, and share the completed figure on Instagram with #MulticolorManeLion. Which mane combination will you use: dark brown and rust, or the full brown, beige, rust, and gold mix?









