Introduction
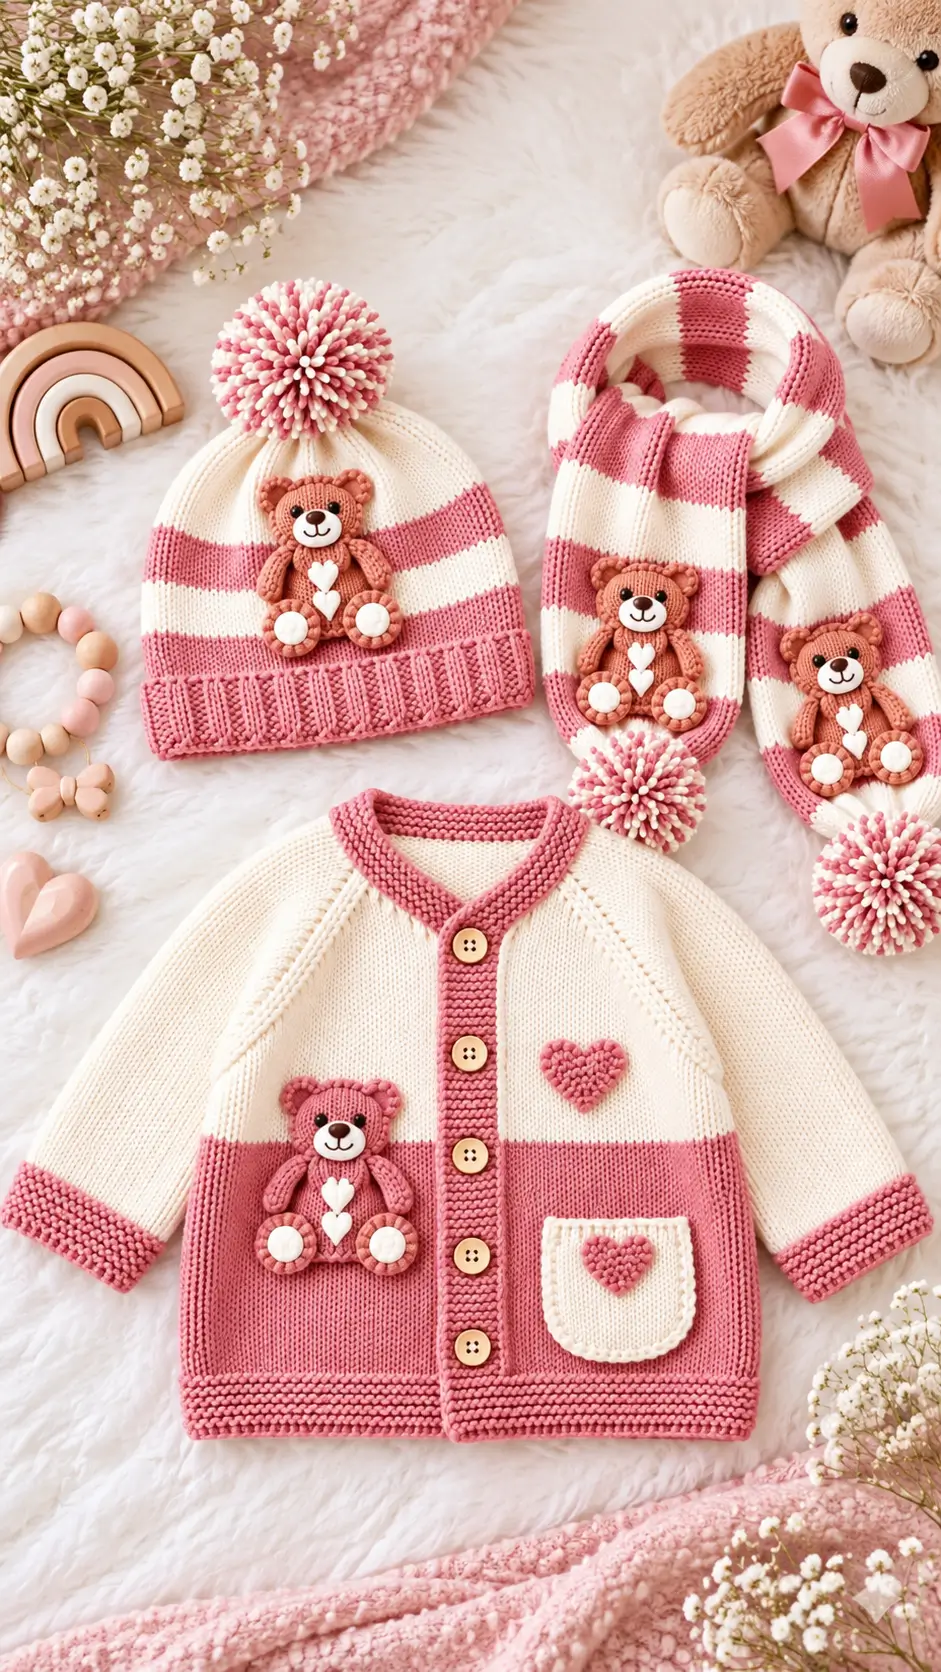
A teddy bear’s muzzle has to project from the head without pushing its low-set ears out of proportion. This teddy bear amigurumi crochet pattern uses DK yarn, a 2.50 mm hook, and 8 mm eyes to produce a bear around 14 cm tall. It is an intermediate project with controlled shaping and sewn details. The compact format also makes the finished bear practical as a garment appliqué or nursery decoration.
The Design: What Makes This Teddy Bear Different
Three structural decisions reproduce the photographed bear. First, the head reaches a 36-stitch plateau, giving the face enough width for a separate cream muzzle without creating an oversized toy. Second, the legs use broader feet than the arms because the visible character is seated; that extra width establishes the low, stable teddy-bear silhouette. Third, two small heart appliqués replace a conventional sweater or bow.
The small teddy bear crochet pattern also uses separate round ears rather than crocheting them directly into the head. That permits their angle to be adjusted during assembly. The most common proportional mistake in a crochet bear with heart design is placing the muzzle too high. When the muzzle approaches the eye line, the forehead becomes visually compressed and the face loses the proportions visible in the reference photograph.
Project Info at a Glance
| Skill Level | Time | Finished Size | Hook | Best For |
|---|---|---|---|---|
| Intermediate | 4–6 hours | Approx. 14 cm | 2.50 mm | Small toy, appliqué, nursery decoration |
The 14 cm reference size is based on DK yarn with a 2.50 mm hook. Individual crochet tension can change the final measurement.
Materials and Tools
Yarn
- Dusty terracotta/brown — DK/light worsted #3 — approximately 24 g
- Cream/white — DK/light worsted #3 — approximately 2–4 g
- Dark brown — embroidery thread or fine yarn — less than 1 g
Tools
- 2.50 mm crochet hook
- Two 8 mm safety eyes
- Polyester stuffing
- Yarn needle
- Locking stitch marker
- Sewing pins
- Scissors
- Dark brown embroidery thread
Safety note: Safety eyes are small components and are unsuitable for toys intended for children under three. Use embroidered eyes instead when making the bear for a young child.
Abbreviations
- MR — magic ring
- sc — single crochet
- inc — two sc in one stitch
- dec — invisible decrease over two stitches
- sl st — slip stitch
- ch — chain
- BLO — back loop only
- FO — fasten off
For an invisible decrease, insert the hook through the front loops of the next two stitches, draw up the working yarn, then complete one single crochet through the remaining loops.
Pattern — Step by Step
Work in a continuous spiral unless a section specifically says otherwise. Mark the first stitch of every round.
Head — Make 1
Yarn: dusty terracotta.
R1: 6 sc in MR (6)
R2: inc ×6 (12)
R3: (1 sc, inc) ×6 (18)
R4: (2 sc, inc) ×6 (24)
R5: (3 sc, inc) ×6 (30)
R6: (4 sc, inc) ×6 (36)
R7: sc around (36)
R8: sc around (36)
R9: sc around (36)
R10: sc around (36)
R11: sc around (36)
R12: sc around (36)
Fit the 8 mm eyes between R9 and R10, approximately six stitches apart. Check the muzzle position before locking the washers.
R13: (4 sc, dec) ×6 (30)
R14: (3 sc, dec) ×6 (24)
R15: (2 sc, dec) ×6 (18)
Stuff firmly, adding small portions of stuffing around the eye backs.
R16: (1 sc, dec) ×6 (12)
R17: dec ×6 (6)
Fasten off. Leave a 20 cm tail and close the remaining opening through the front loops.
Body — Make 1
Yarn: dusty terracotta.
R1: 6 sc in MR (6)
R2: inc ×6 (12)
R3: (1 sc, inc) ×6 (18)
R4: (2 sc, inc) ×6 (24)
R5: (3 sc, inc) ×6 (30)
R6: sc around (30)
R7: sc around (30)
R8: sc around (30)
R9: sc around (30)
R10: sc around (30)
R11: (3 sc, dec) ×6 (24)
R12: sc around (24)
R13: sc around (24)
R14: (2 sc, dec) ×6 (18)
R15: sc around (18)
Stuff until the torso remains rounded but can still compress slightly beneath the head.
Fasten off. Leave a 35–40 cm tail for attaching the head.
Arms / Front Legs — Make 2
Yarn: dusty terracotta.
R1: 6 sc in MR (6)
R2: inc ×6 (12)
R3: sc around (12)
R4: sc around (12)
R5: (1 sc, dec) ×4 (8)
R6: sc around (8)
R7: sc around (8)
R8: sc around (8)
R9: sc around (8)
Stuff only the lower half. Keeping the shoulder end flatter allows each arm to lie against the torso.
Flatten the opening and work 4 sc through both layers (4). Fasten off and leave a 20 cm sewing tail.
Back Legs — Make 2
Yarn: dusty terracotta.
R1: 6 sc in MR (6)
R2: inc ×6 (12)
R3: (1 sc, inc) ×6 (18)
R4: sc around (18)
R5: sc around (18)
R6: (1 sc, dec) ×6 (12)
R7: sc around (12)
R8: sc around (12)
R9: (1 sc, dec) ×4 (8)
Stuff the foot firmly and the upper section lightly. Flatten the final opening.
Fasten off. Leave a 25 cm sewing tail.
Ears — Make 2
Yarn: dusty terracotta.
R1: 6 sc in MR (6)
R2: inc ×6 (12)
R3: (1 sc, inc) ×6 (18)
R4: sc around (18)
R5: (1 sc, dec) ×6 (12)
Do not stuff. Flatten each ear into a shallow semicircle.
Fasten off. Leave a 20 cm sewing tail.
Muzzle — Make 1
Yarn: cream.
Ch 5.
R1: Starting in the second ch from hook, 3 sc, 3 sc in final ch; work along the opposite side of the foundation chain, 2 sc, inc in final ch (10)
R2: inc, 2 sc, inc ×3, 2 sc, inc ×2 (16)
R3: sc around (16)
Fasten off. Leave a 25 cm sewing tail.
Embroider a small inverted triangular nose in dark brown. Add one vertical stitch below it, followed by two short curved mouth lines.
Cheek Patches — Make 2
Yarn: cream. These are optional; omit them for a closer match to the photographed teddy.
R1: 6 sc in MR (6)
R2: inc ×6 (12)
Fasten off. Leave a 12 cm sewing tail.
Paw Pads — Make 4
Yarn: cream.
R1: 6 sc in MR (6)
R2: inc ×6 (12)
Fasten off. Leave a 15 cm sewing tail.
For the smaller arm pads, sew just inside the outer round so the circle contracts slightly. Keep the leg pads at their full diameter.
Tail — Make 1
Yarn: dusty terracotta.
R1: 6 sc in MR (6)
R2: inc ×6 (12)
R3: sc around (12)
R4: dec ×6 (6)
Add a small amount of stuffing.
Fasten off. Leave a 15 cm sewing tail.
Heart Appliqués — Make 2
Yarn: cream.
R1: 6 sc in MR (6)
R2: (sc, inc) ×3 (9)
R3: sc around (9)
Flatten the piece. Pinch the lower edge into a point and secure it with two small stitches using the yarn tail. Place one stitch into the upper center to create the heart indentation.
Fasten off. Leave a 15 cm sewing tail.
For a smaller upper heart, work only R1–R2, flatten the piece, then shape the point and indentation in the same manner.
Assembly
- Pin the head over the body’s 18-stitch neck opening. Check that the face points directly forward, then sew around the neck twice with small mattress-style stitches.
- Position the muzzle centrally below the eye line. Its upper edge should sit roughly one round below the lower edge of the safety eyes. Add a small amount of stuffing before closing the final section.
- Pin the ears across the upper sides of the head. Keep their inner edges approximately 8–10 stitches apart and sew through both layers of each flattened ear.
- Sew the paw pads to the limbs before attaching those limbs to the body. Center each cream circle rather than aligning it with the spiral seam.
- Attach the arms to opposite sides of the upper torso. Angle their lower ends slightly inward to reproduce the seated teddy pose.
- Position the back legs low on the body with the feet facing forward. Pin both before sewing either one permanently so their heights can be compared.
- Attach the tail at the center back, approximately two rounds above the body’s starting ring.
- Sew the two heart appliqués vertically down the center chest, leaving approximately 3–5 mm between them. Place the smaller heart above the larger heart.
- Add the optional cheek patches only for the alternate version. Leave them off when reproducing the photographed bear more closely.
- Weave every yarn tail through several internal stitches, trim the excess, and reshape the stuffing by hand. The completed bear has a 36-stitch head, seated feet, contrasting paw pads, and two centered chest hearts.
7 Technical Tips for a Cleaner Teddy Bear
- Mark the round start: Move a locking stitch marker after the first stitch of every round. A one-stitch drift during the 36-stitch head plateau can move the decrease line visibly across the face.
- Control muzzle stuffing: Limit the filling to a small pinch. Excess stuffing pushes the cream muzzle outward and can partially obscure the 8 mm eyes.
- Use invisible decreases: Work decreases through the front loops only. A conventional sc2tog can create openings where pale stuffing becomes visible.
- Install the eyes on time: Insert both 8 mm safety eyes before R13 of the head. Once the opening falls below 24 stitches, fitting the internal washers becomes considerably harder.
- Check hook tension: If stuffing is visible between DK stitches, change from a 2.50 mm hook to a slightly smaller hook rather than pulling individual stitches excessively tight.
- Pin both legs first: Measure the upper attachment points from the same body round before sewing. A one-round vertical difference is enough to make the seated teddy appear tilted.
- Secure sewing tails: Pass each assembly tail through at least three separate internal stitch paths before trimming. Cutting directly beside a single seam increases the chance of the yarn end becoming exposed.
Conclusion
Check the finished bear from the front before securing the final yarn tails: both ears should sit at equal heights, the muzzle should remain centered beneath the 8 mm eyes, and the two feet should meet the same horizontal line. The next practical step is to crochet the head first and compare its diameter with the intended garment or display area before completing the remaining pieces. Save this teddy bear amigurumi crochet pattern to Pinterest or share the finished version on Instagram with #HeartTeddyBear. When adapting this design, which detail will you make most prominent: the oversized cream paw pads or the two stacked chest hearts?









