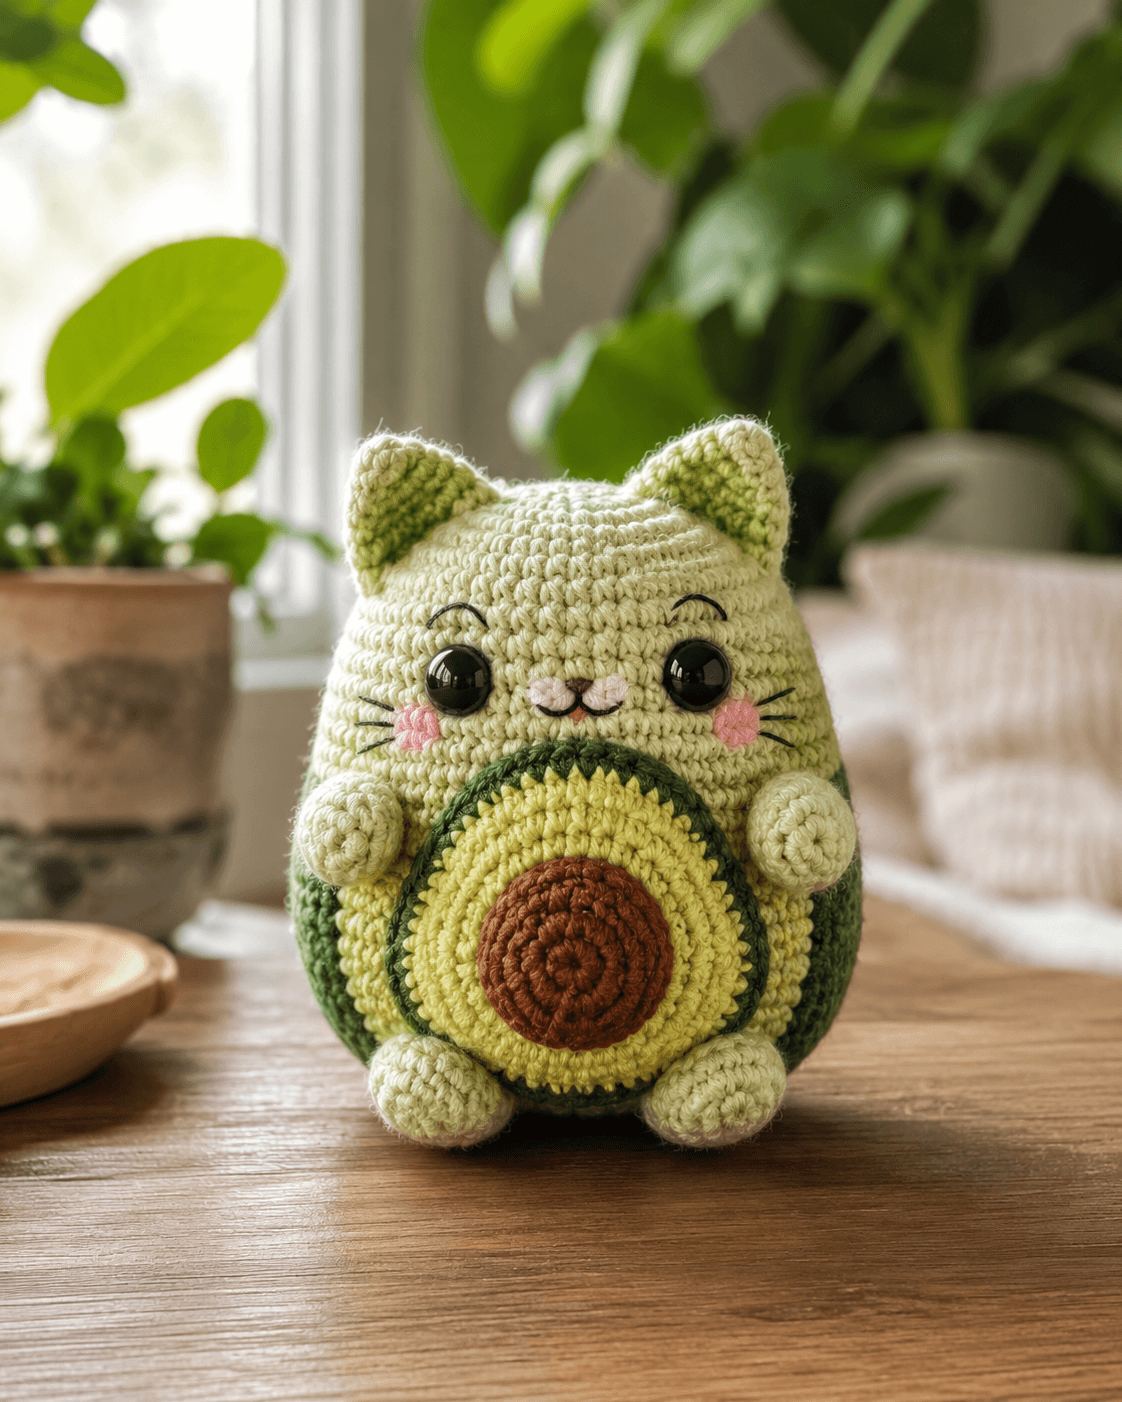
A lemon frog fails fast when the slice covers the belly but not the hands. This lemon frog amigurumi crochet pattern fixes that proportion first. Use cotton yarn, a 3.5 mm hook, and 12 mm safety eyes to make a seated frog around 16 to 18 cm tall with intermediate shaping. The broad base and front disc make it useful as a stable desk plush rather than a soft toy that tips backward.
The Design: What Makes Lemon Frog Different
The eye bulges do most of the identity work here. A round frog head without raised eyes can look generic once the lemon slice is added, so this version uses two separate bulges stitched high on the head. That creates a clearer frog profile from the front and the side. The second structural choice is the body plateau. It stays at 36 stitches long enough to support the lemon disc and both arms without pulling the front inward.
Then the fruit changes placement across the whole project. The lemon slice is not part of the body fabric. It sits on top as an applique-like prop, which keeps the white rind and segment lines sharp. Many lemon frog crochet pattern listings show the finished toy but skip the part where slice diameter, arm spacing, and lower-leg angle have to work together. One common mistake is making the slice too large. The frog disappears behind it, and the toy reads as fruit first, animal second.
Project Info at a Glance
| Skill Level | Time | Finished Size | Hook | Best For |
|---|---|---|---|---|
| Intermediate | 4–6 hours | 16–18 cm | 3.5 mm | Shelf display, gift plush, market item |
Comparable lemon frog projects online range from about 2.4 inches for keychain-sized versions to 15 cm for larger plush builds, depending on yarn and hook choice.
Materials and Tools
Yarn
- Mint green — DK/light worsted cotton — about 55 g — Paintbox Cotton DK or similar
- Yellow — DK/light worsted cotton — about 18 g — same yarn line
- White — DK/light worsted cotton — about 10 g — same yarn line
- Leaf green — DK/light worsted cotton — about 8 g — same yarn line
- Brown — DK/light worsted cotton — about 3 g — same yarn line
- Pink — DK/light worsted cotton — small amount
- Black — embroidery cotton — small amount
Tools
- Hook 3.5 mm
- Safety eyes 12 mm
- Polyester stuffing
- Yarn needle
- Stitch markers
- Pins
- Scissors
Comparable lemon frog sources show hooks from 3.5 to 4.5 mm and yarn choices from standard cotton or acrylic to bulky plush yarn, depending on the finished scale.
Abbreviations
MR / sc / inc / dec / sl st / ch / hdc / dc / BLO / FO
Invisible decrease means working one decrease through the front loops of the next two stitches, which cuts bulk on the shaping rounds.
Pattern — Step by Step
Continuous spiral unless noted. This pattern is an original photo-based draft built with standard amigurumi stitch math.
Head
Yarn: mint green — Original draft from photo
R1: 6 sc in MR (6)
R2: inc x6 (12)
R3: (sc, inc) x6 (18)
R4: (2 sc, inc) x6 (24)
R5: (3 sc, inc) x6 (30)
R6-R10: sc around (30)
R11: (3 sc, dec) x6 (24)
R12: (2 sc, dec) x6 (18)
Insert eyes between R7 and R8 after eye bulges are attached. Add stuffing.
R13: (sc, dec) x6 (12)
R14: dec x6 (6)
Fasten off. Close opening. Leave 20 cm tail.
Body
Yarn: mint green — Original draft from photo
R1: 6 sc in MR (6)
R2: inc x6 (12)
R3: (sc, inc) x6 (18)
R4: (2 sc, inc) x6 (24)
R5: (3 sc, inc) x6 (30)
R6: (4 sc, inc) x6 (36)
R7-R12: sc around (36)
R13: (4 sc, dec) x6 (30)
R14: (3 sc, dec) x6 (24)
R15: (2 sc, dec) x6 (18)
Stuff the base firmly, the upper third slightly lighter.
R16: (sc, dec) x6 (12)
R17: dec x6 (6)
Fasten off. Leave 25 cm tail.
Arms (Make 2)
Yarn: mint green — Standard amigurumi math
R1: 6 sc in MR (6)
R2-R5: sc around (6)
Flatten. Sl st across 3 stitches to close. Fasten off. Leave 18 cm tail.
Legs (Make 2)
Yarn: mint green — Standard amigurumi math
R1: 6 sc in MR (6)
R2: inc x6 (12)
R3-R4: sc around (12)
R5: dec x6 (6)
Stuff lightly. Flatten. Fasten off. Leave 18 cm tail.
Eye Bulges (Make 2)
Yarn: mint green — Original draft from photo, shaped to match raised frog eyes
R1: 6 sc in MR (6)
R2: inc x6 (12)
R3: (sc, inc) x6 (18)
R4-R5: sc around (18)
R6: (sc, dec) x6 (12)
Lightly stuff. Fasten off. Leave 20 cm tail.
Lemon Slice Center
Yarn: yellow — Original flat disc draft
R1: 6 sc in MR (6)
R2: inc x6 (12)
R3: (sc, inc) x6 (18)
R4: (2 sc, inc) x6 (24)
R5: (3 sc, inc) x6 (30)
Fasten off. Leave 20 cm tail.
Lemon Rind Ring
Yarn: white, then yellow — Original draft from photo
With white:
R1: 6 sc in MR (6)
R2: inc x6 (12)
R3: (sc, inc) x6 (18)
R4: (2 sc, inc) x6 (24)
R5: (3 sc, inc) x6 (30)
Change to yellow.
R6: BLO sc around (30)
R7: sc around (30)
Fasten off. Leave 25 cm tail.
Stem
Yarn: brown — Photo-based accessory reconstruction
R1: 4 sc in MR (4)
R2-R3: sc around (4)
Fasten off. Leave 12 cm tail.
Leaf
Yarn: leaf green — Based on standard leaf shaping and supported by fruity-frog/lime-lemon examples online.
Ch 8.
R1: starting in 2nd ch from hook: sc, 4 hdc, dc, 3 dc in last ch; working on opposite side: dc, 4 hdc, sc, sl st in first st.
R2: ch 1, sc, hdc, 3 hdc, 2 dc, 2 dc in each of next 3 sts, 2 dc, 3 hdc, hdc, sc, sl st.
Fasten off. Leave 18 cm tail.
Cheek Patches (Make 2)
Yarn: pink — Flat circle
R1: 6 sc in MR (6)
R2: inc x6 (12)
Fasten off. Leave 10 cm tail.
Face Details
Yarn: black embroidery cotton — Photo detail
Embroider a shallow curved smile centered below the eyes. No crochet required for this part.
Assembly
- Sew the eye bulges to the top front of the head, centered symmetrically.
- Insert the safety eyes through the bulges and head between R7 and R8, with about 8 stitches between them.
- Sew the head to the body, keeping the face vertical over the widest part of the torso.
- Attach the arms to the upper front sides of the body so they angle inward.
- Sew the legs to the lower front of the body, close enough together to support the slice visually.
- Stitch the smile under the eye line with a slight upward curve.
- Sew one cheek patch under each eye, leaving a one-stitch gap from the smile line.
- Layer the yellow lemon center onto the white-yellow rind disc and sew them together.
- Embroider segment lines from the center outward in white yarn, then attach the brown stem and green leaf at the top.
- Position the lemon slice between the frog’s arms and sew it in place across the lower front body.
The plush is complete when the slice clears both feet and the frog sits without rolling.
7 Technical Tips
- Mark the first stitch of every round. On a 30-stitch head, one missed round marker can shift the smile and eye line enough to make the face slant.
- Stuff the eye bulges lightly, not hard. Too much fill pushes the eyes outward and makes the head look startled instead of rounded.
- Keep the body base firmer than the chest. A soft lower half lets the lemon slice pull the frog forward after assembly.
- Install the safety eyes before the head closes below 18 stitches. Washer placement gets cramped fast once the opening narrows.
- Pin the lemon slice before sewing the arms permanently. A shift of even 4 to 5 mm can make one arm look detached from the prop.
- Embroider the white segment lines only after the disc is fully flattened. Early embroidery can cup the lemon slice and bend the outer ring.
- Weave all cotton tails through at least three stitch paths inside the body. Short tail finishes loosen first where the slice rubs against the hands.
Conclusion
This lemon frog amigurumi crochet pattern depends on proportion more than novelty. The raised eyes establish the frog. The front disc establishes the lemon. Everything else supports that read. Work the body wide enough to hold the slice, keep the eye bulges compact, and test the arm angle before final stitching. That produces the cleanest silhouette from the front. Save this lemon frog amigurumi crochet pattern to Pinterest, post your version on Instagram, and tag it with #LemonFrogPattern. One question matters for this character in particular: did your leaf sit best straight up, or tilted to one side like a cut lemon with a stem still attached?









